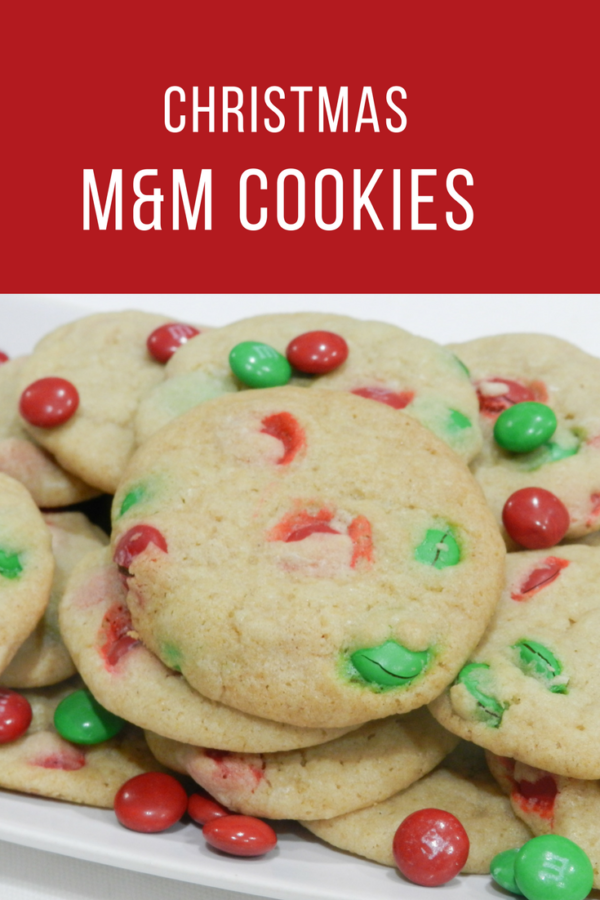
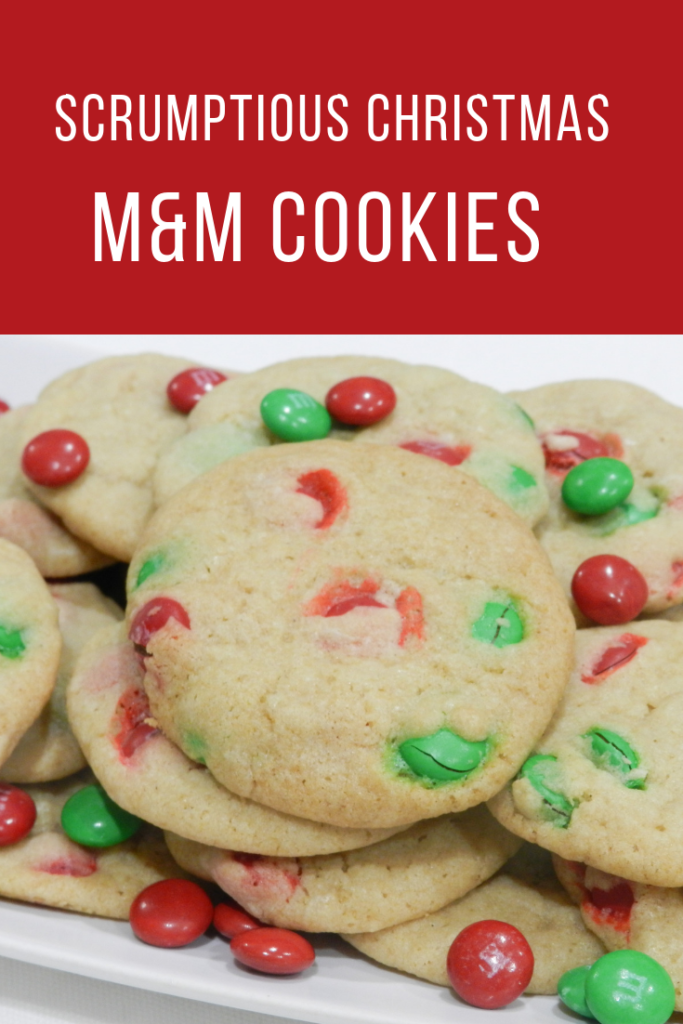
M&M cookies are a classic holiday treat in my family. As far back as I can remember, my mom always made m&m cookies to add onto her trays of goodies that she would pass out to friends and neighbors at Christmas time. I seldom make them any other time of the year; when I think of m&m cookies, I think of Christmas!
It’s been a learning curve on getting them just right. For the longest time, my cookies were turning out too flat or they were holey on the bottoms. For a few years, I was frustrated at my failed attempts to get the perfect m&m cookie. I didn’t know what I was doing wrong! I finally figured out a couple of tricks to getting them just right. One is to refrigerate the dough for a few minutes before putting onto the cookie sheet (especially if the butter is soft to begin with) and the other is to use parchment paper on the cookie sheet. Who would have thought something as simple as parchment paper could make such a difference? I grew up watching my mom bake and never did I see her use parchment paper. But it has been a game changer for me!
There are lots of recipes out there and most of them are pretty similar. This is our family’s recipe and they are quite good, if I say so myself. I have also substituted regular flour with an all-purpose gluten-free flour. You can subsititute 1-1 so long as it’s an all-purpose, gluten-free flour. I’ve even substituted the butter for the nucoa dairy-free butter substitute. The flavor changes slightly; nothing can replace the taste of real butter. I have some food issues, so I’ve learned to adapt (when I’m being good); this can easily be adapted to accommodate food allergies!
To get started, you will need:
- butter
- sugar
- brown sugar
- eggs
- flour
- baking soda
- salt
- vanilla
- m&m’s

Preheat your oven to 350 degrees.
Begin by beating your butter with both of your sugars (both white and brown sugar). I always use my kitchen aid; it’s the best! You can use a regular hand mixer too. Whatever works.

When the sugar and butter is creamed together nicely, mix in your eggs.


Slowly add in your flour, mixing until it is well incorporated.


Add your vanilla, baking soda and salt.
Stir in your m&m’s by hand. You don’t want to use your mixer for this part or you will end up with chopped candy bits.


Like I mentioned before, it helps to refrigerate the dough for about 10-15 minutes. If your butter was pretty firm to begin with, you may be okay skipping this step.
Line your cookie sheet with parchment paper and spoon out the dough onto the cookie sheet, spacing your dough balls about 2″ apart.

Pop into the oven for 10-12 minutes; until the edges begin to lightly brown. Keep an eye on them so they don’t overbake.
Once you take them out of the oven, let them set for about a minute before removing them to a cooling rack with a turner.


That’s all there is to it! Pour yourself a glass of milk and enjoy! If you’re feeling generous, share with your friends and neighbors-they’ll love you for it!
You can always mix it up a bit by using different flavored m&m’s. They make peppermint, caramel, peanut butter…the possibilities are endless!


| Prep Time | 15-20 minutes |
| Cook Time | 10 minutes |
| Servings |
dozen
|
- 1 cup butter
- 3/4 cup white cane sugar
- 3/4 cup brown sugar packed
- 2 eggs
- 2 1/2 cups flour (can use gluten free if desired)
- 1 tsp. baking soda
- 1 tsp. vanilla extract
- 1/2 tsp. salt
- 2 cups m&m's
Ingredients
|
   |
- Preheat oven to 350.
- Begin by beating your butter with both of your sugars (both white and brown sugar).
- When the sugar and butter is creamed together nicely, mix in your eggs.
- Slowly add in your flour, mixing until it is well incorporated.
- Add your vanilla, baking soda and salt.
- Stir in your m&m's by hand.
- Refrigerate dough 10-15 minutes to firm up. Line your cookie sheet with parchment paper and spoon out the dough onto the cookie sheet, spacing your dough balls about 2" apart.
- Bake for 10-12 minutes. After taking them out of the oven, let them set for about a minute before removing them to a cooling rack with a turner.
- Eat!!


My family loved these cookies! Will definitely be adding these to our Christmas goodie list 🙂
Glad you enjoyed the recipe!! 🙂