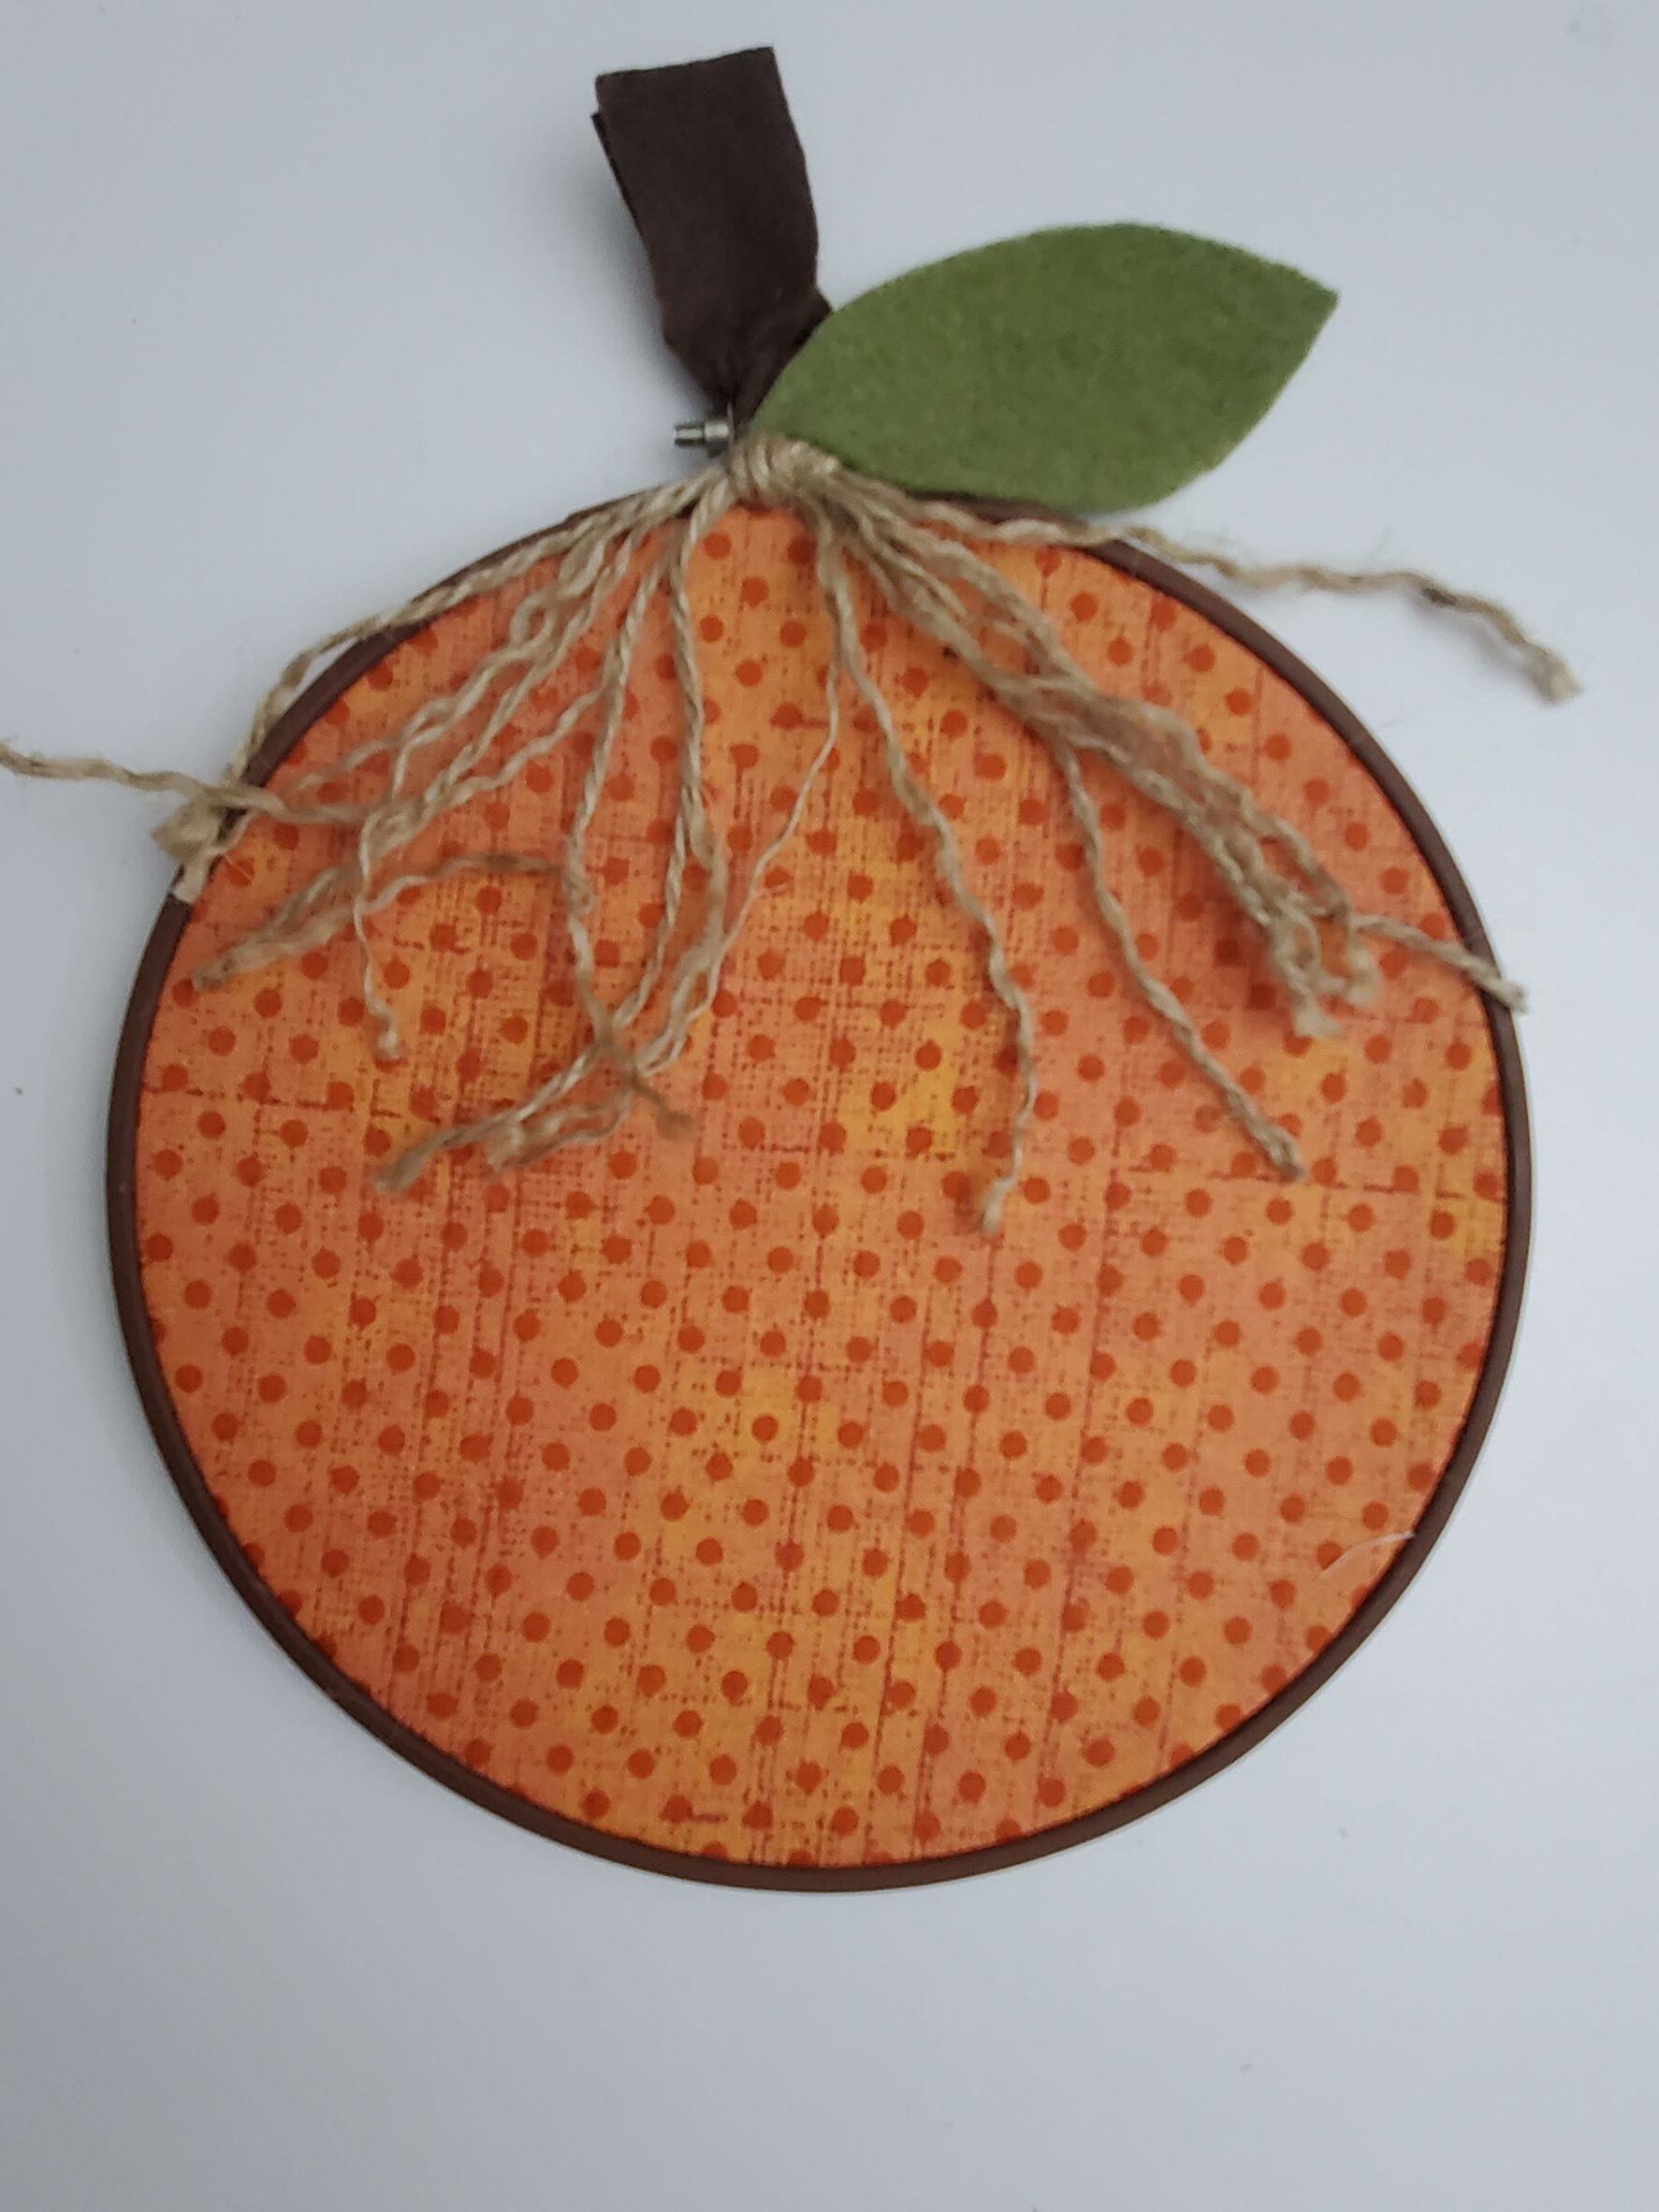
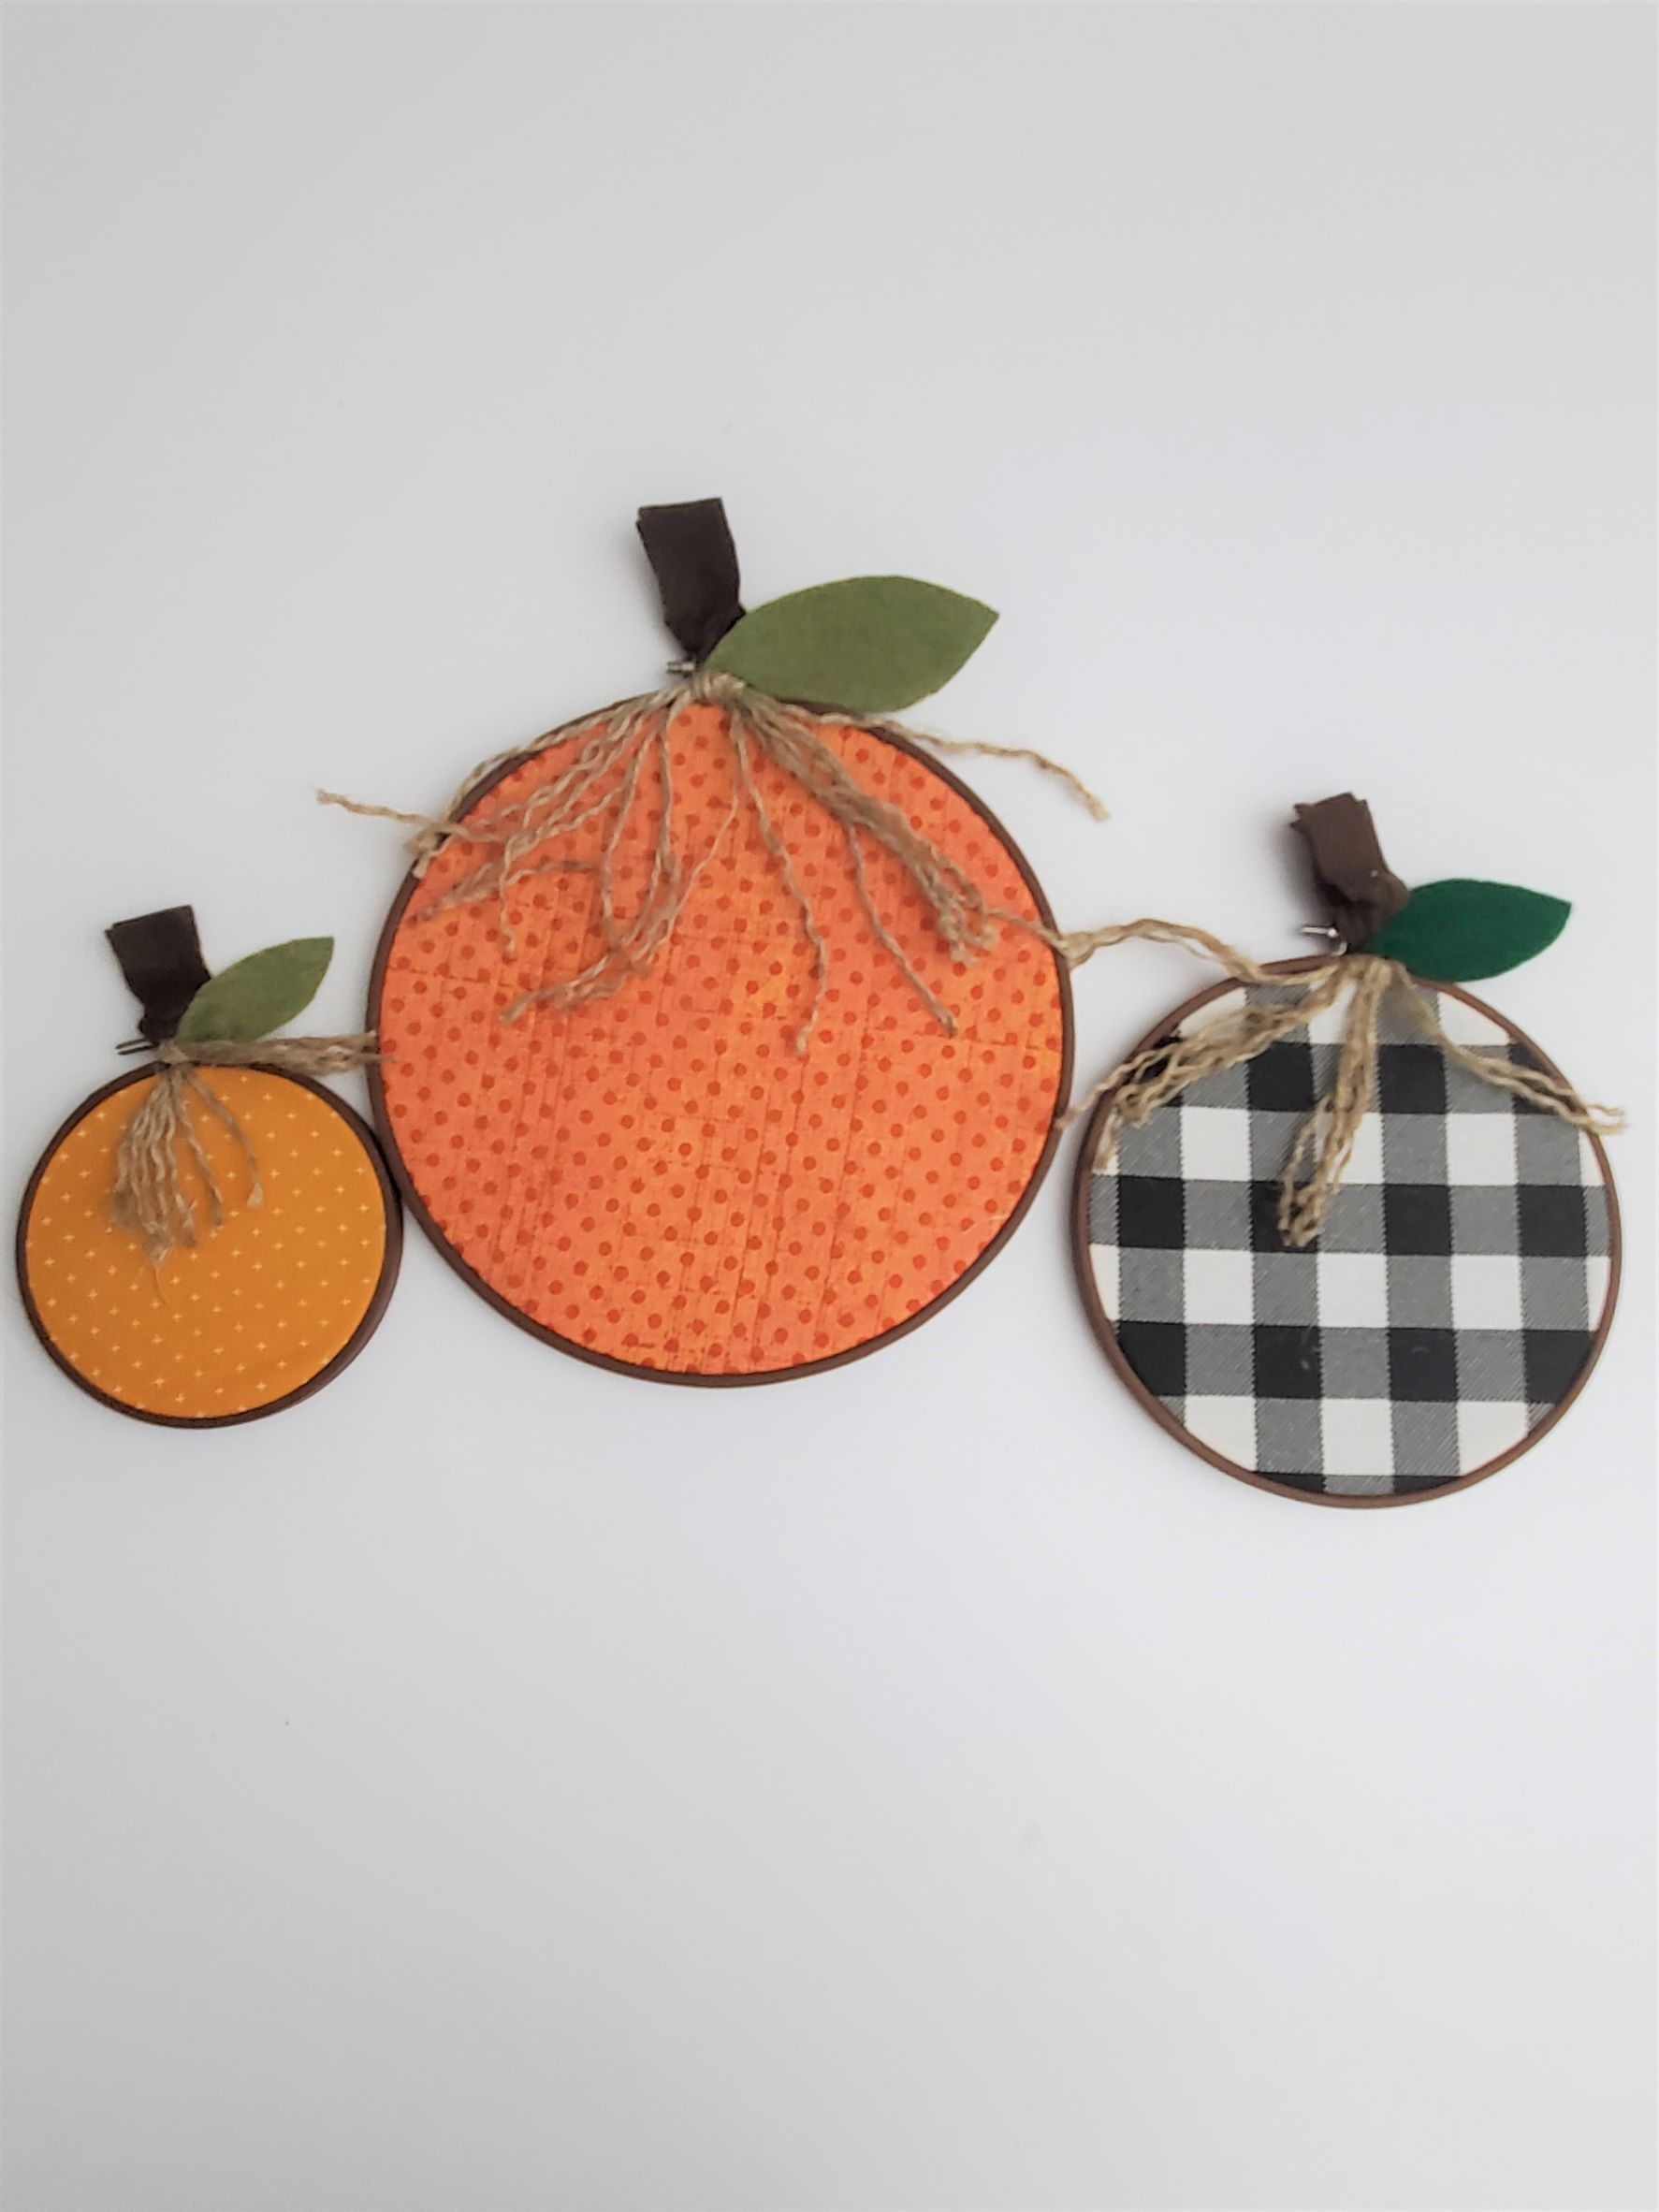
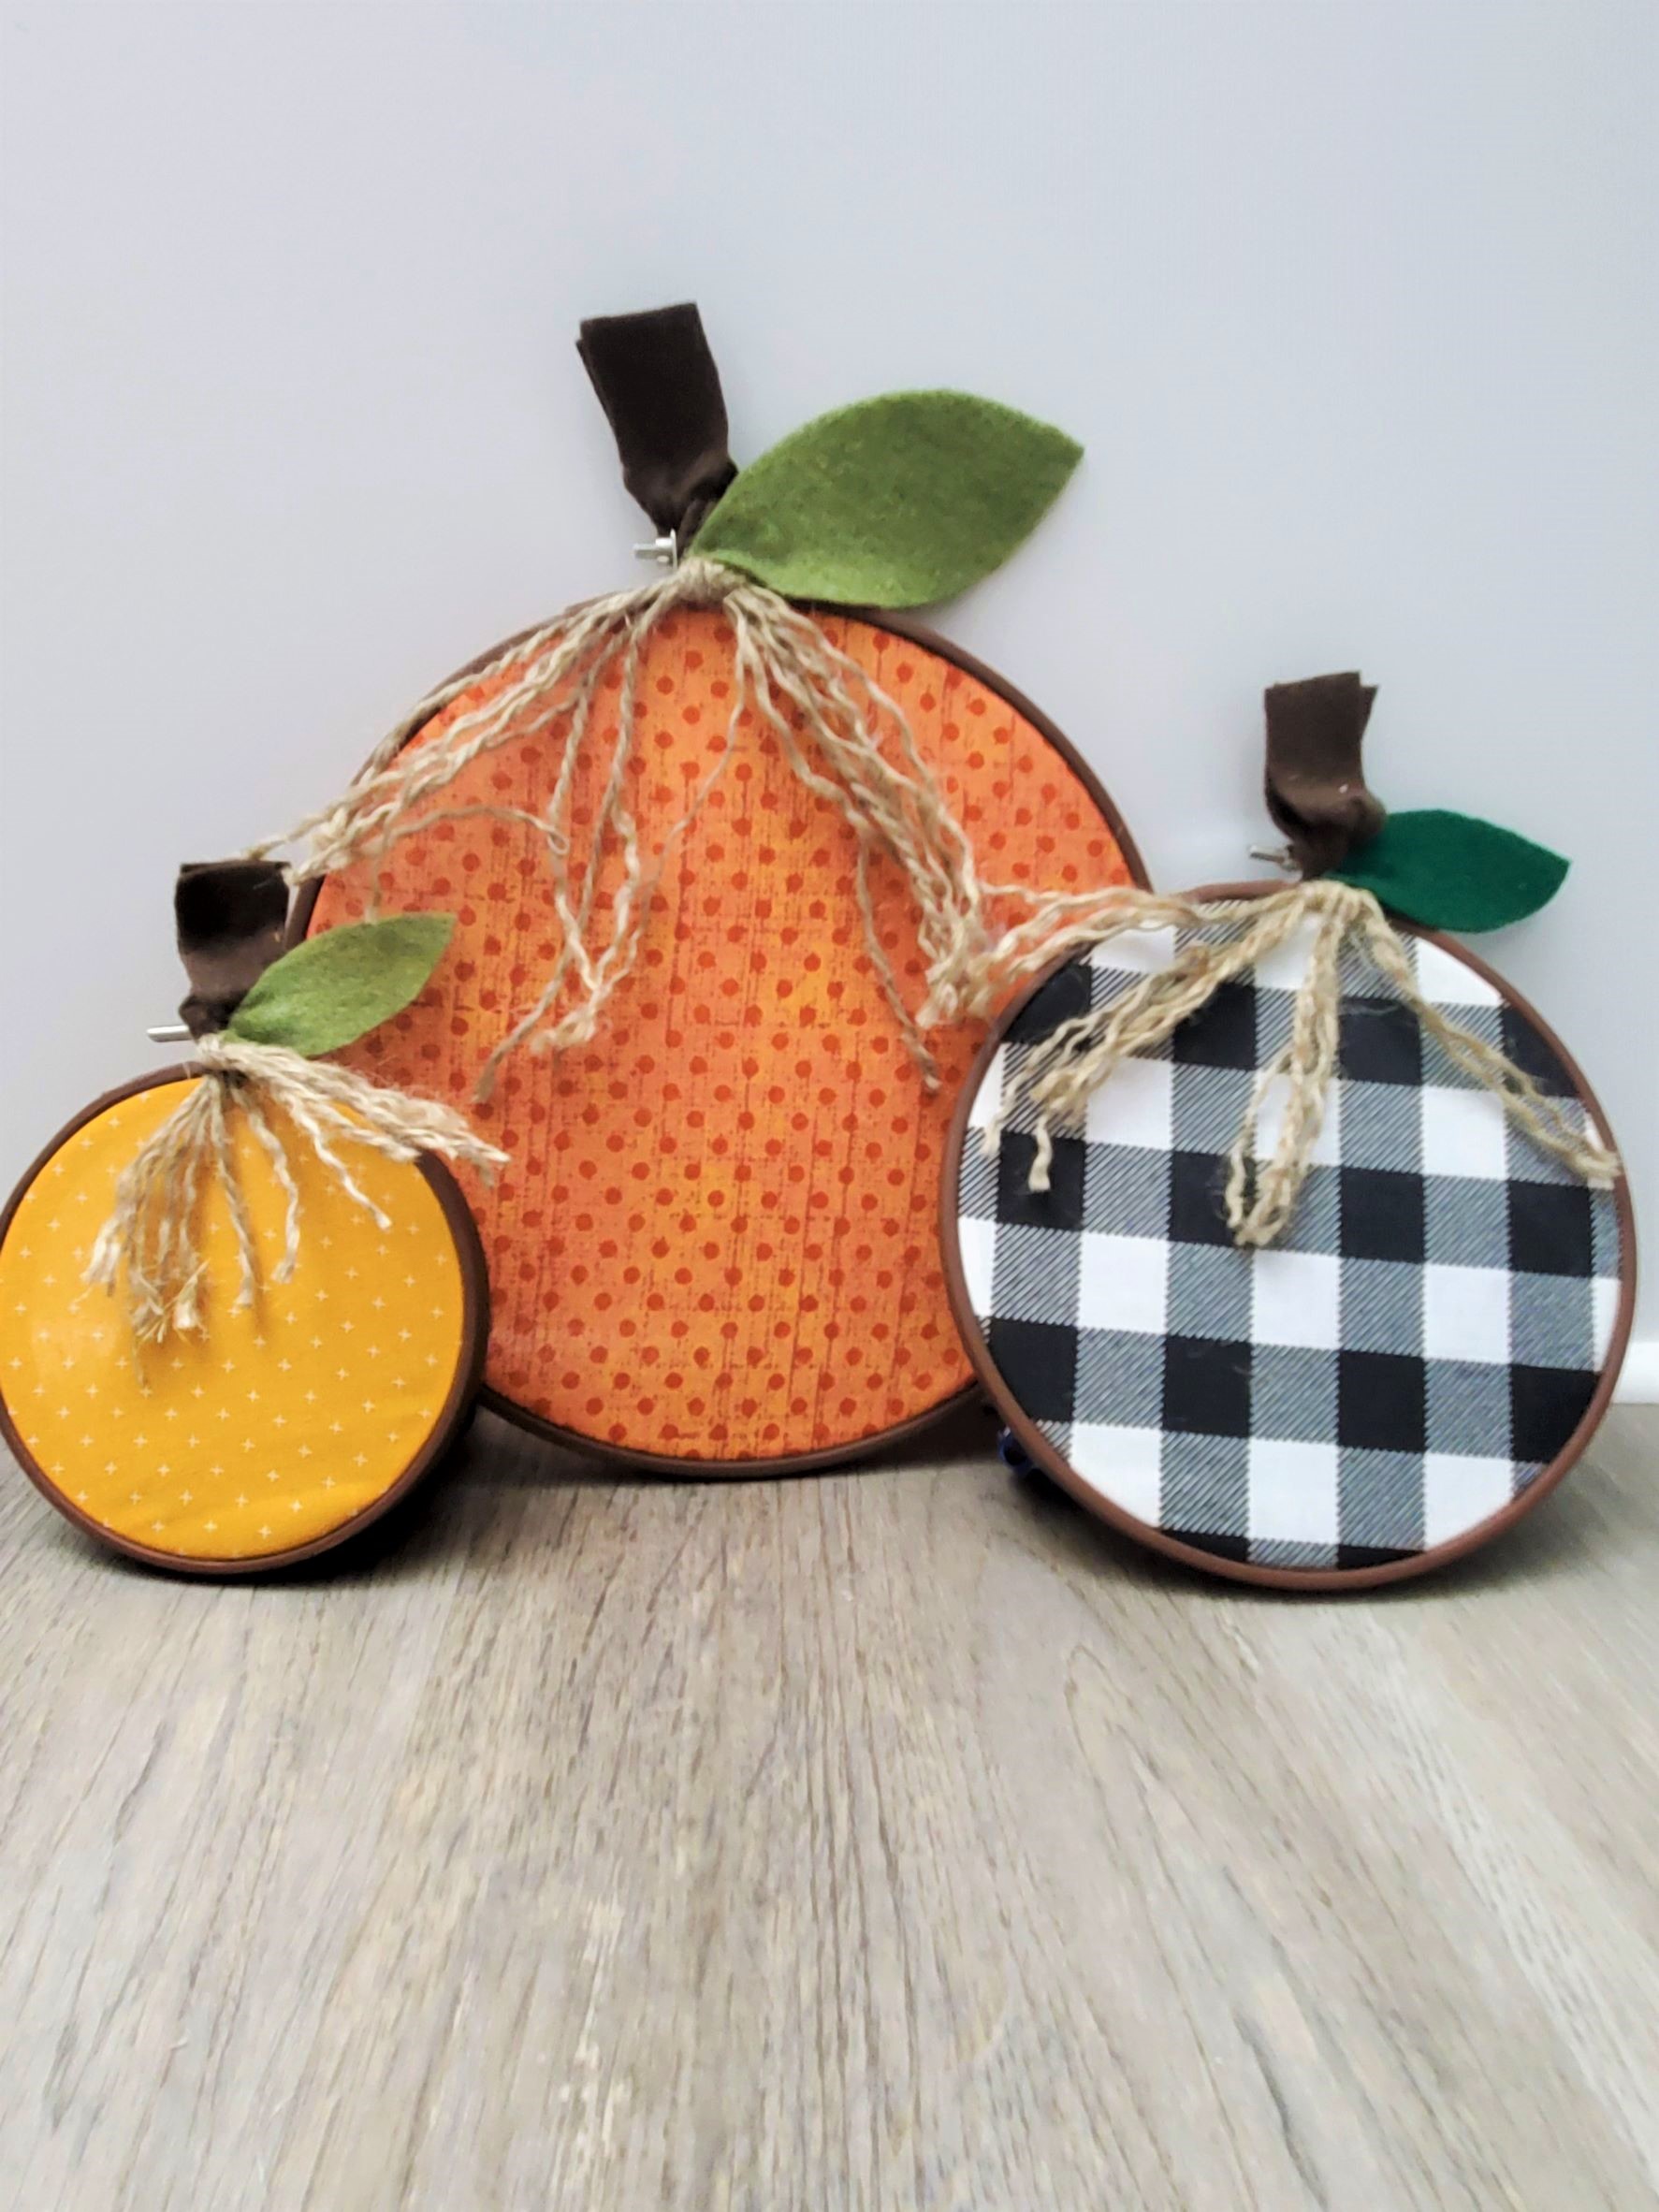
Happy Fall!!
Today I’m sharing a different kind of tutorial; different for me anyway because I usually share sewing projects. I’ve kind of been holding back on you, because I can do a lot more than sew! I actually really love crafting and creating in general, not just in my sewing room. But sewing is definitely my passion and my area of expertise, so that’s what I normally share.
Every fall, our women’s group at church holds a “Super Saturday” with crafts that we can sign up for and make. It’s a fun morning out, crafting with friends, and gives me the chance to work on something other than sewing. Every now and then (depending on how busy I am) I’ll come up with some ideas to put out there for women to sign up for. Too many times, I think about it a little too late and miss sharing my ideas. This year, however, I’m on the ball! It helps that they sent out a text message asking for simple ideas for the women and also their daughters (they are inviting all girls ages 12 and up this year). I had just come across a super cute idea and thought how easy it would be to make; this gave me the push I needed to make it! And, it’s a perfect, simple craft for young girls…and older “girls” as well 😉
If you know me, you that I’m a little bit obsessed with pumpkins in the fall. I have my own little pumpkin patch collection growing at home (lol) so naturally I loved this idea. And even though it’s not sewing, it does use fabric, which is one of my favorite things.
It really took no time at all to do these. The longest part was letting the paint dry. Well, that and taking pics/video of the process so that I could share this tutorial with you! Once the paint is dry, you can probably whip these pumpkins up in about 20 minutes, no joke. They’re super easy to do and is a fun way to display pumpkins!
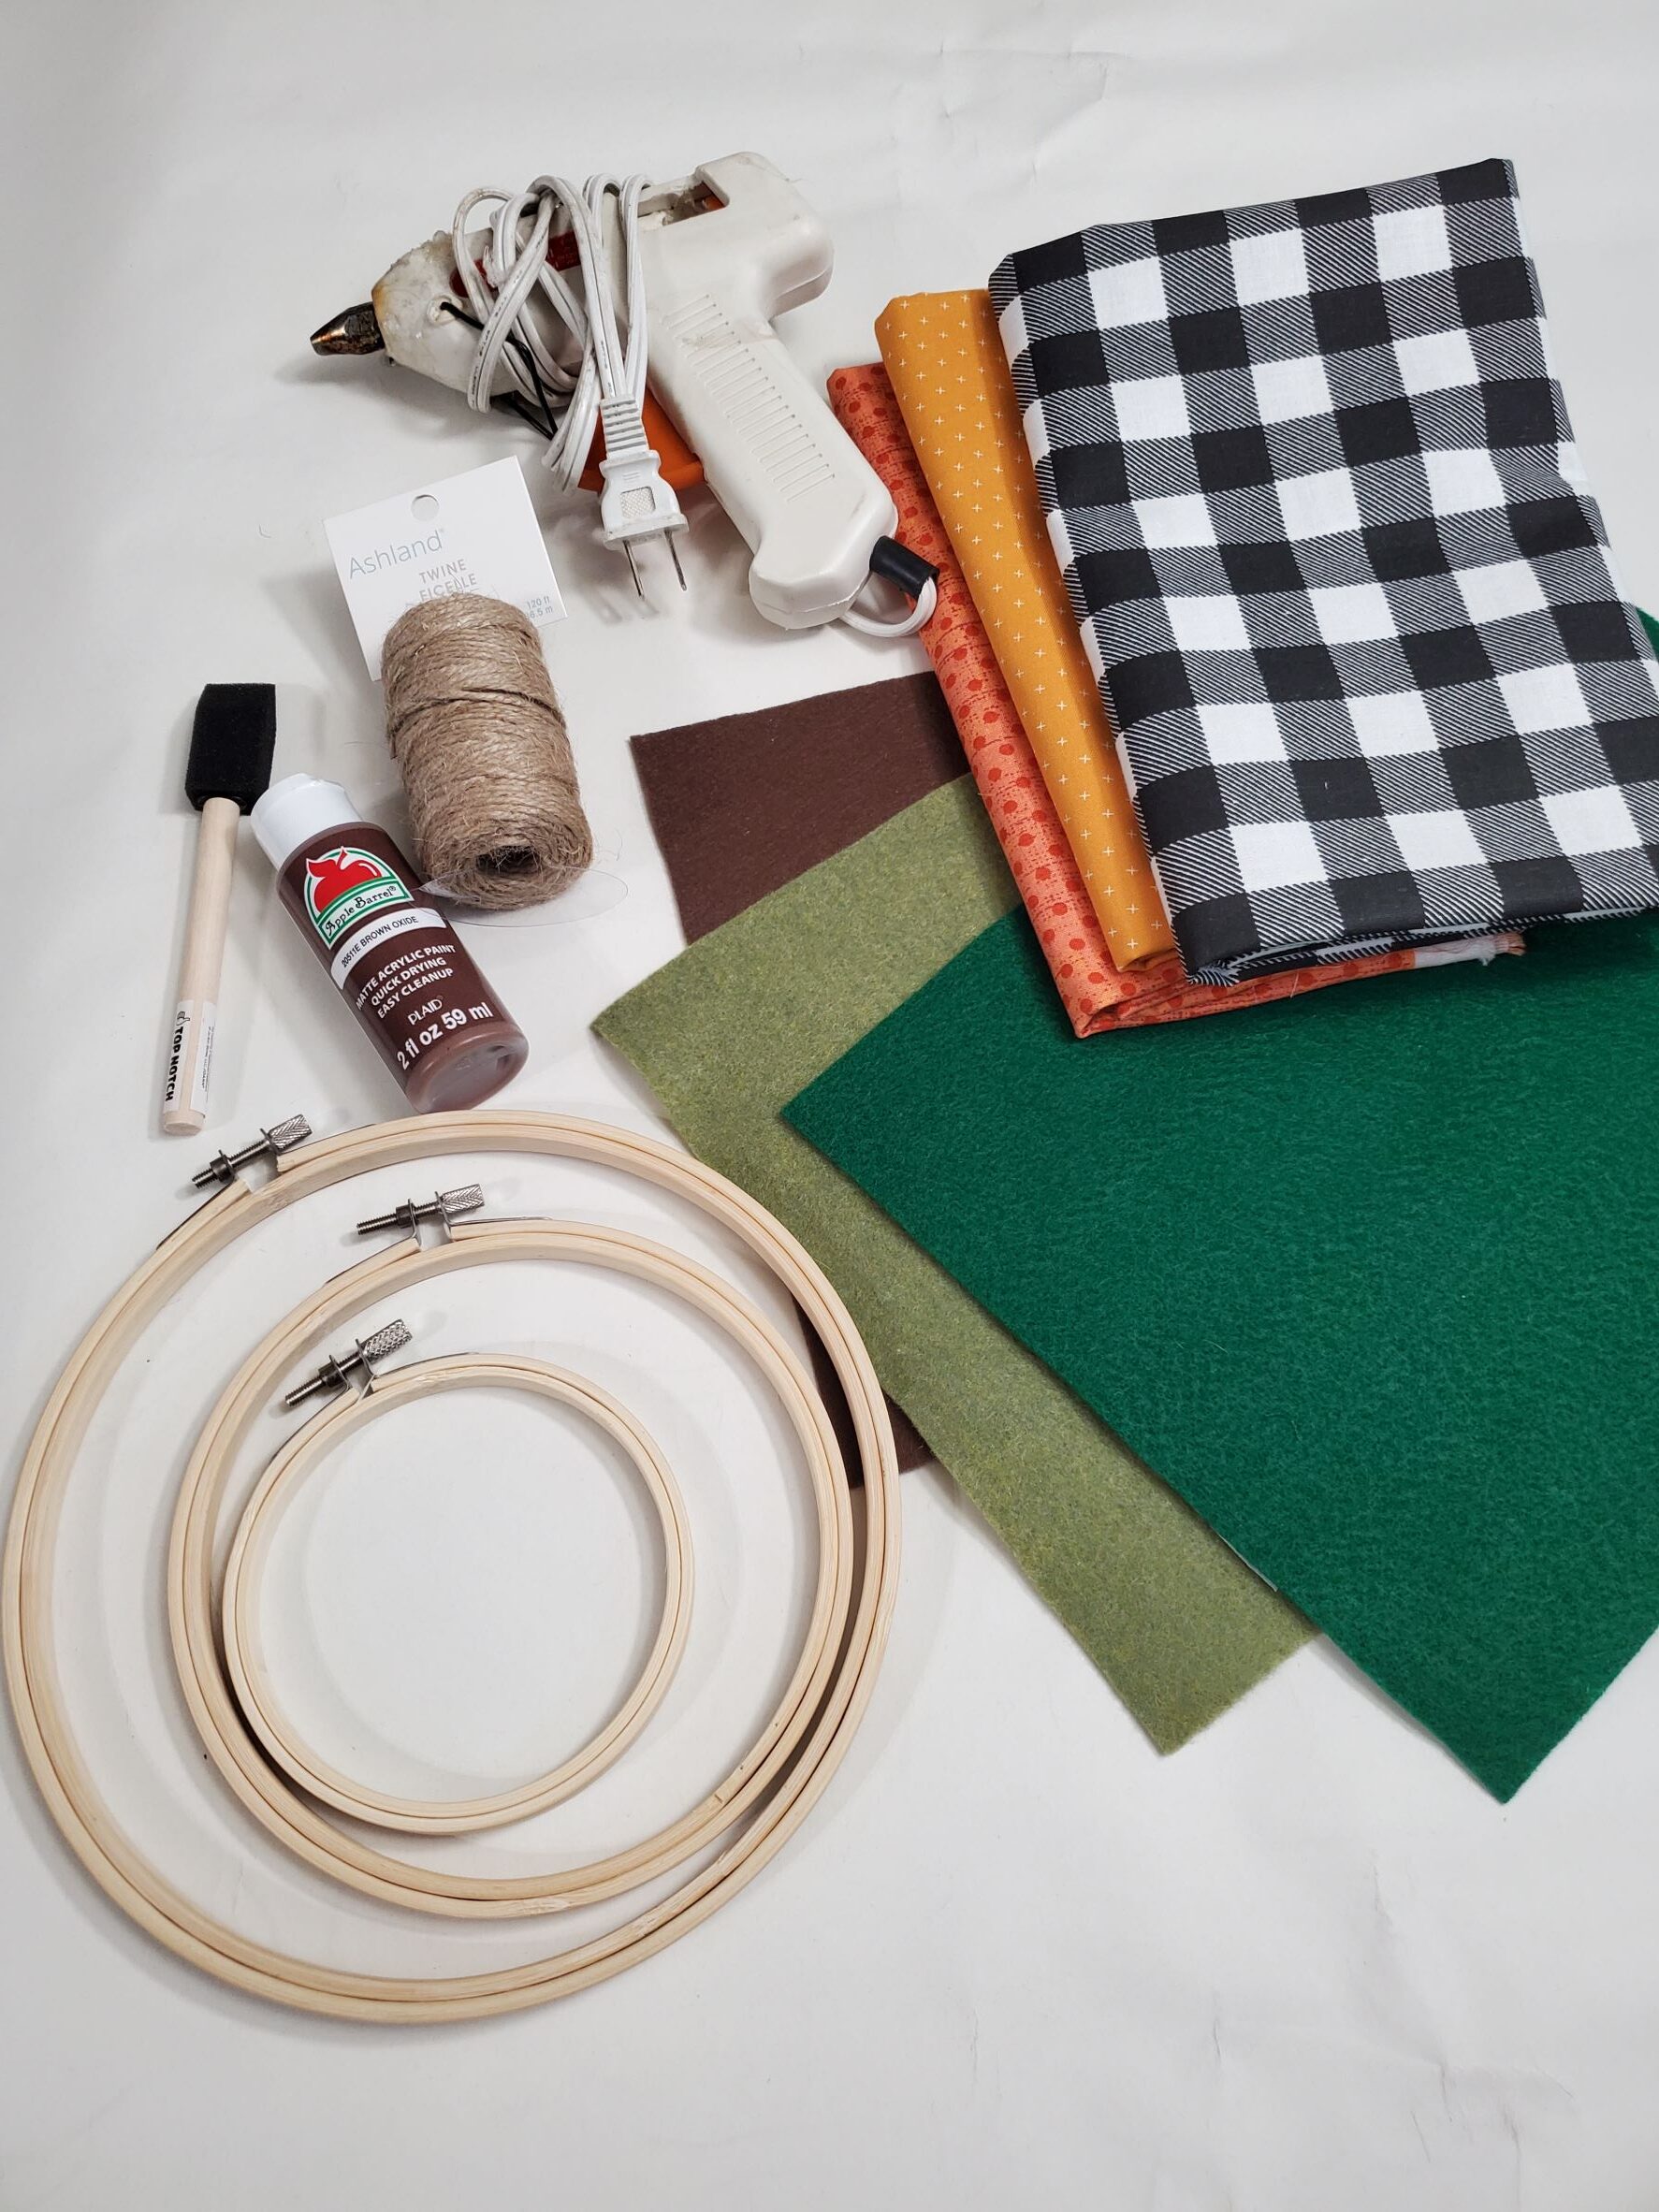
What you need:
- 3 hoops, size 4″, 6″ and 8″ (or whatever sizes you want!)
- 3 different squares of fall fabric
- Glue gun and glue sticks
- Twine
- Green and brown felt
- Fabric or tacky glue
- Brown craft paint
- Paint brush
(For convenience, I’ve linked all of these items at the end of this post!)
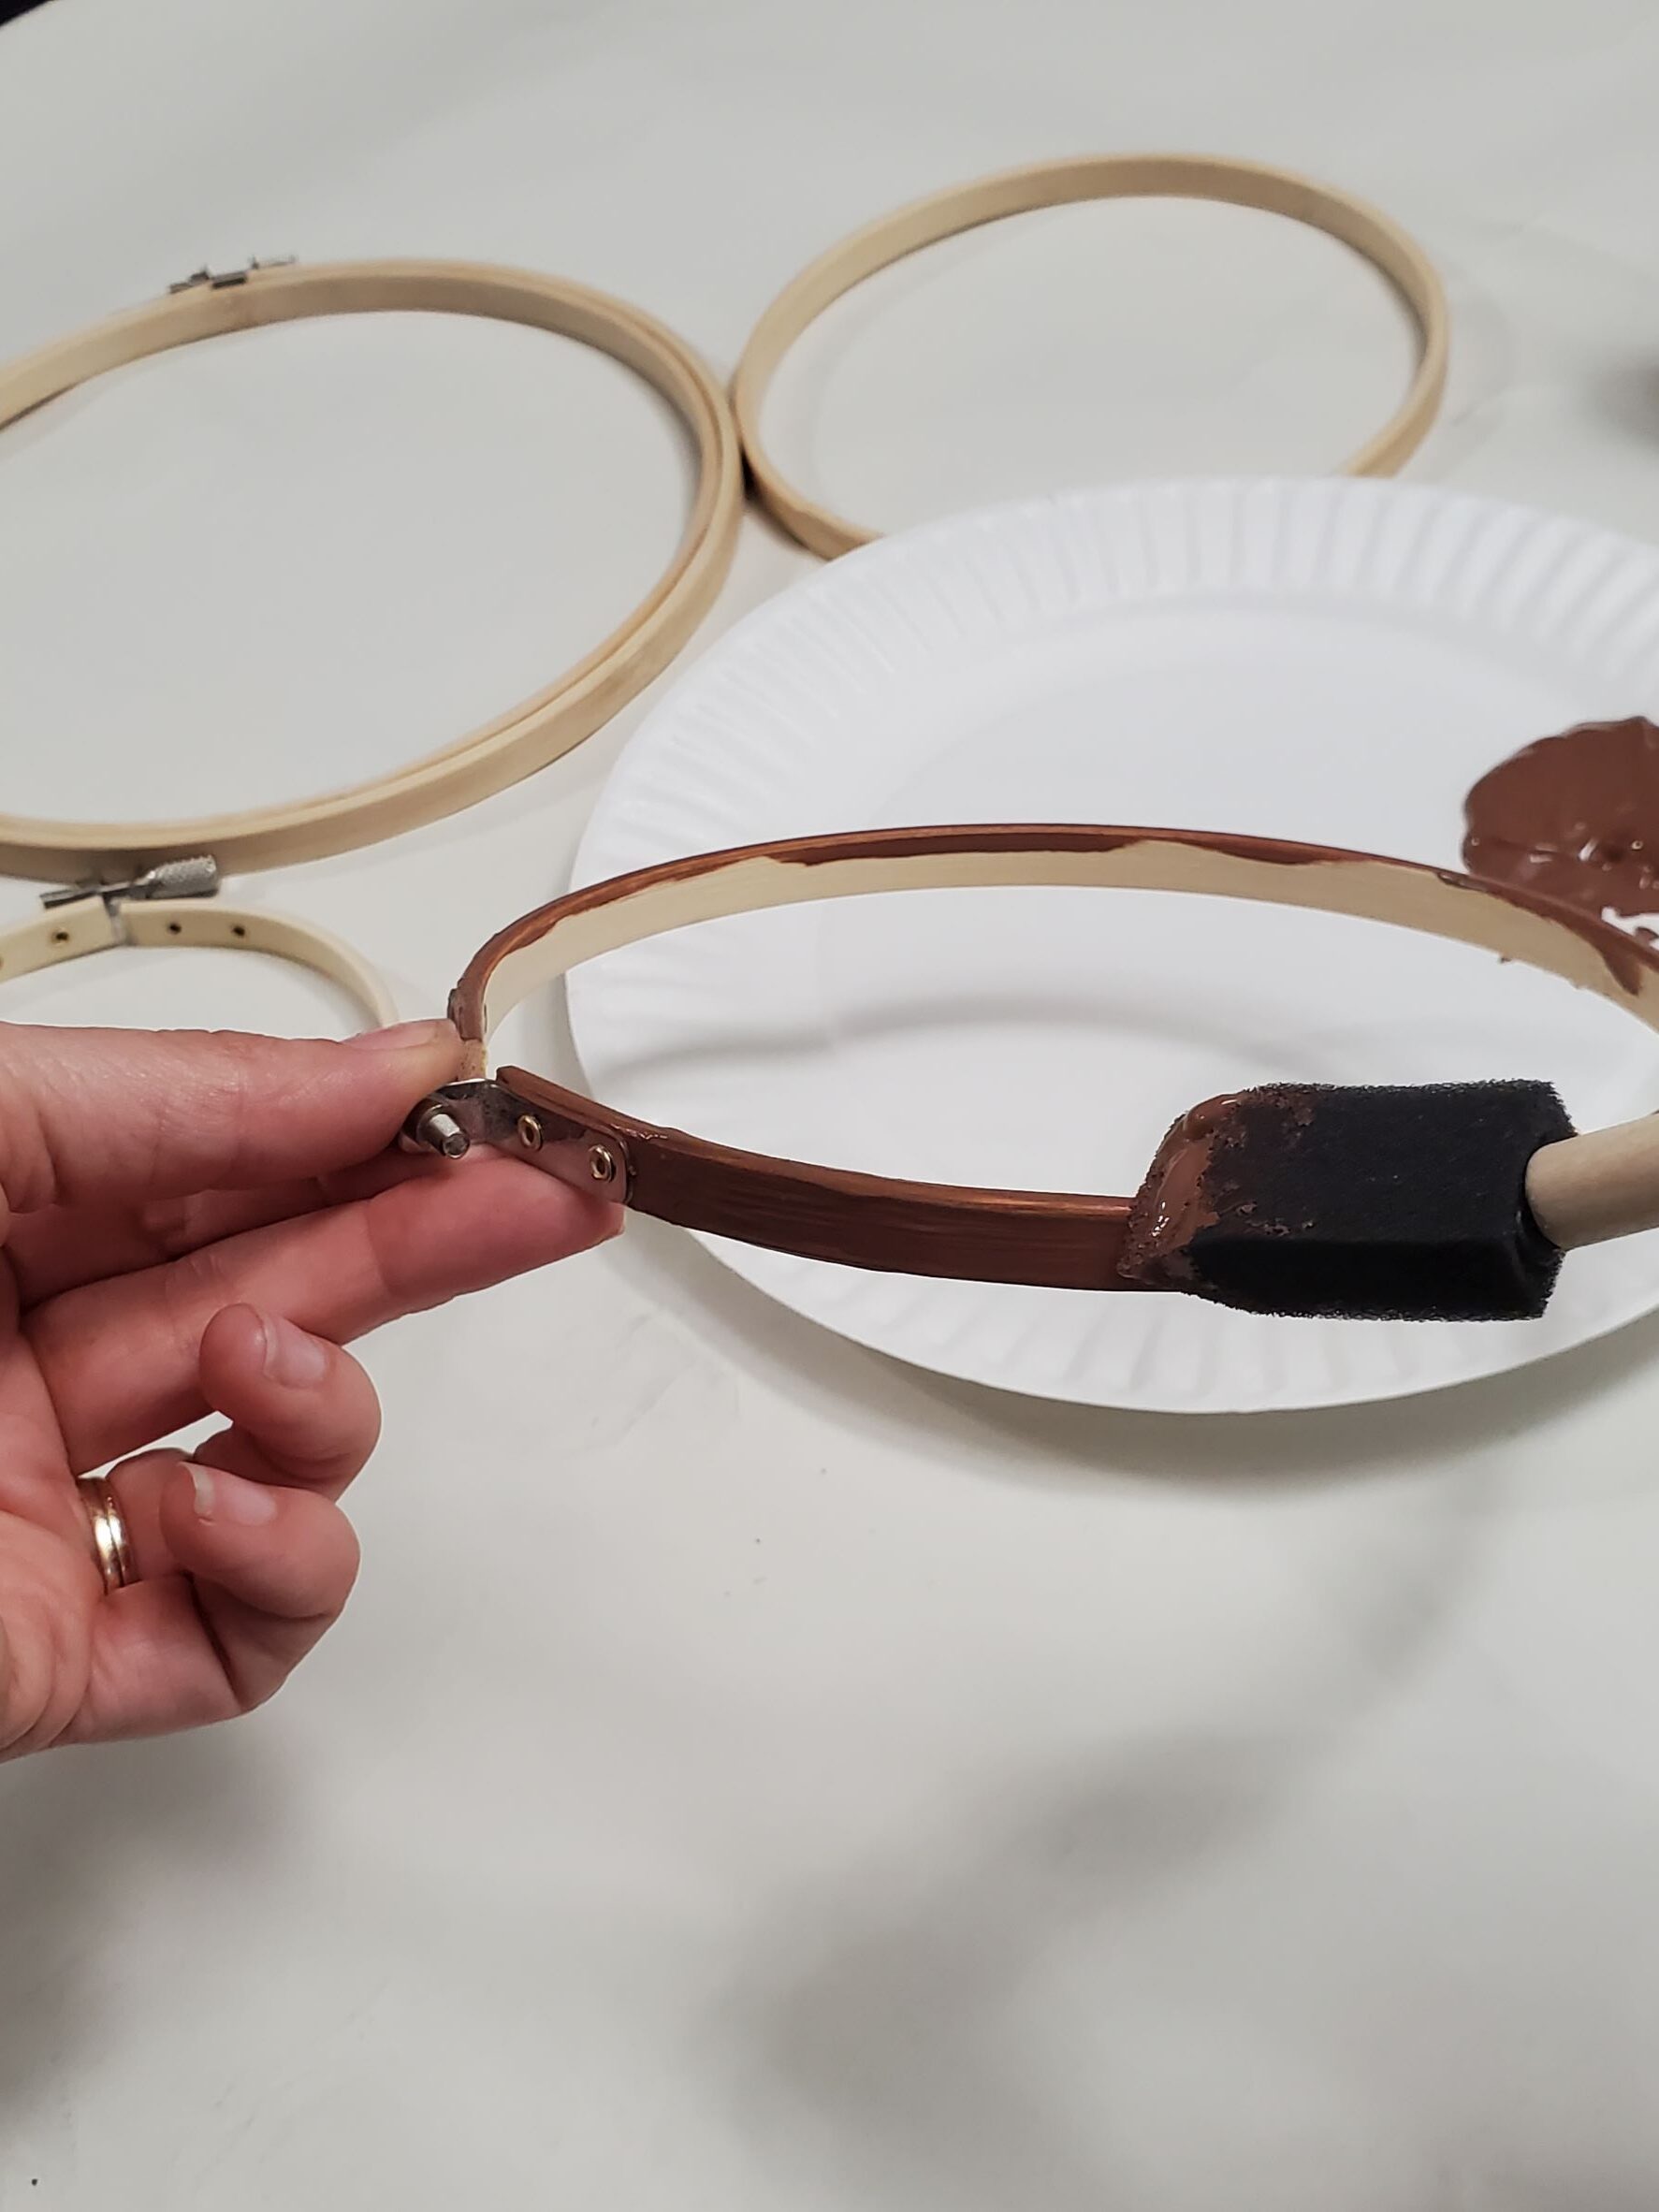
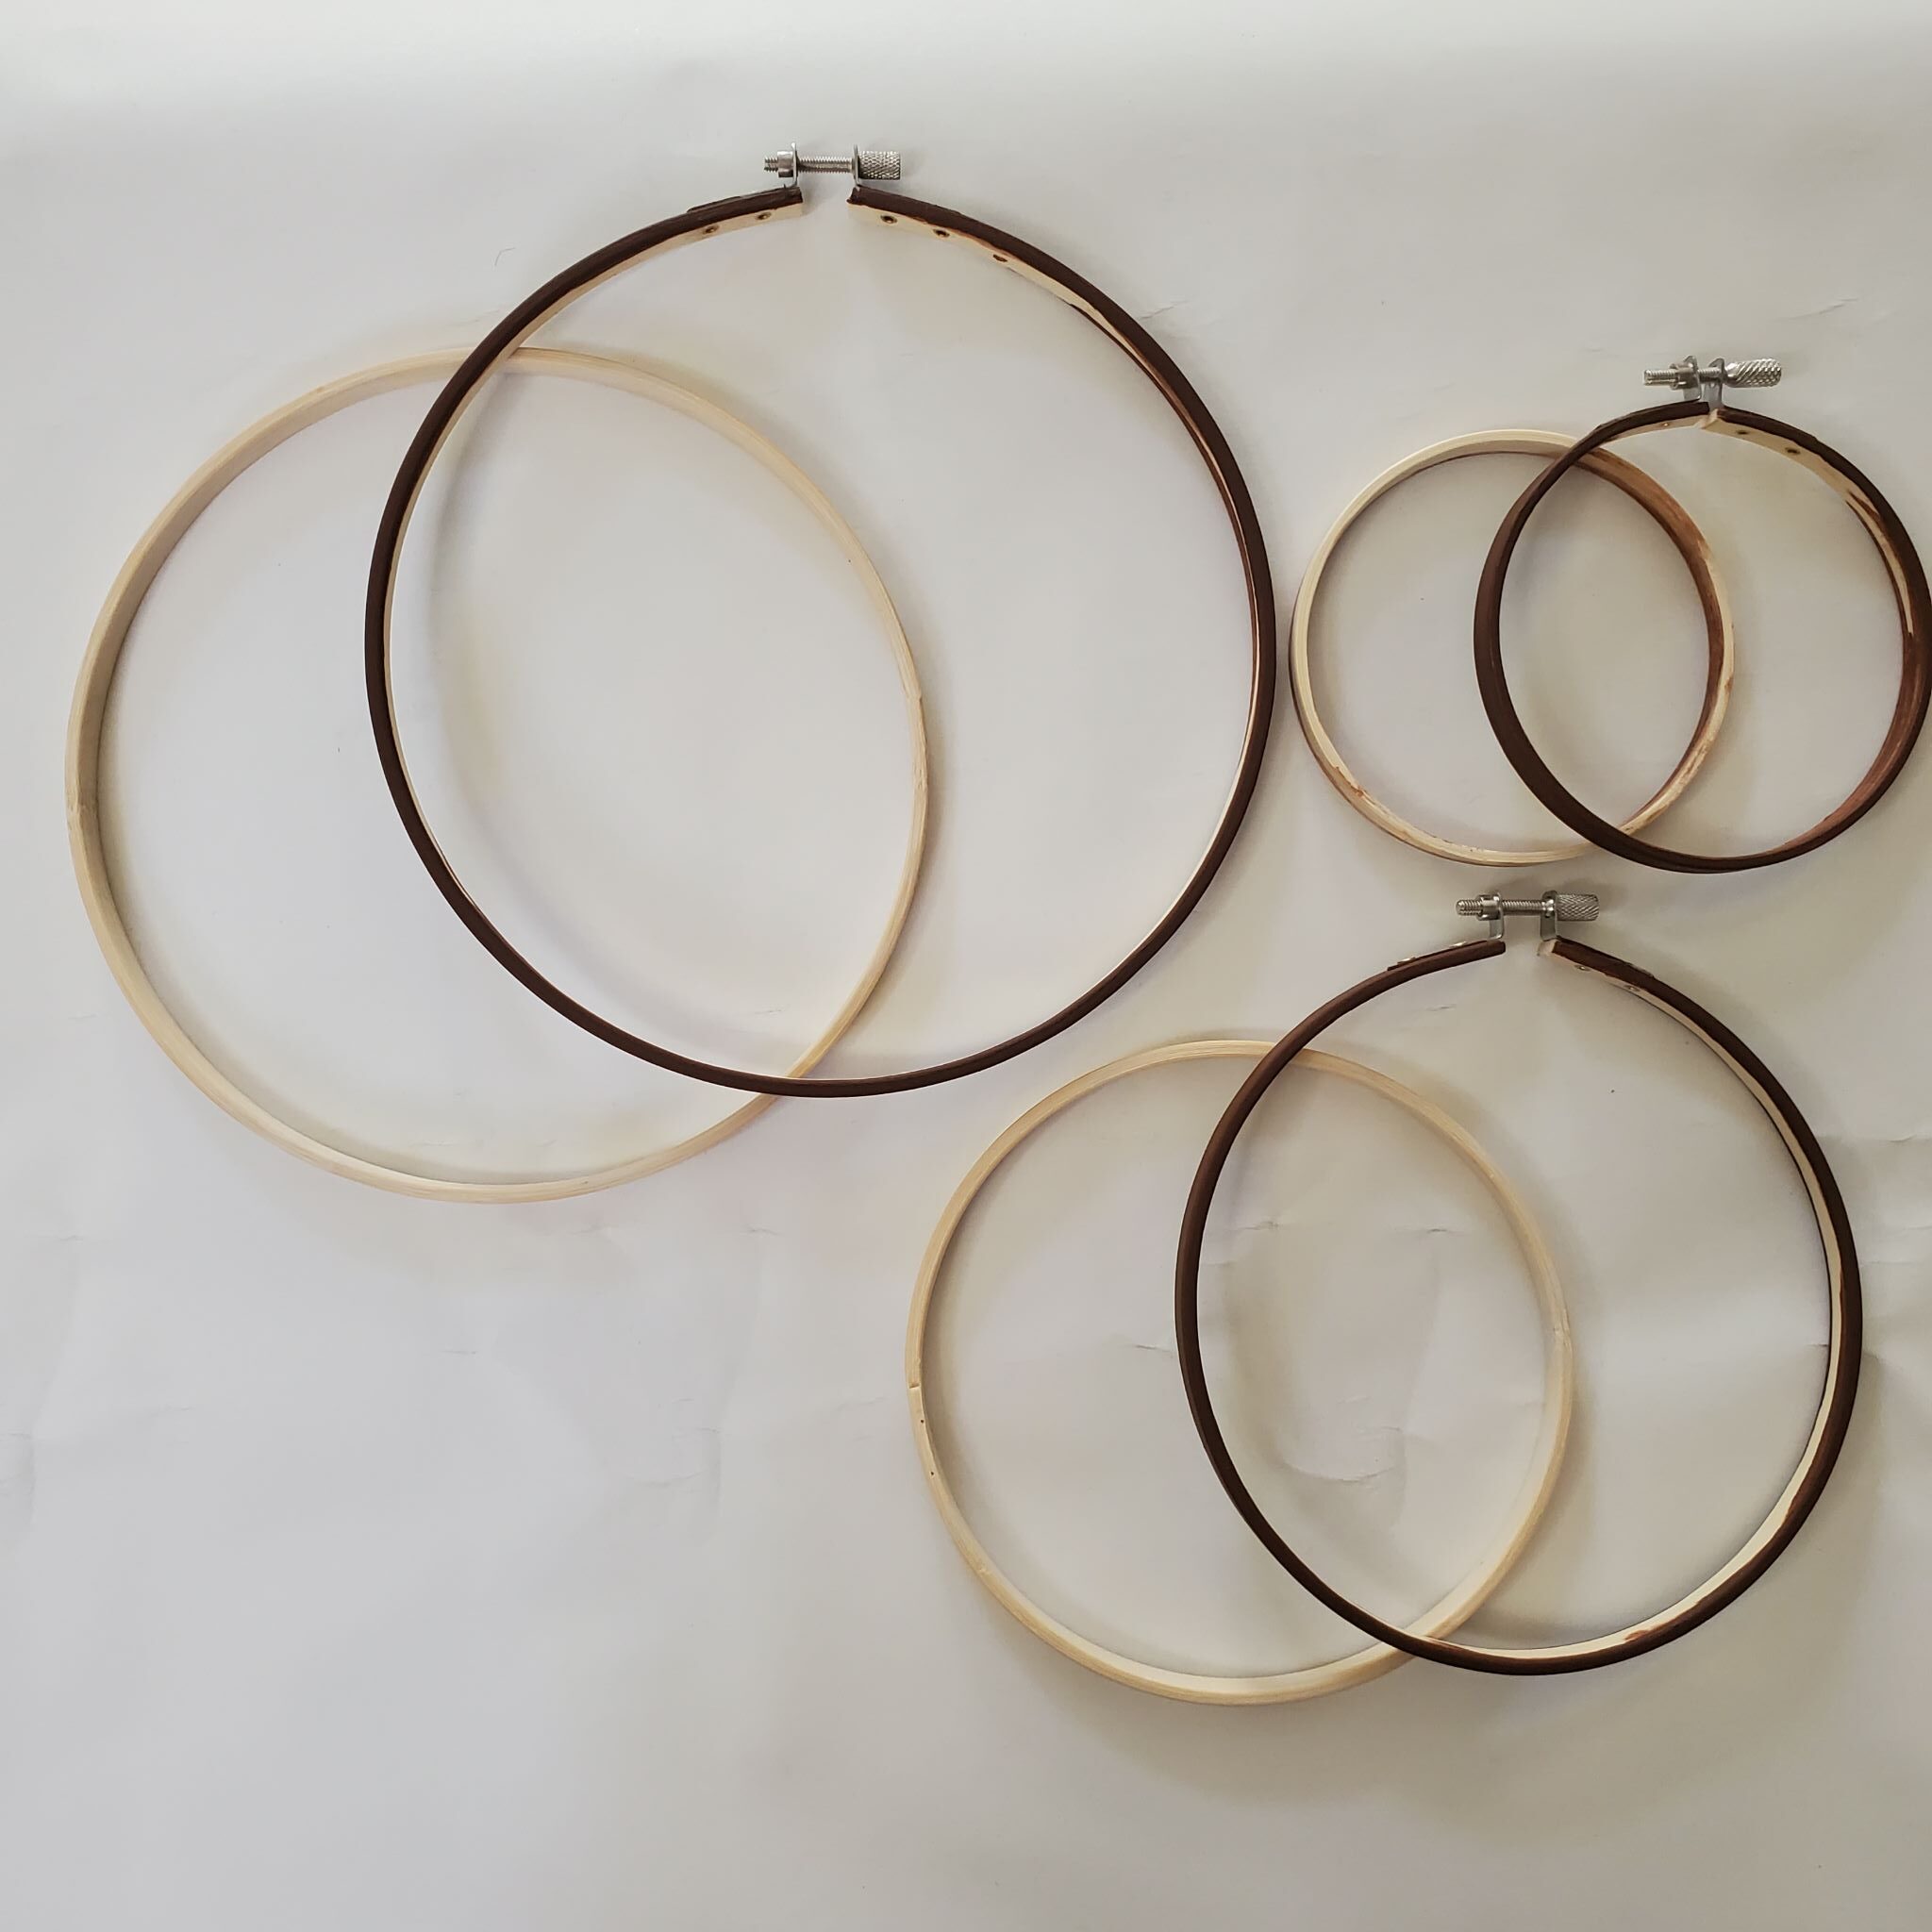
First things first: paint the outer hoop brown, on the front and outside of the hoop only. You don’t need to worry about painting the inner hoop because it’s going to be covered by the fabric.
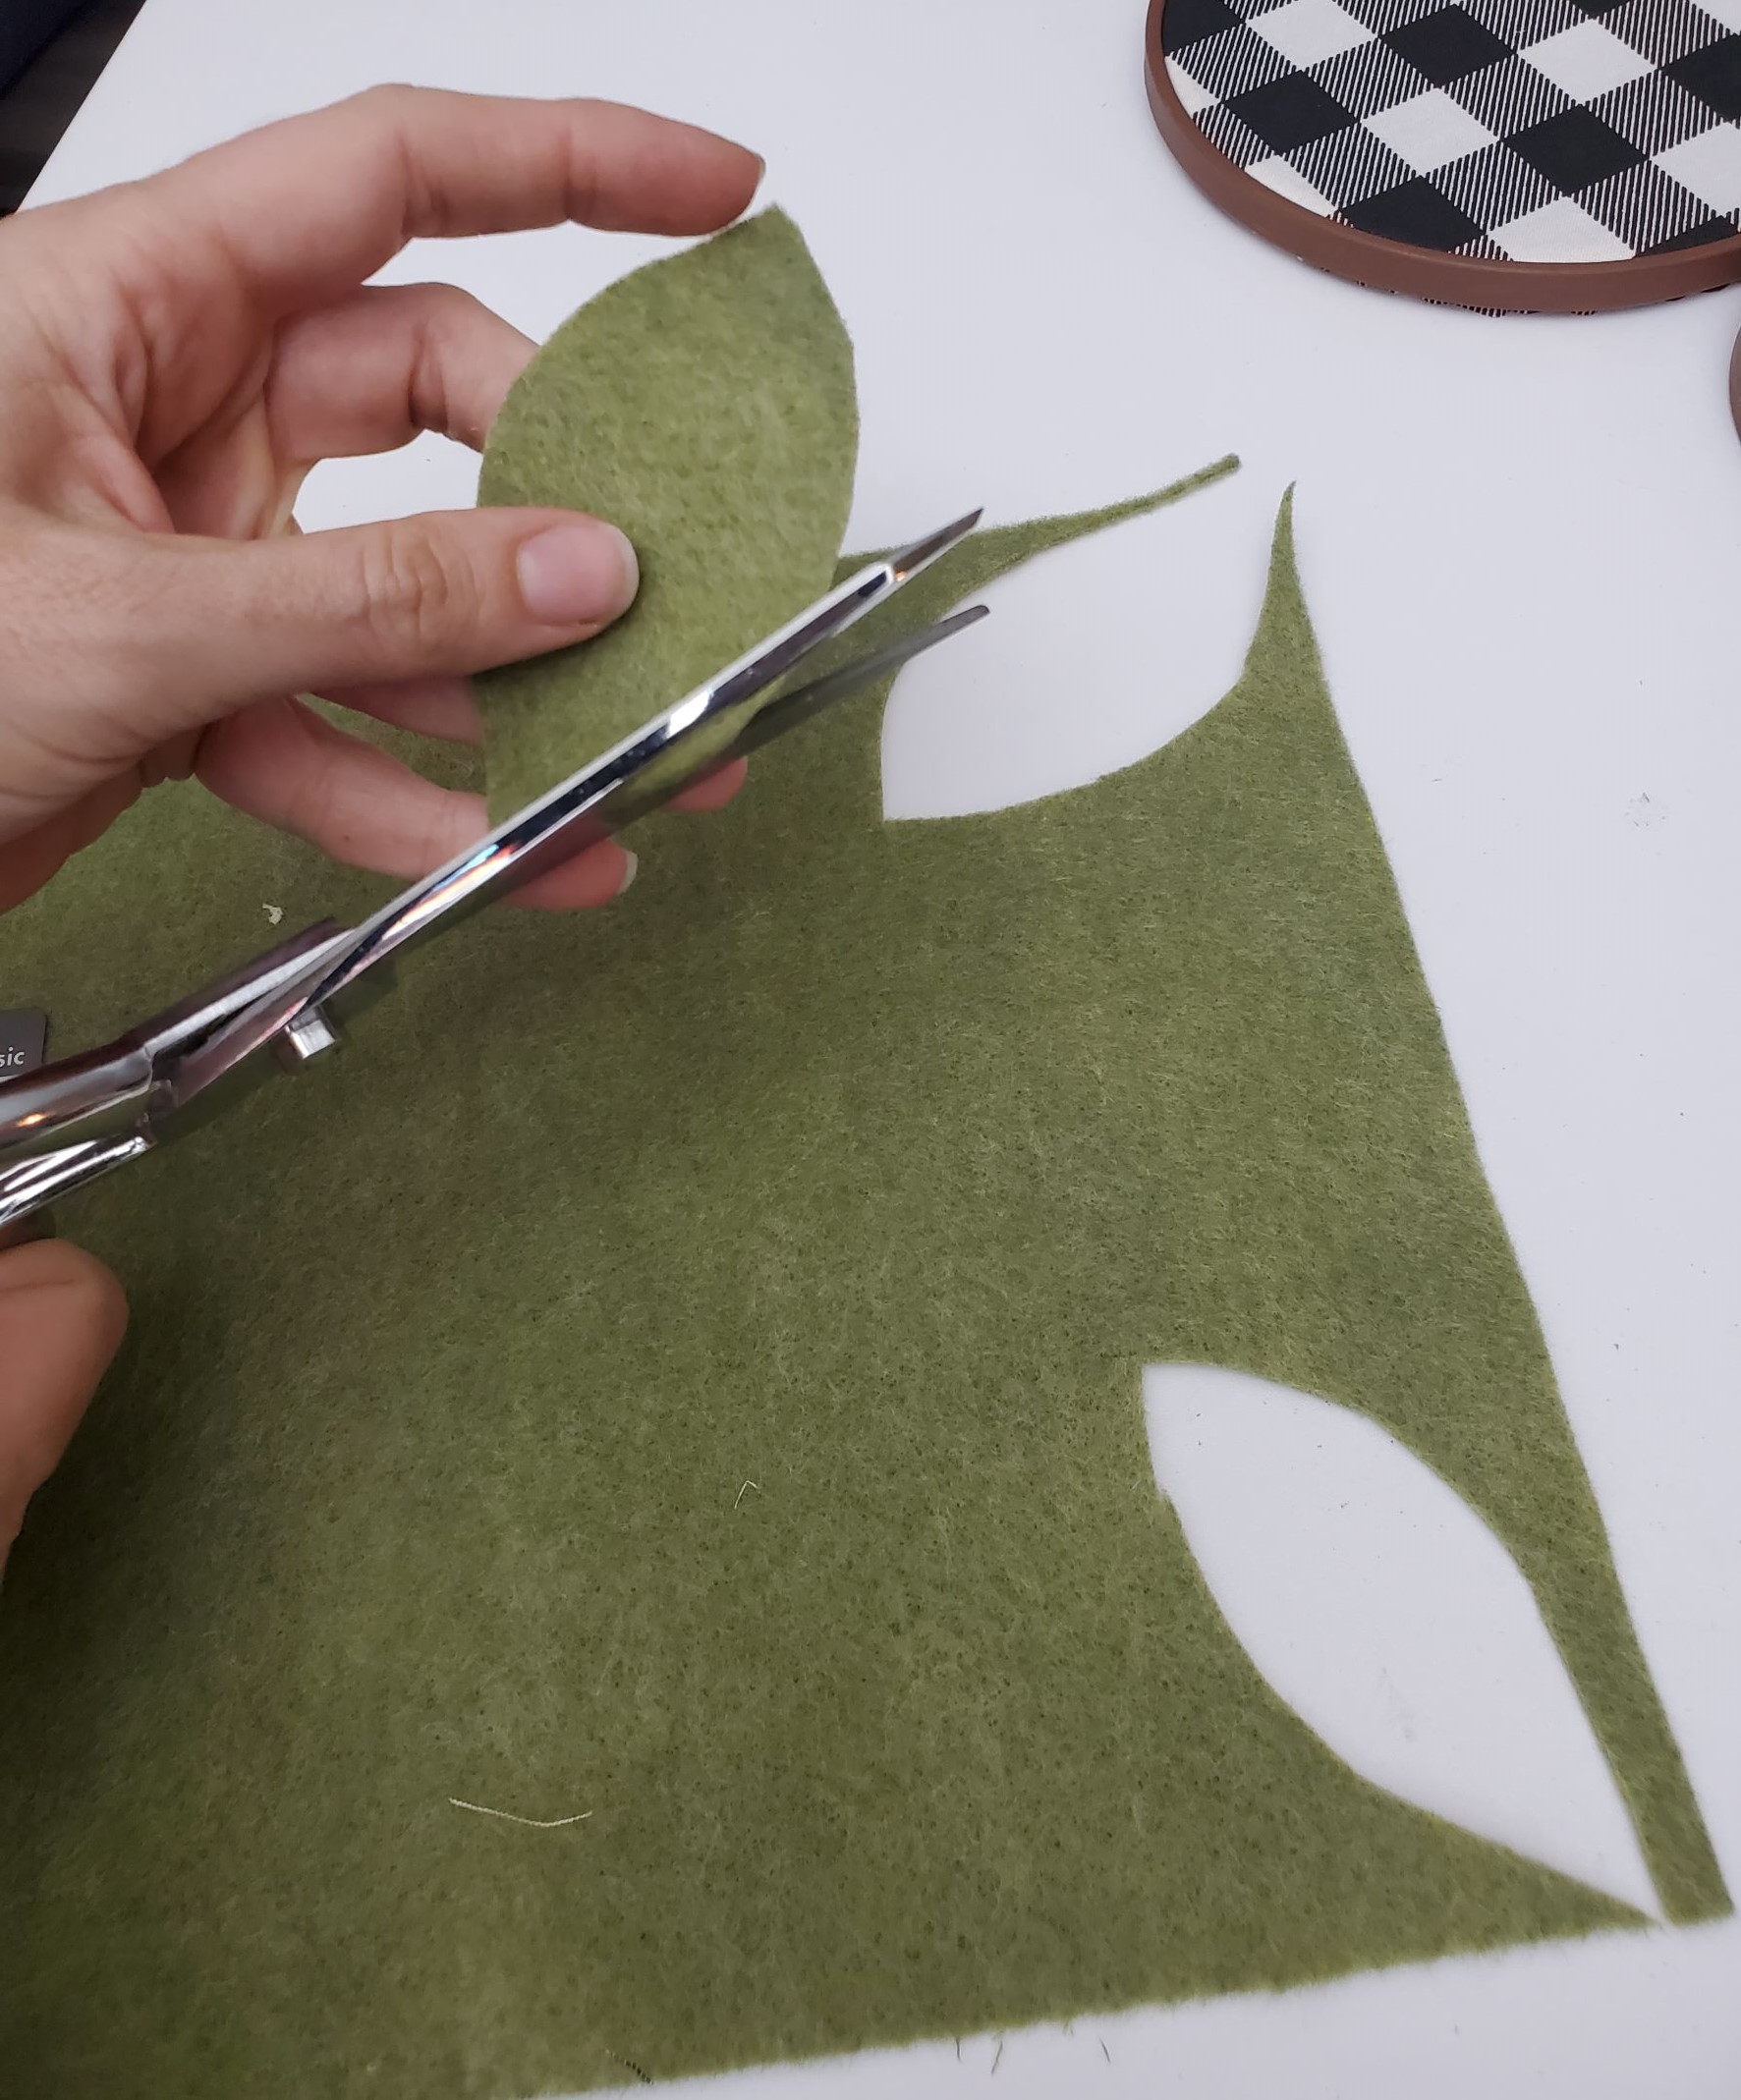
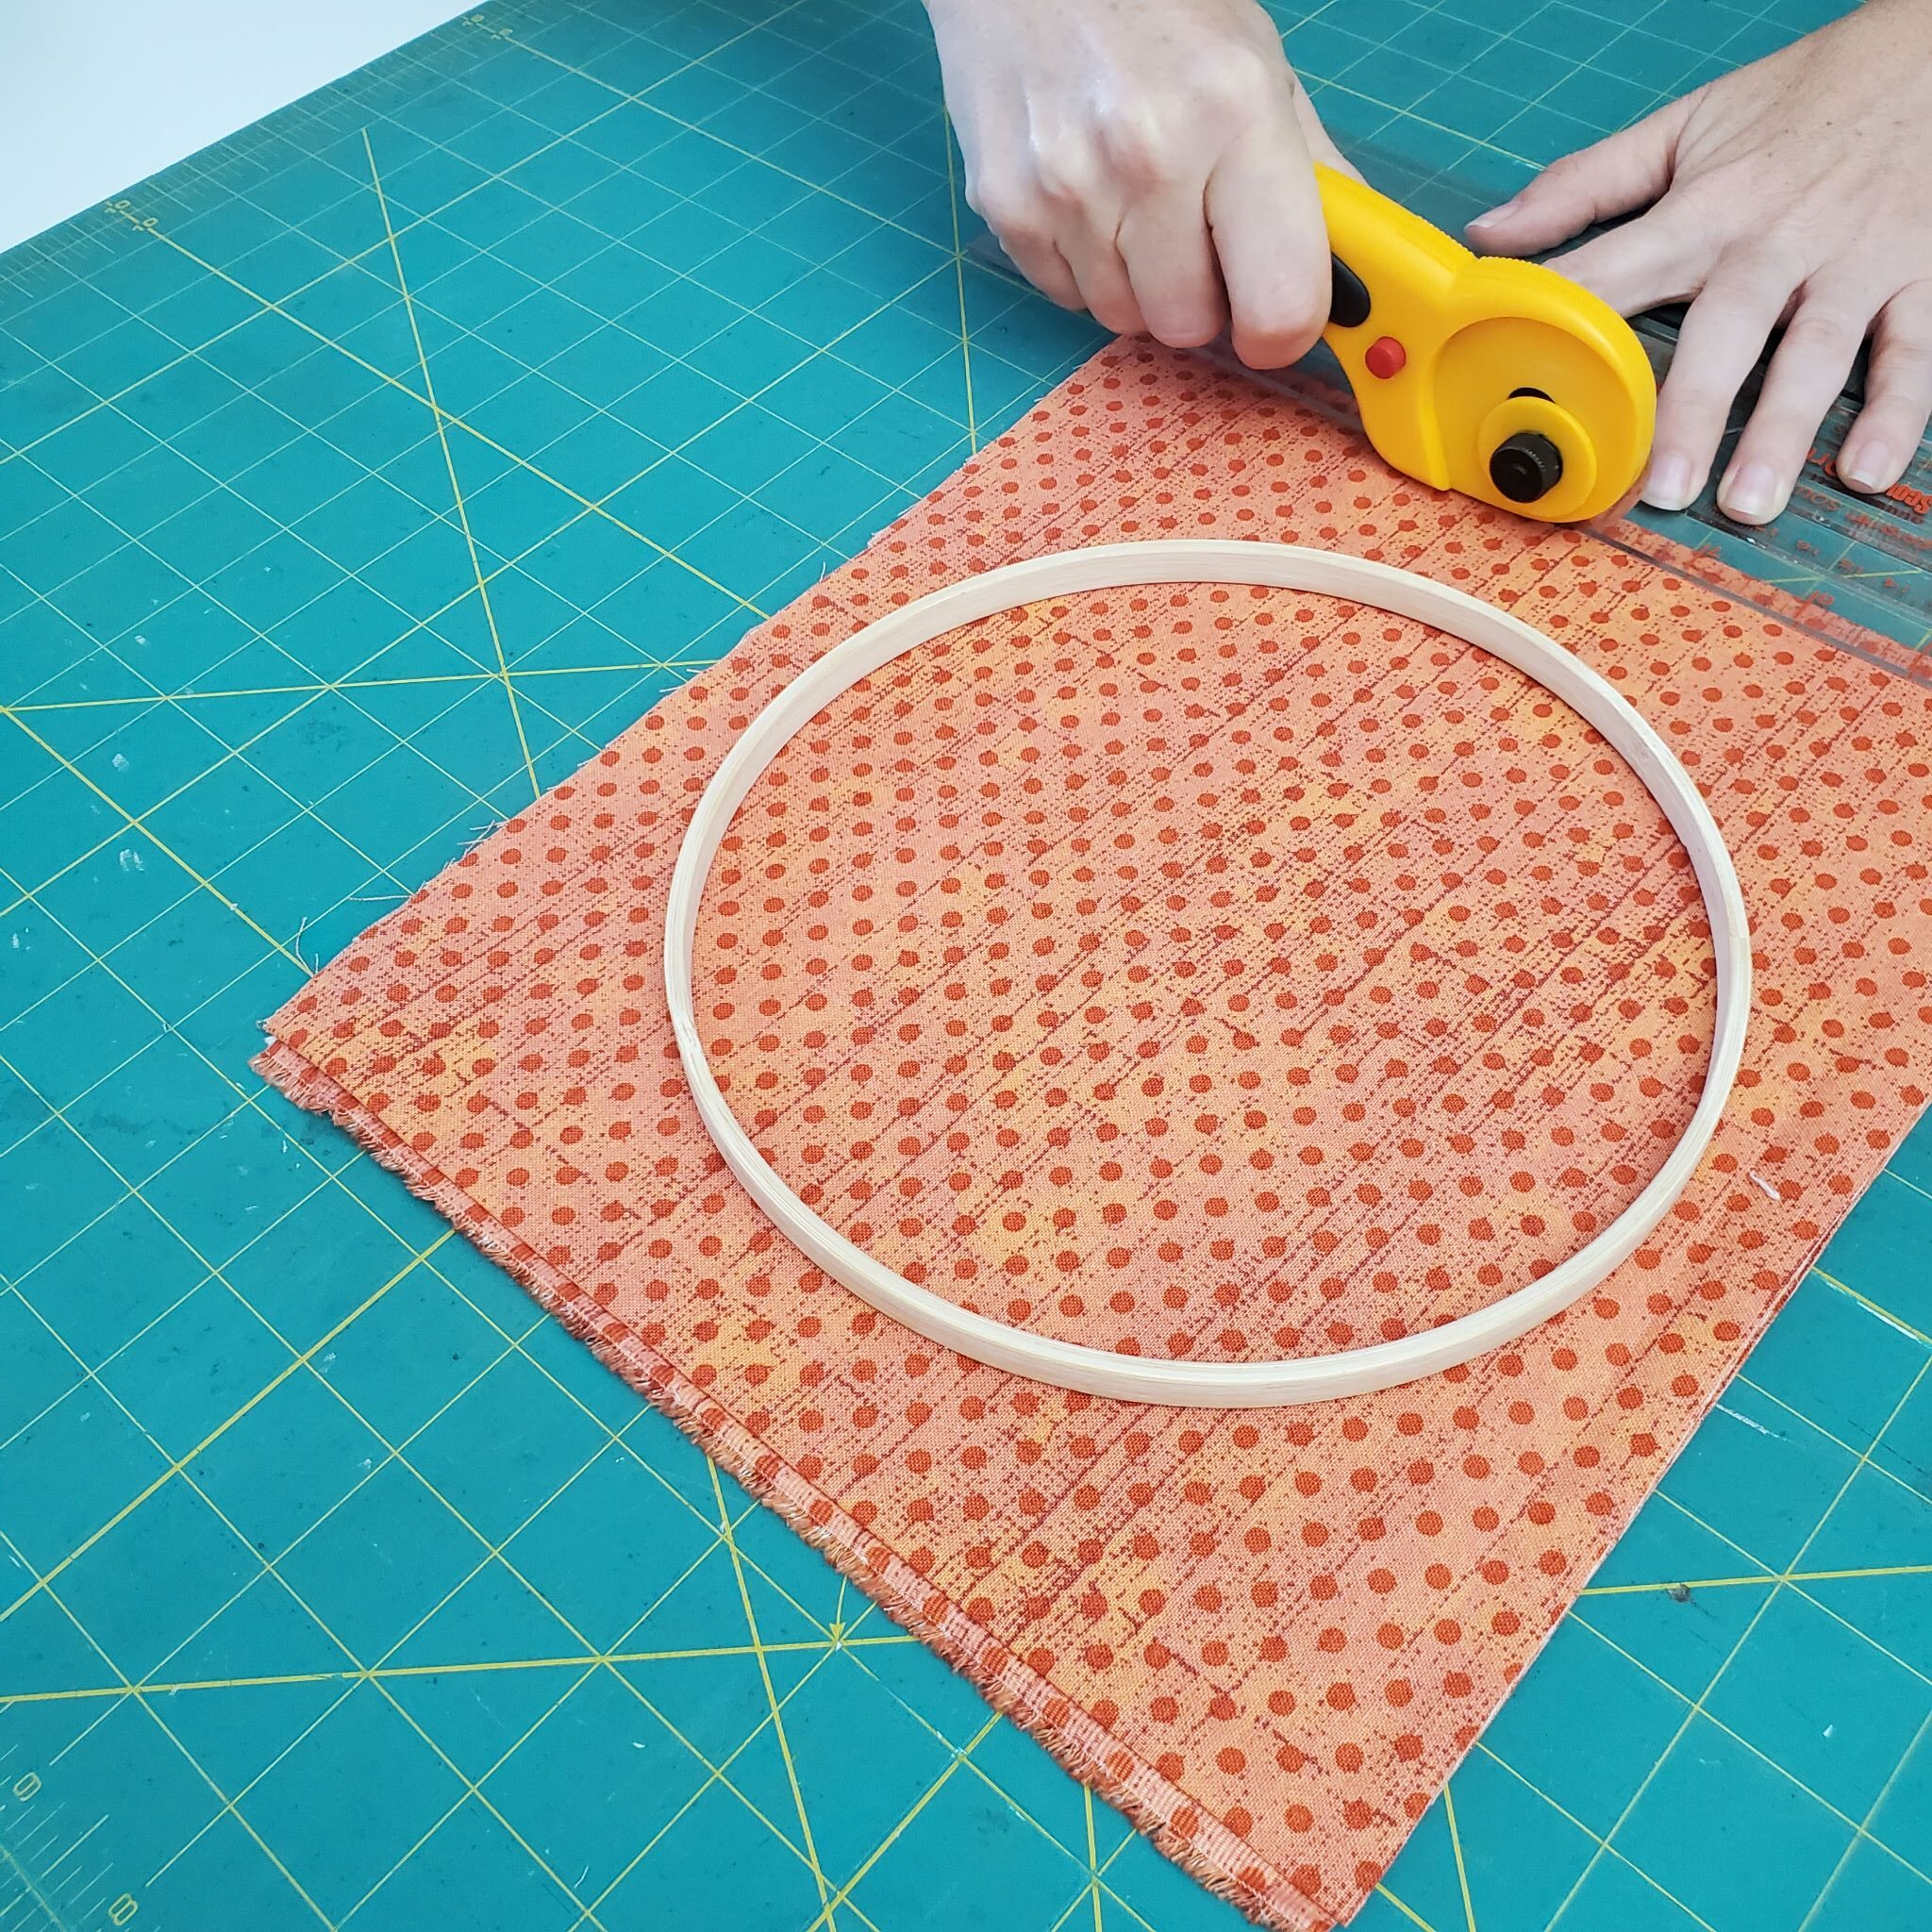
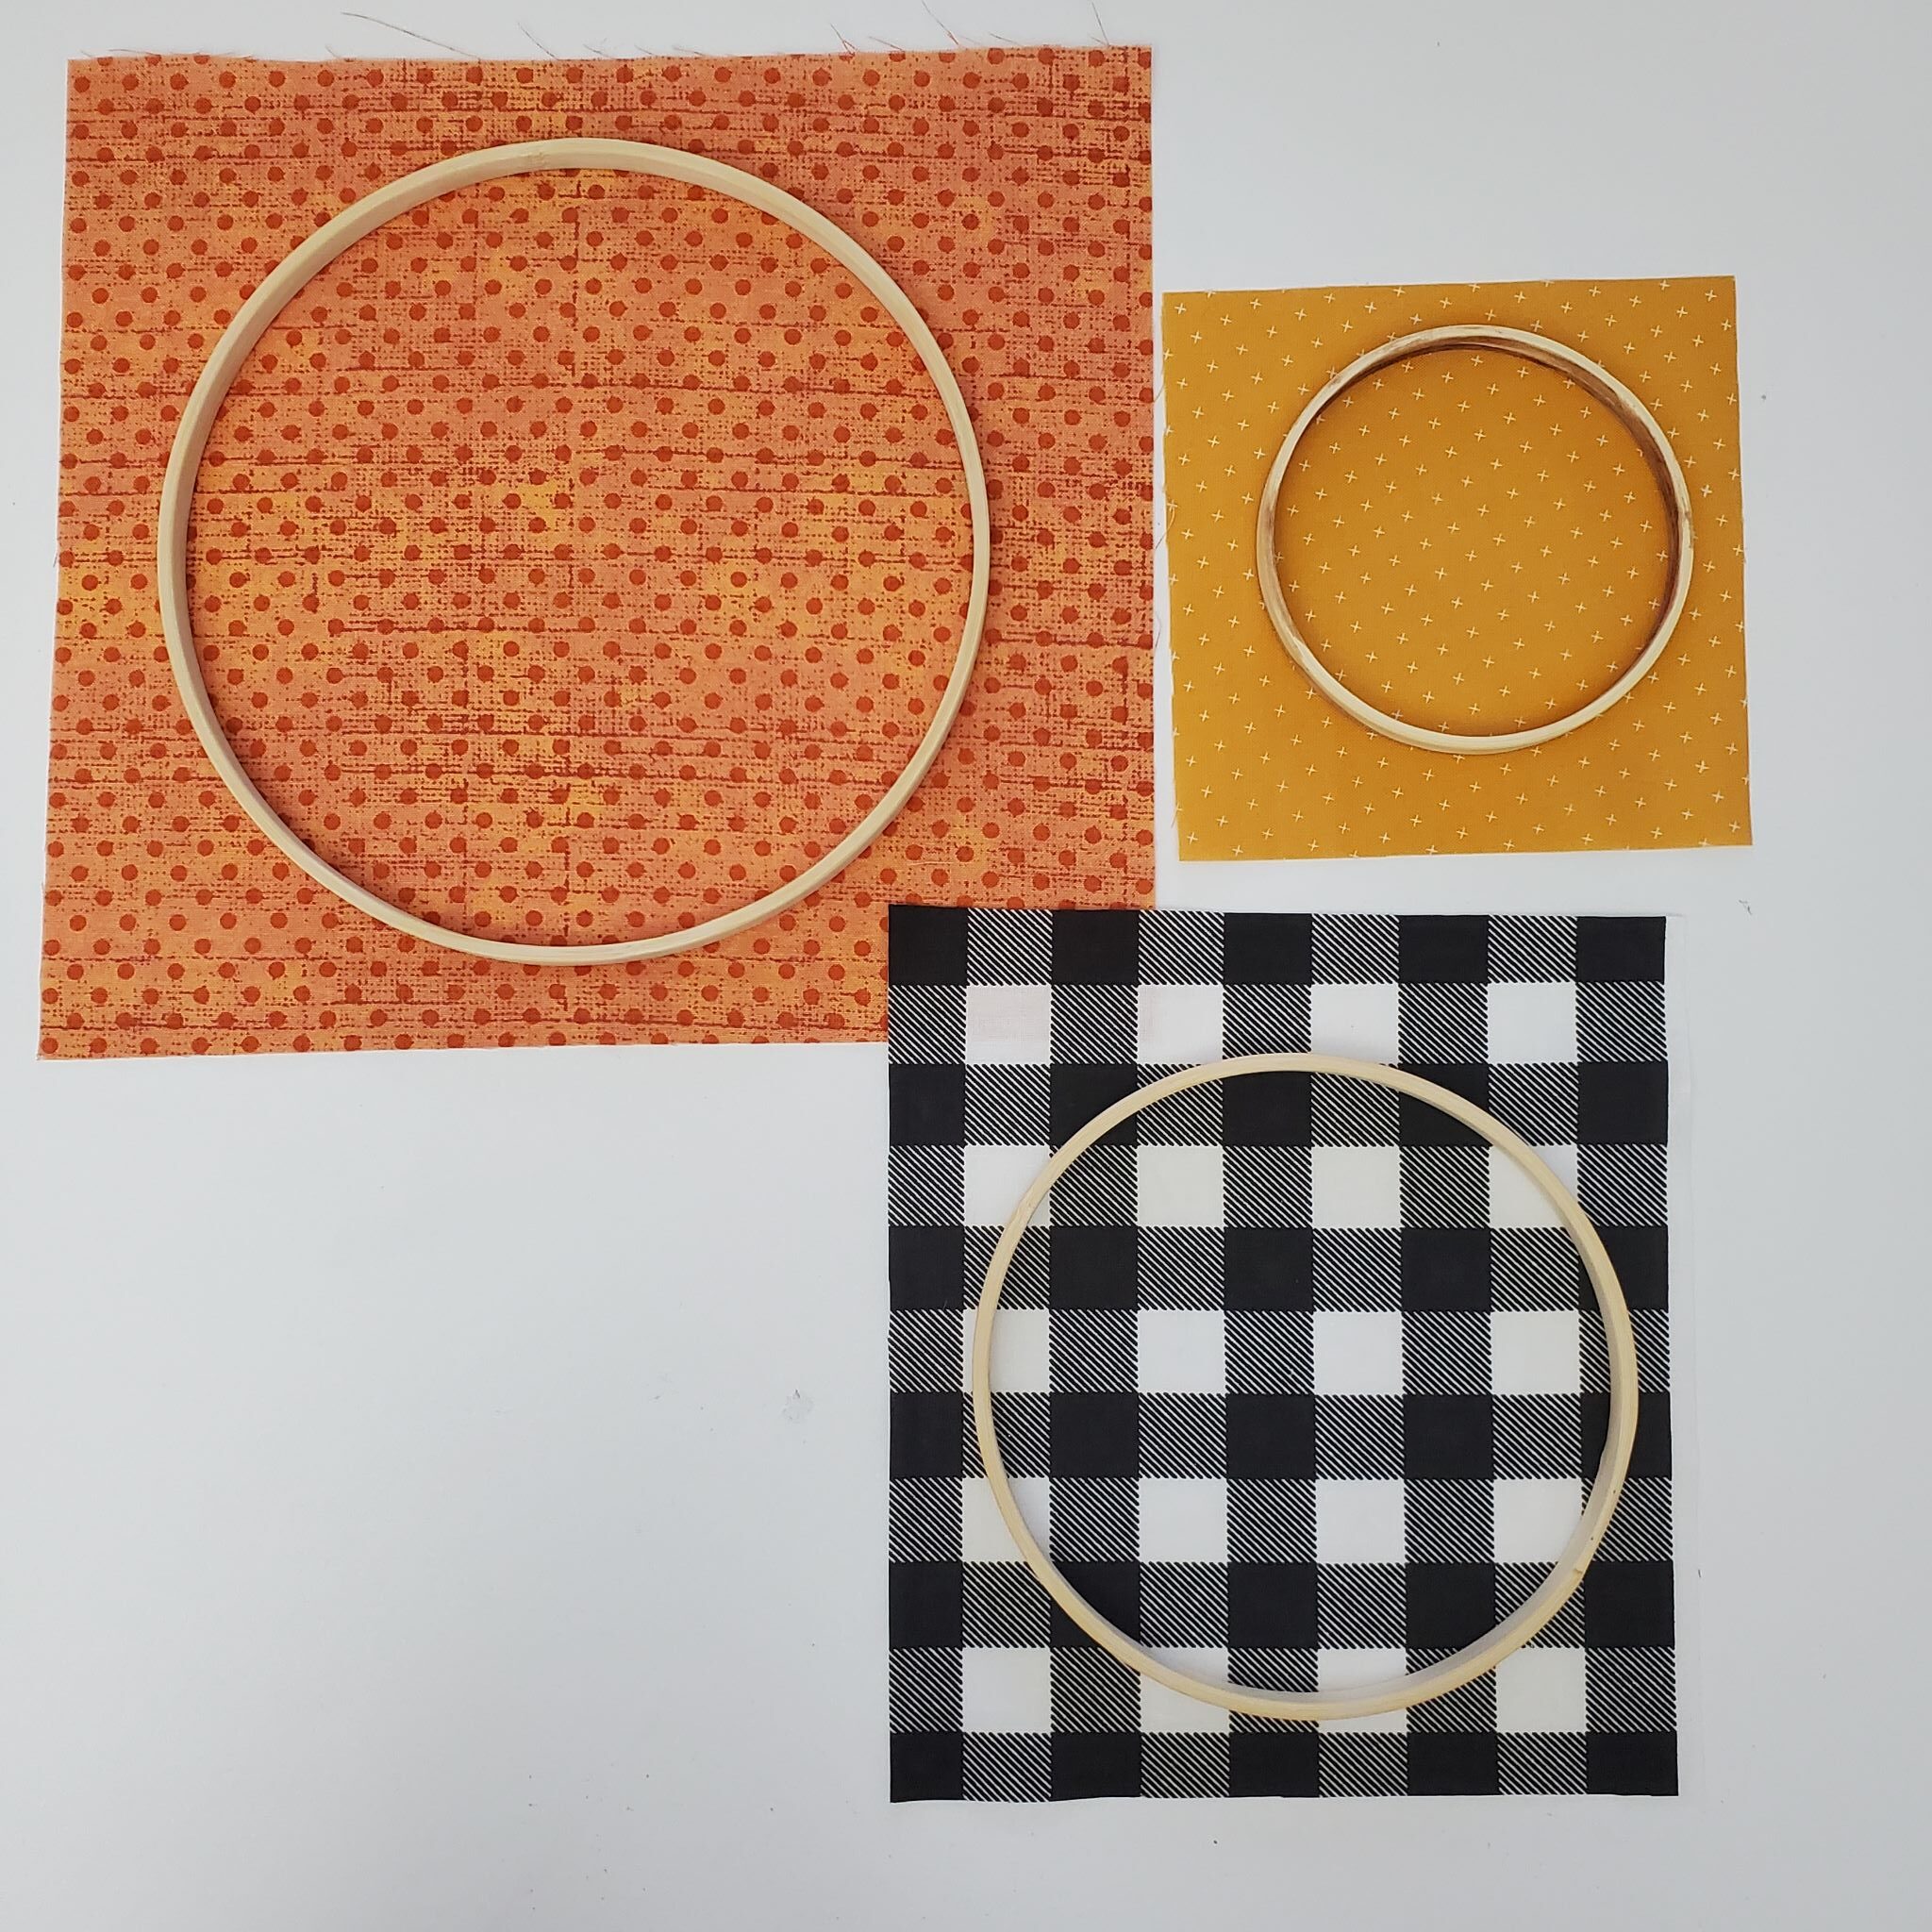
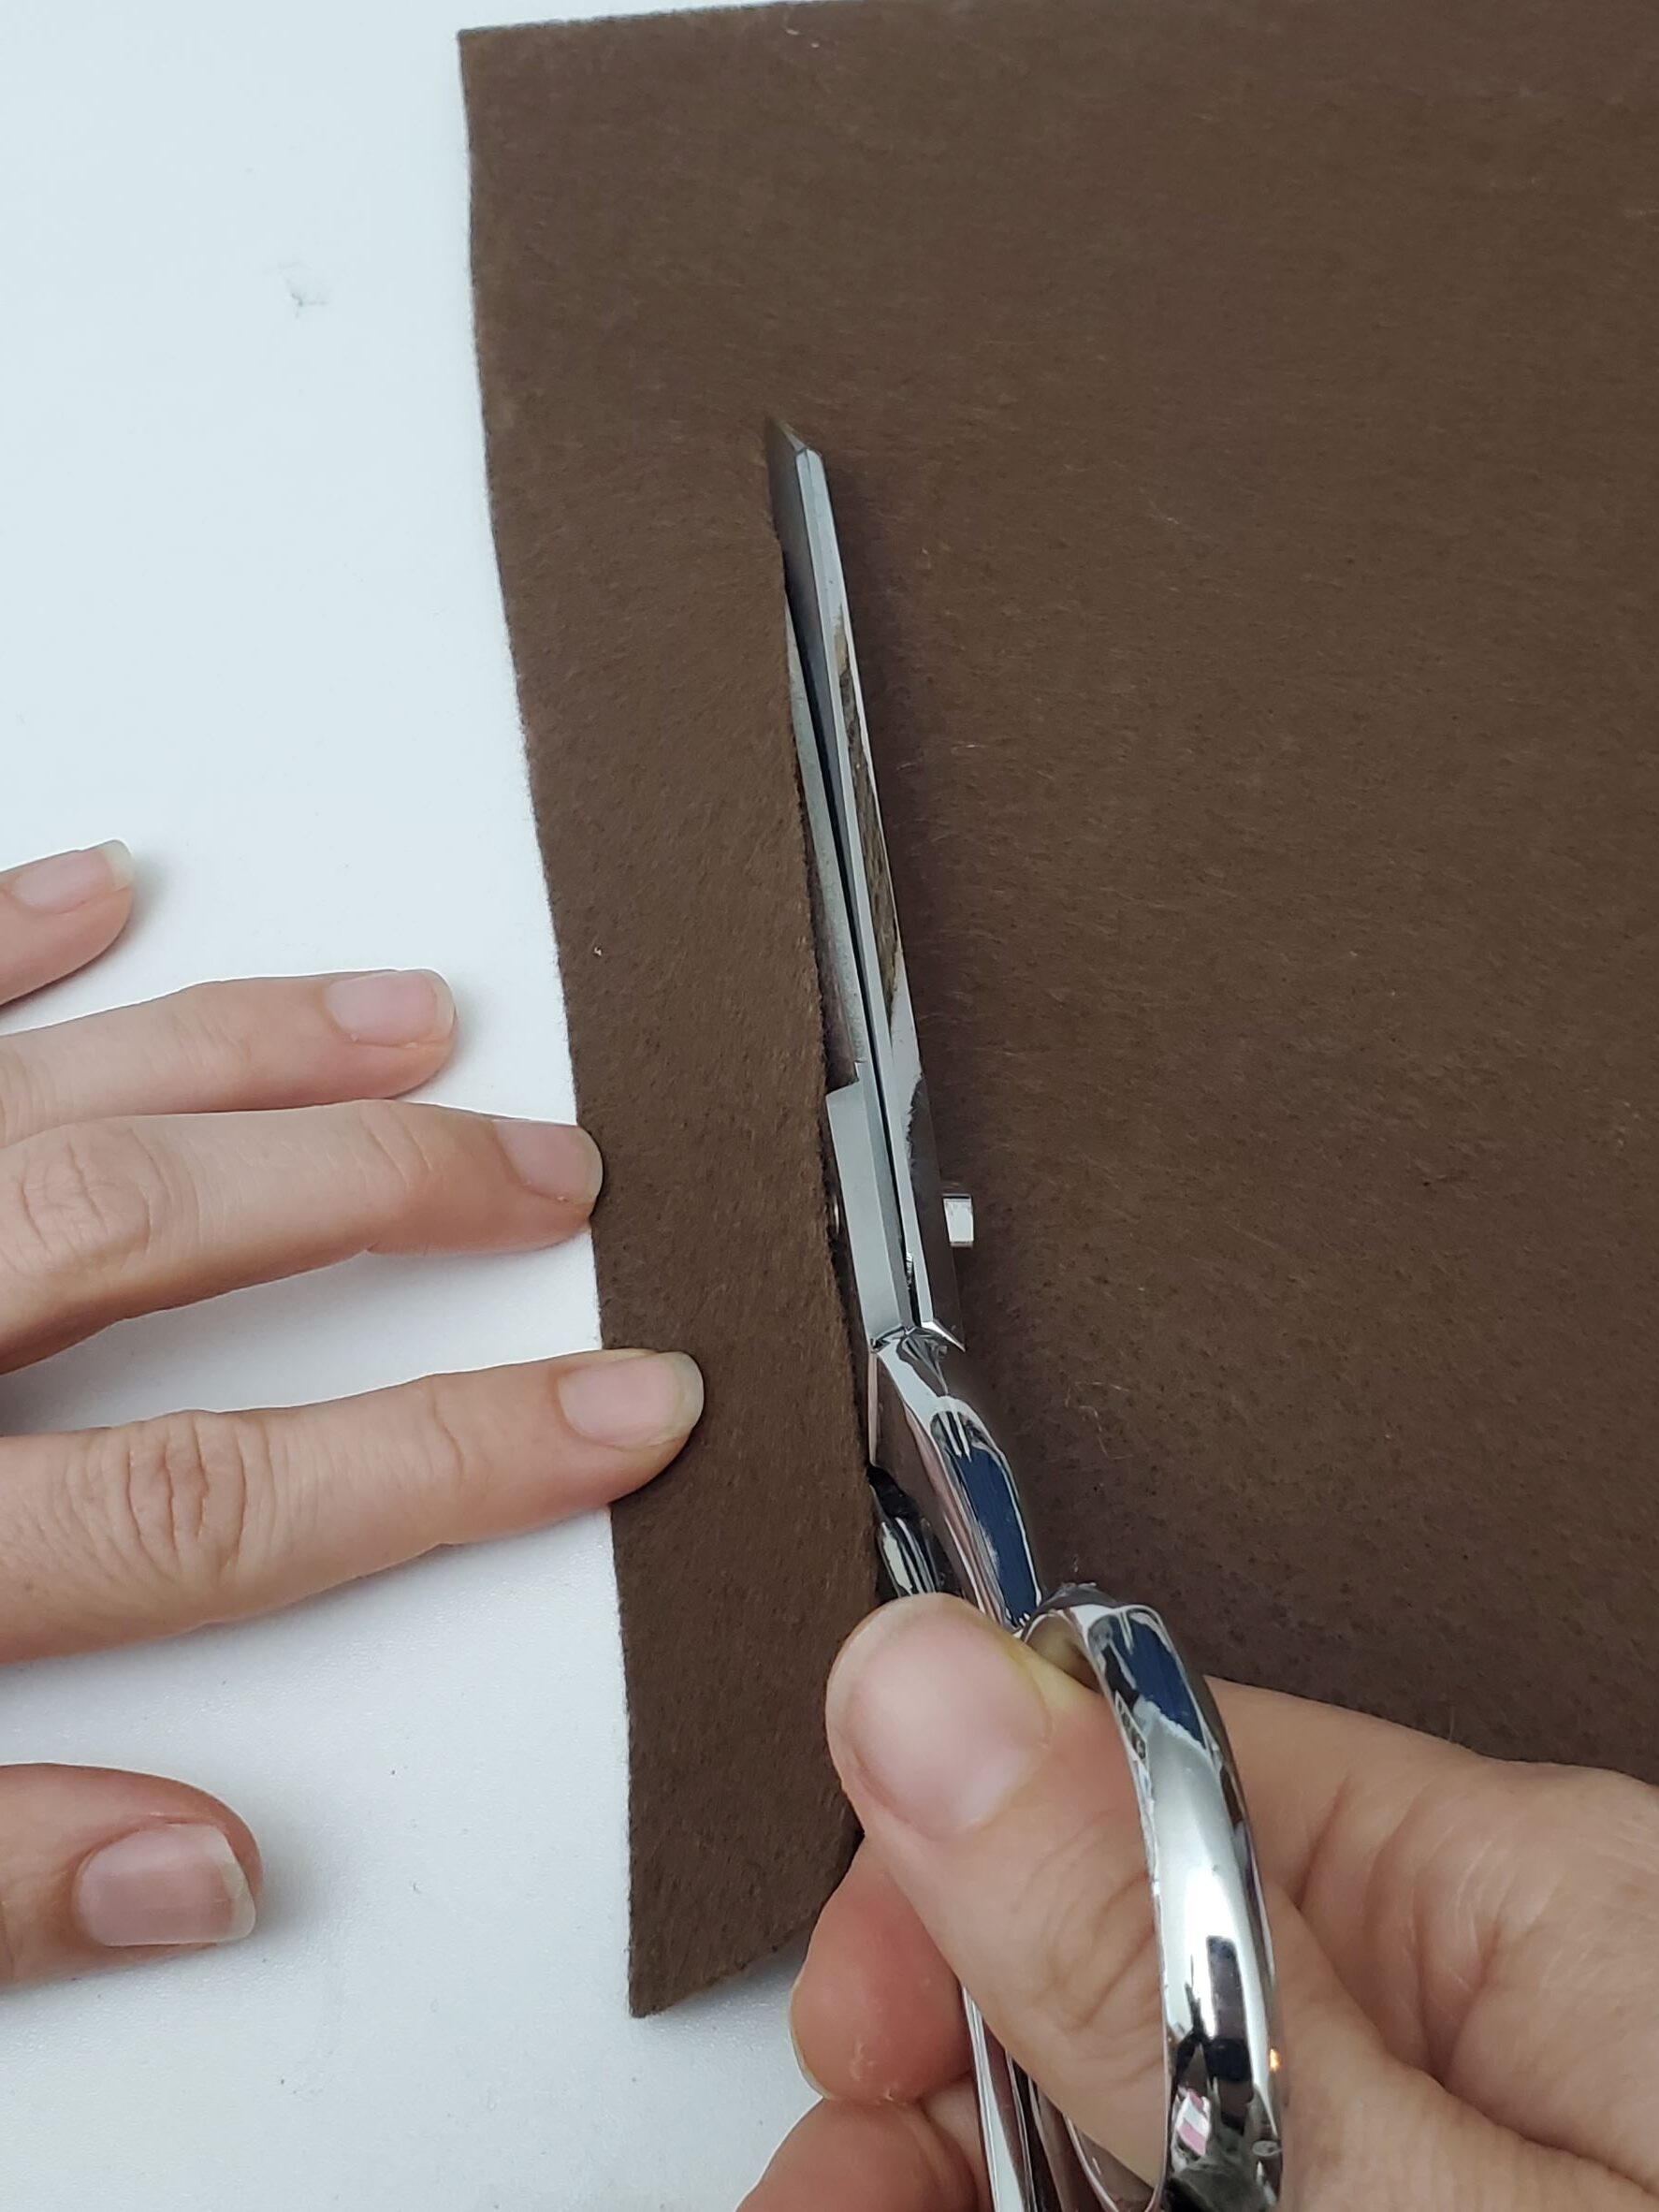
While your paint is drying, cut out leaves in 3 sizes (small, medium and large). You don’t need any special pattern for this; just freehand it. You’ll be fine! You can also cut out squares of fabric, slightly bigger than the hoops they will be going inside (see the picture below).
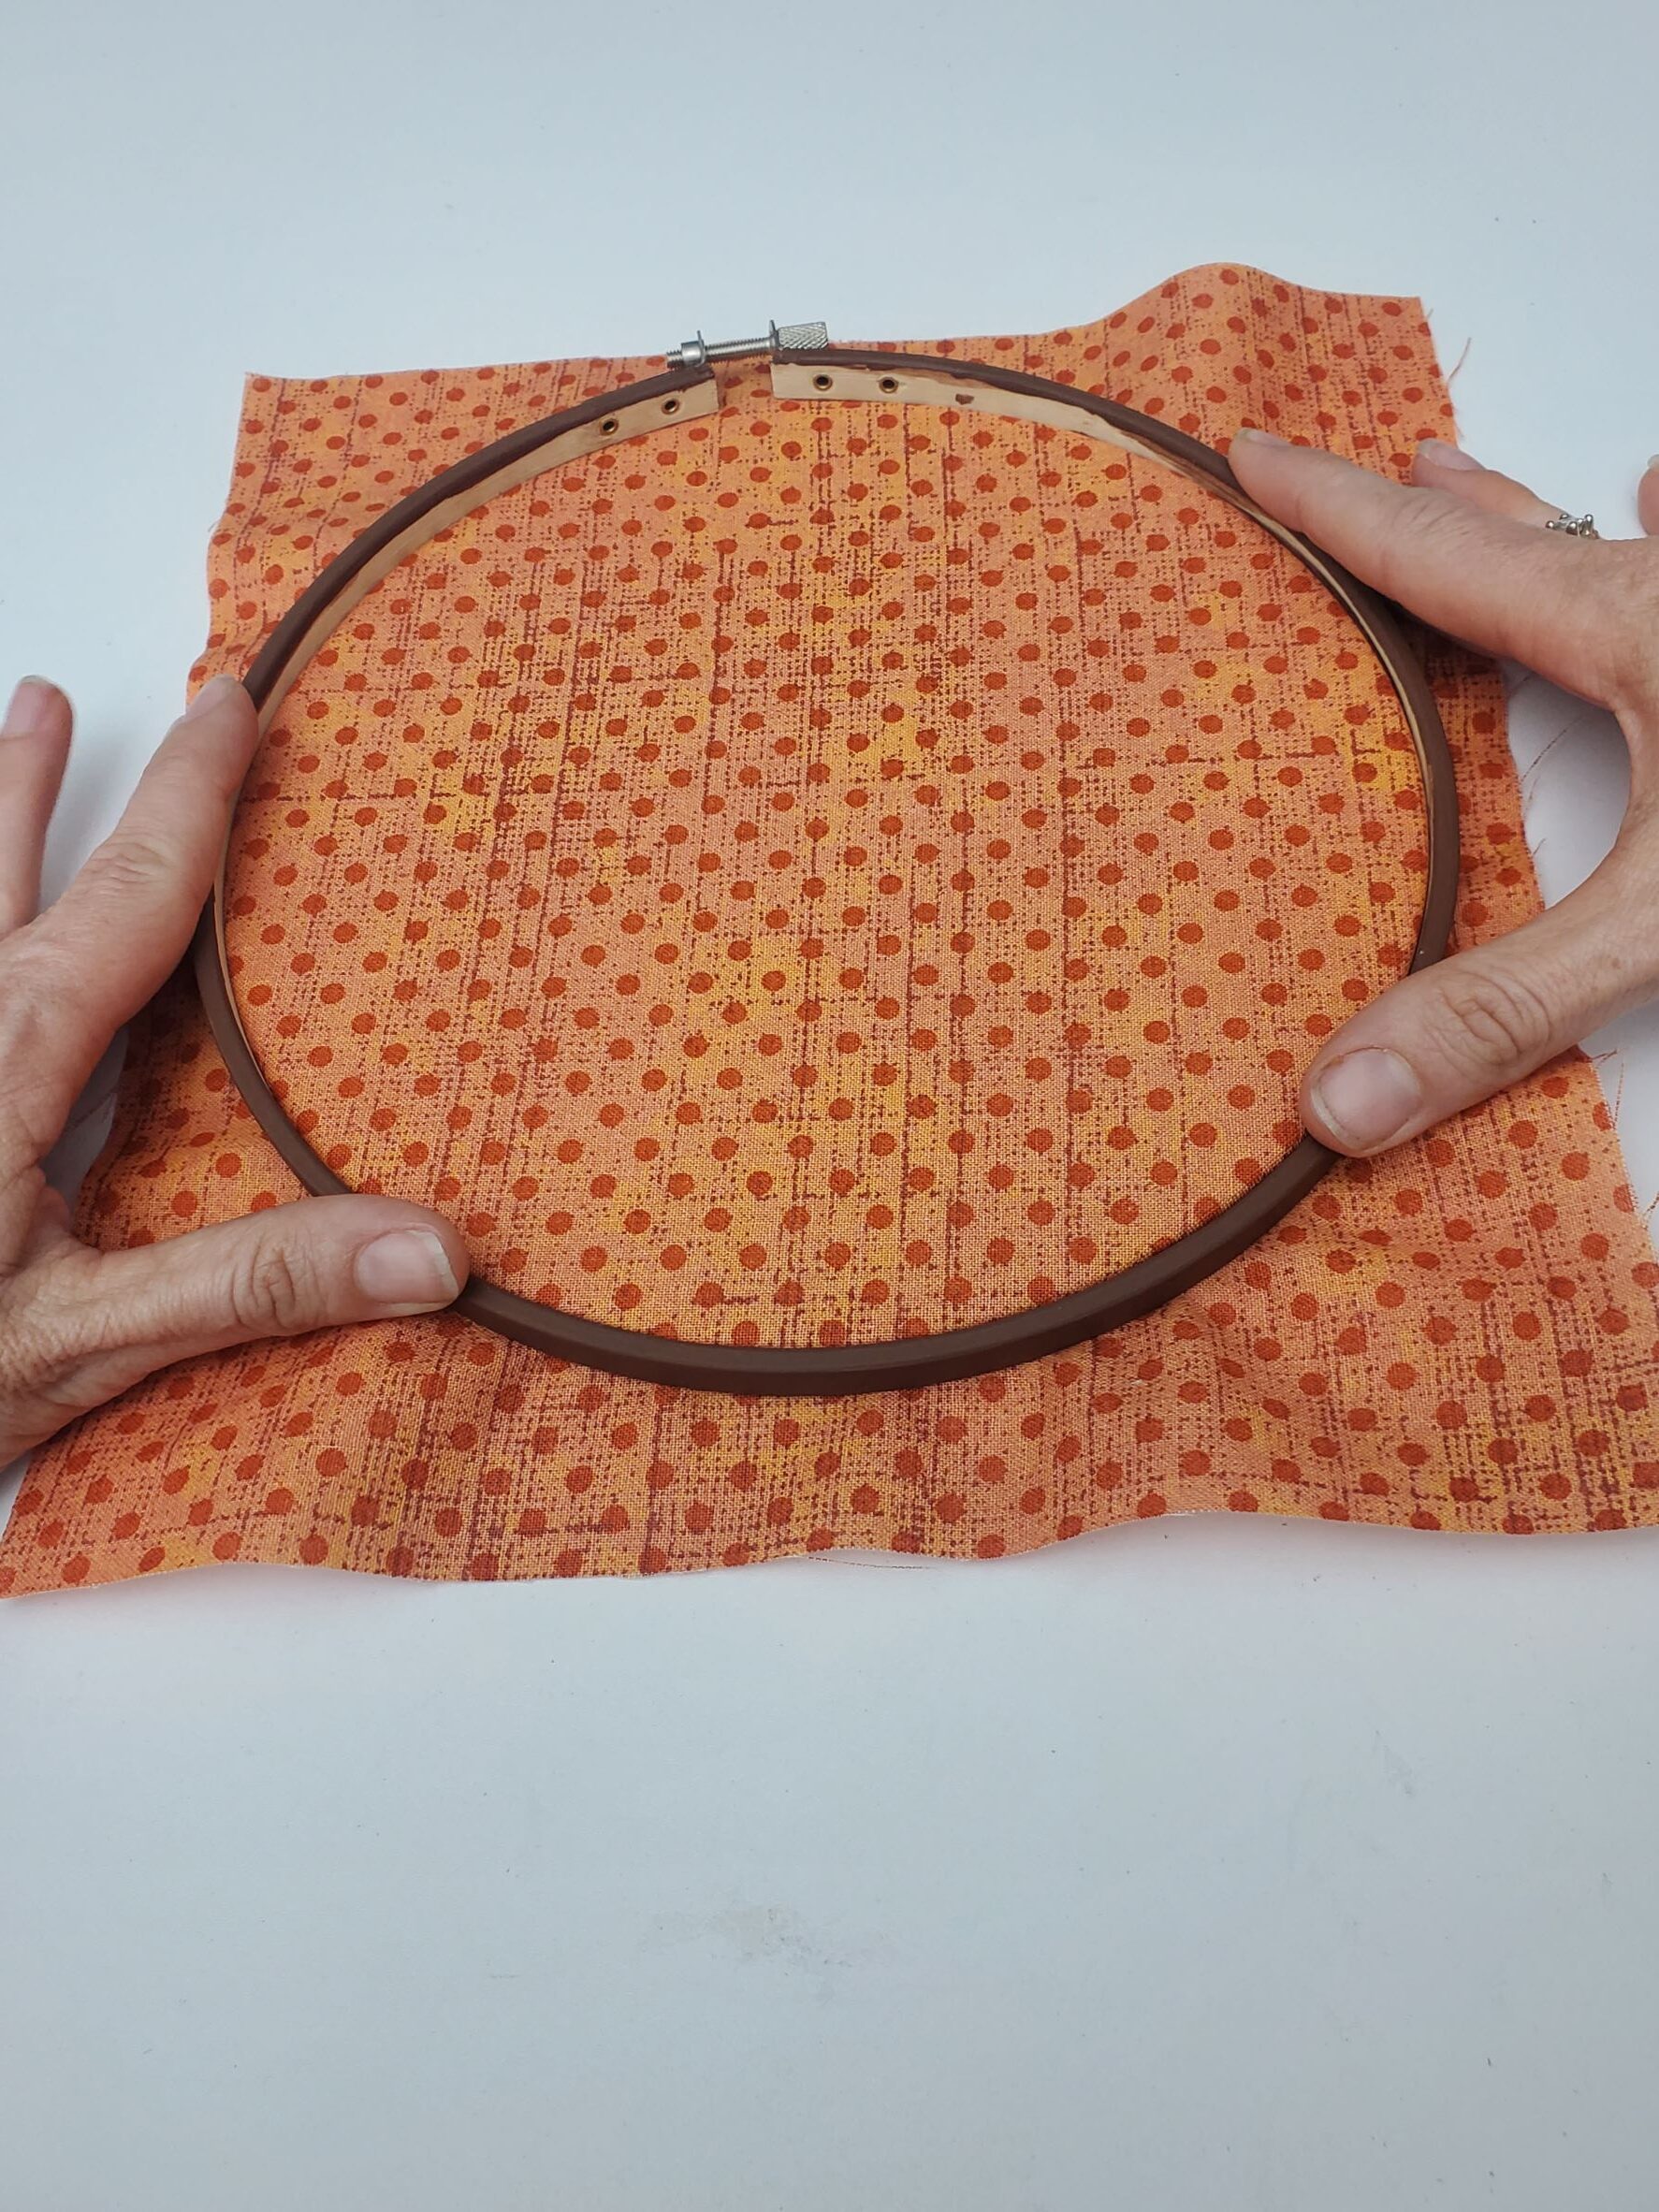
Once your hoops are dry, place a square of fabric in the hoop, pulling the fabric taut and tightening the hoop so that the fabric doesn’t slip.
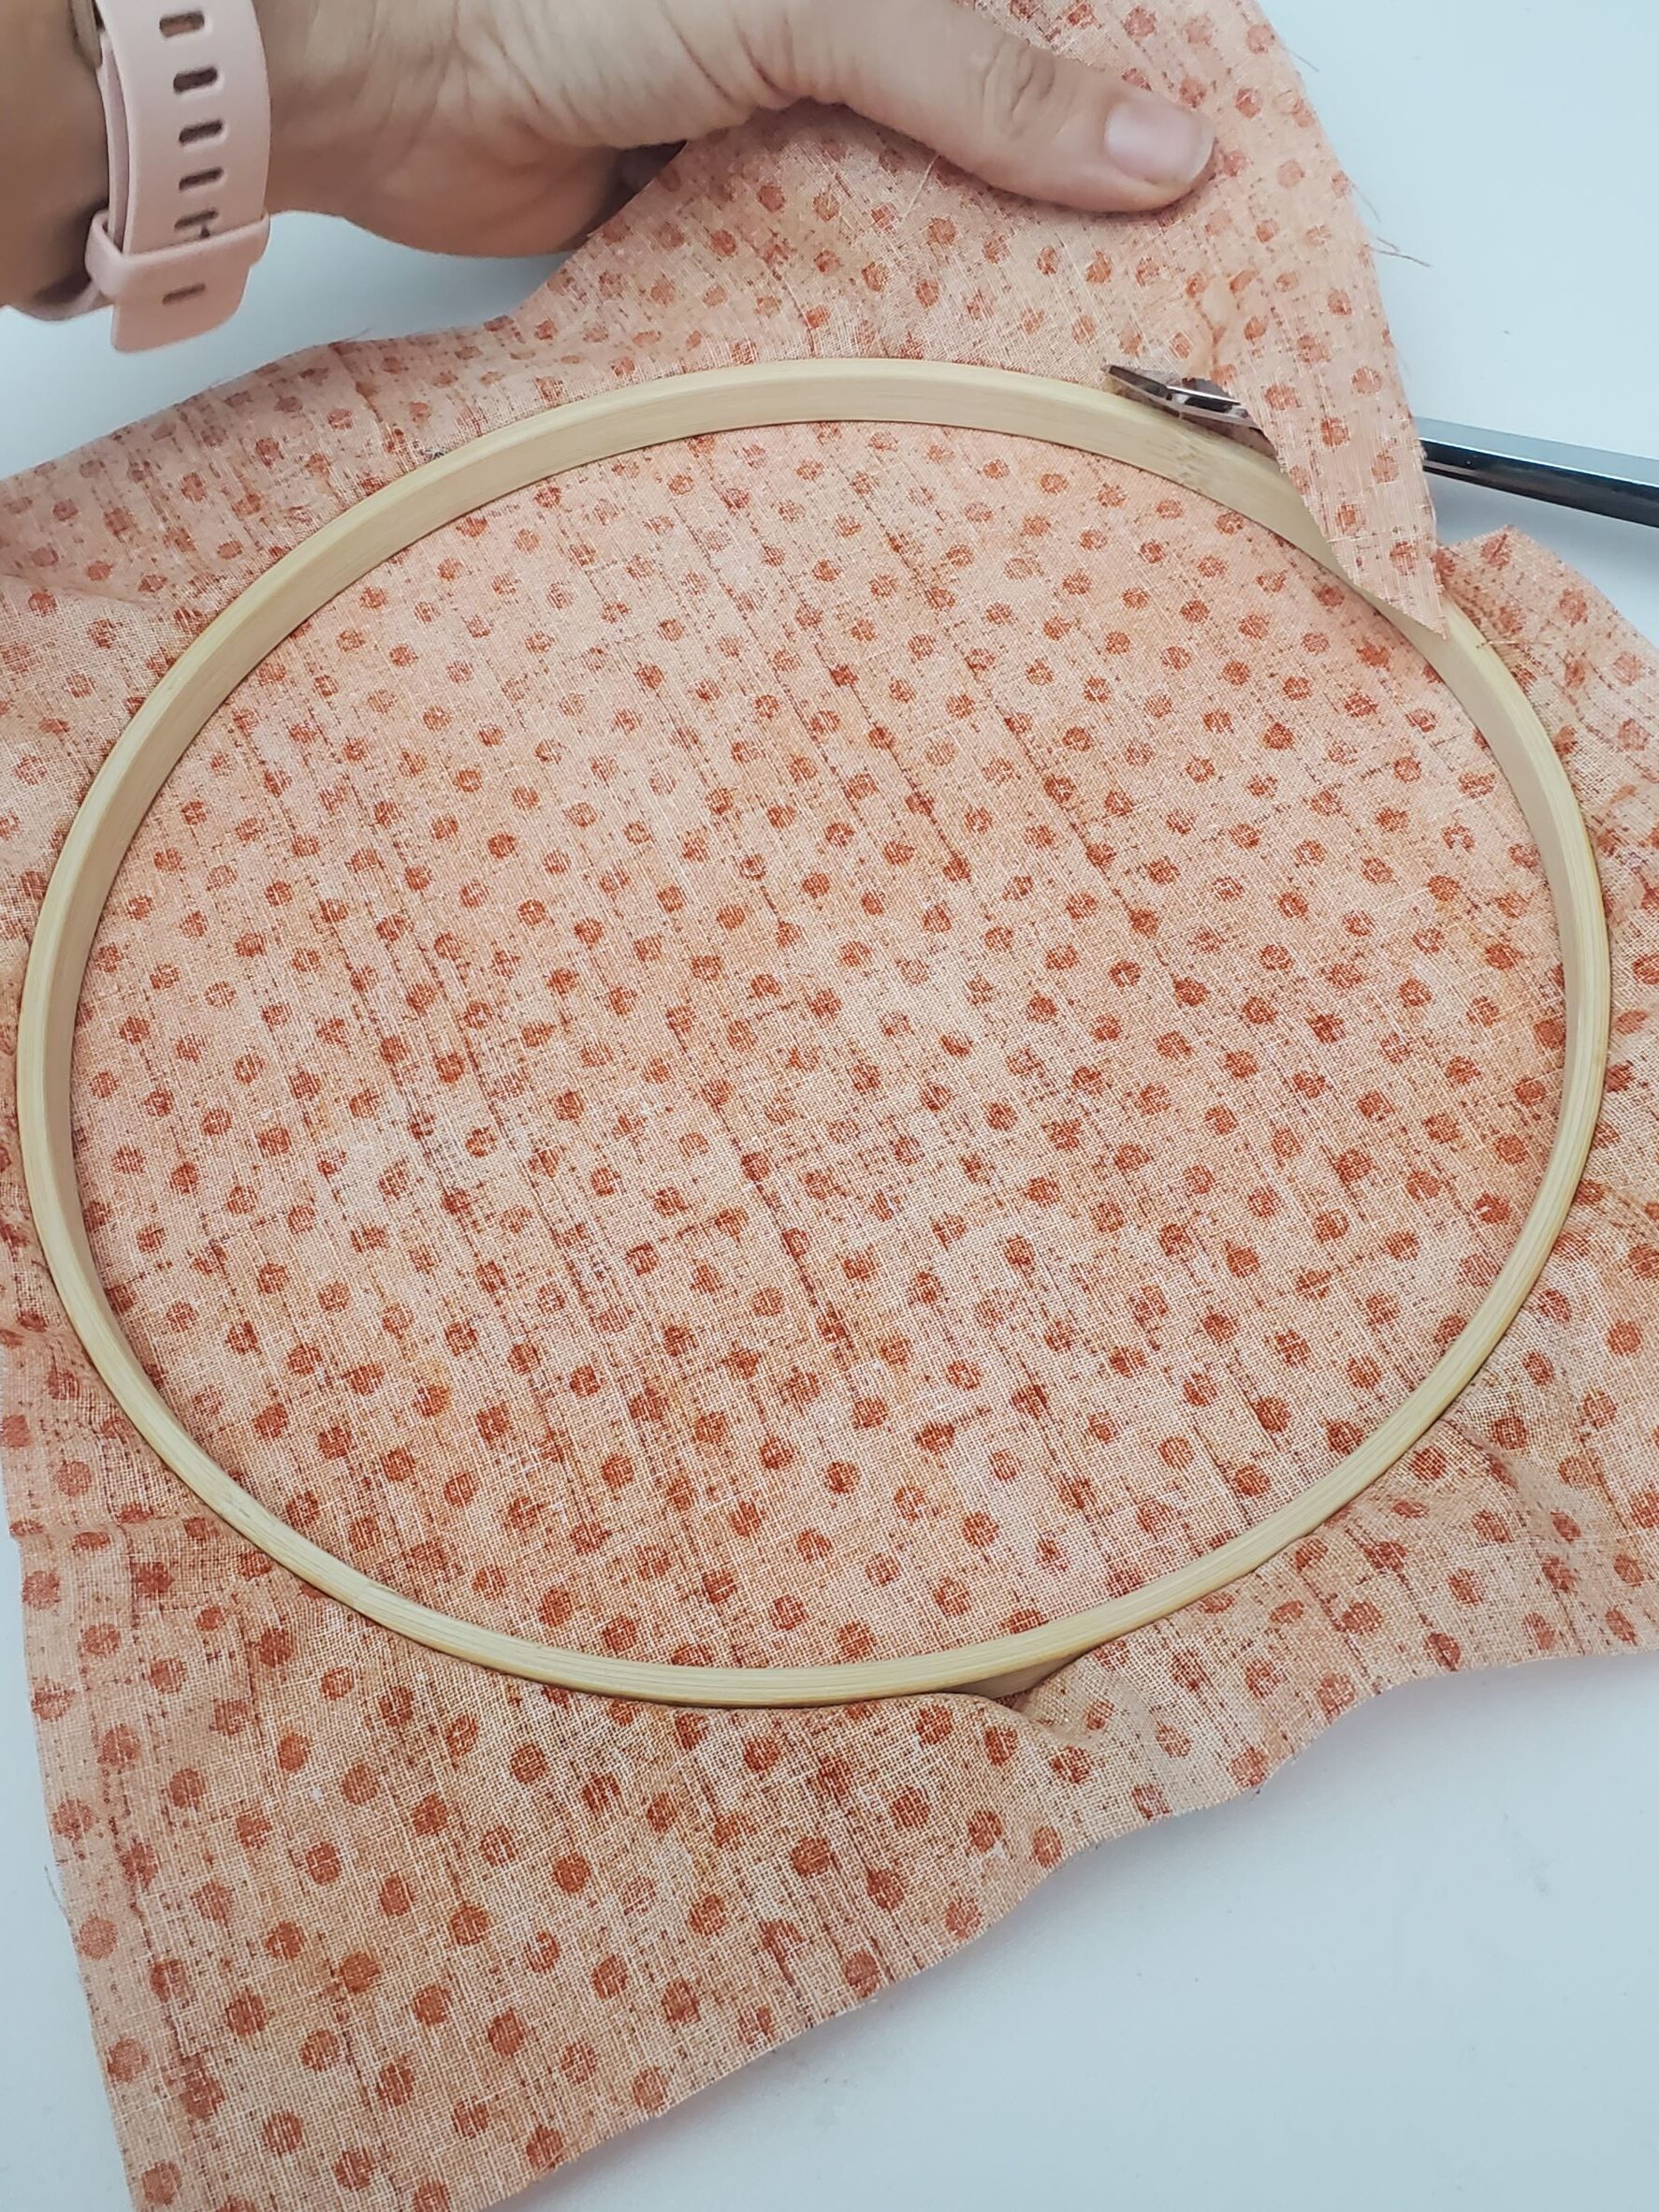
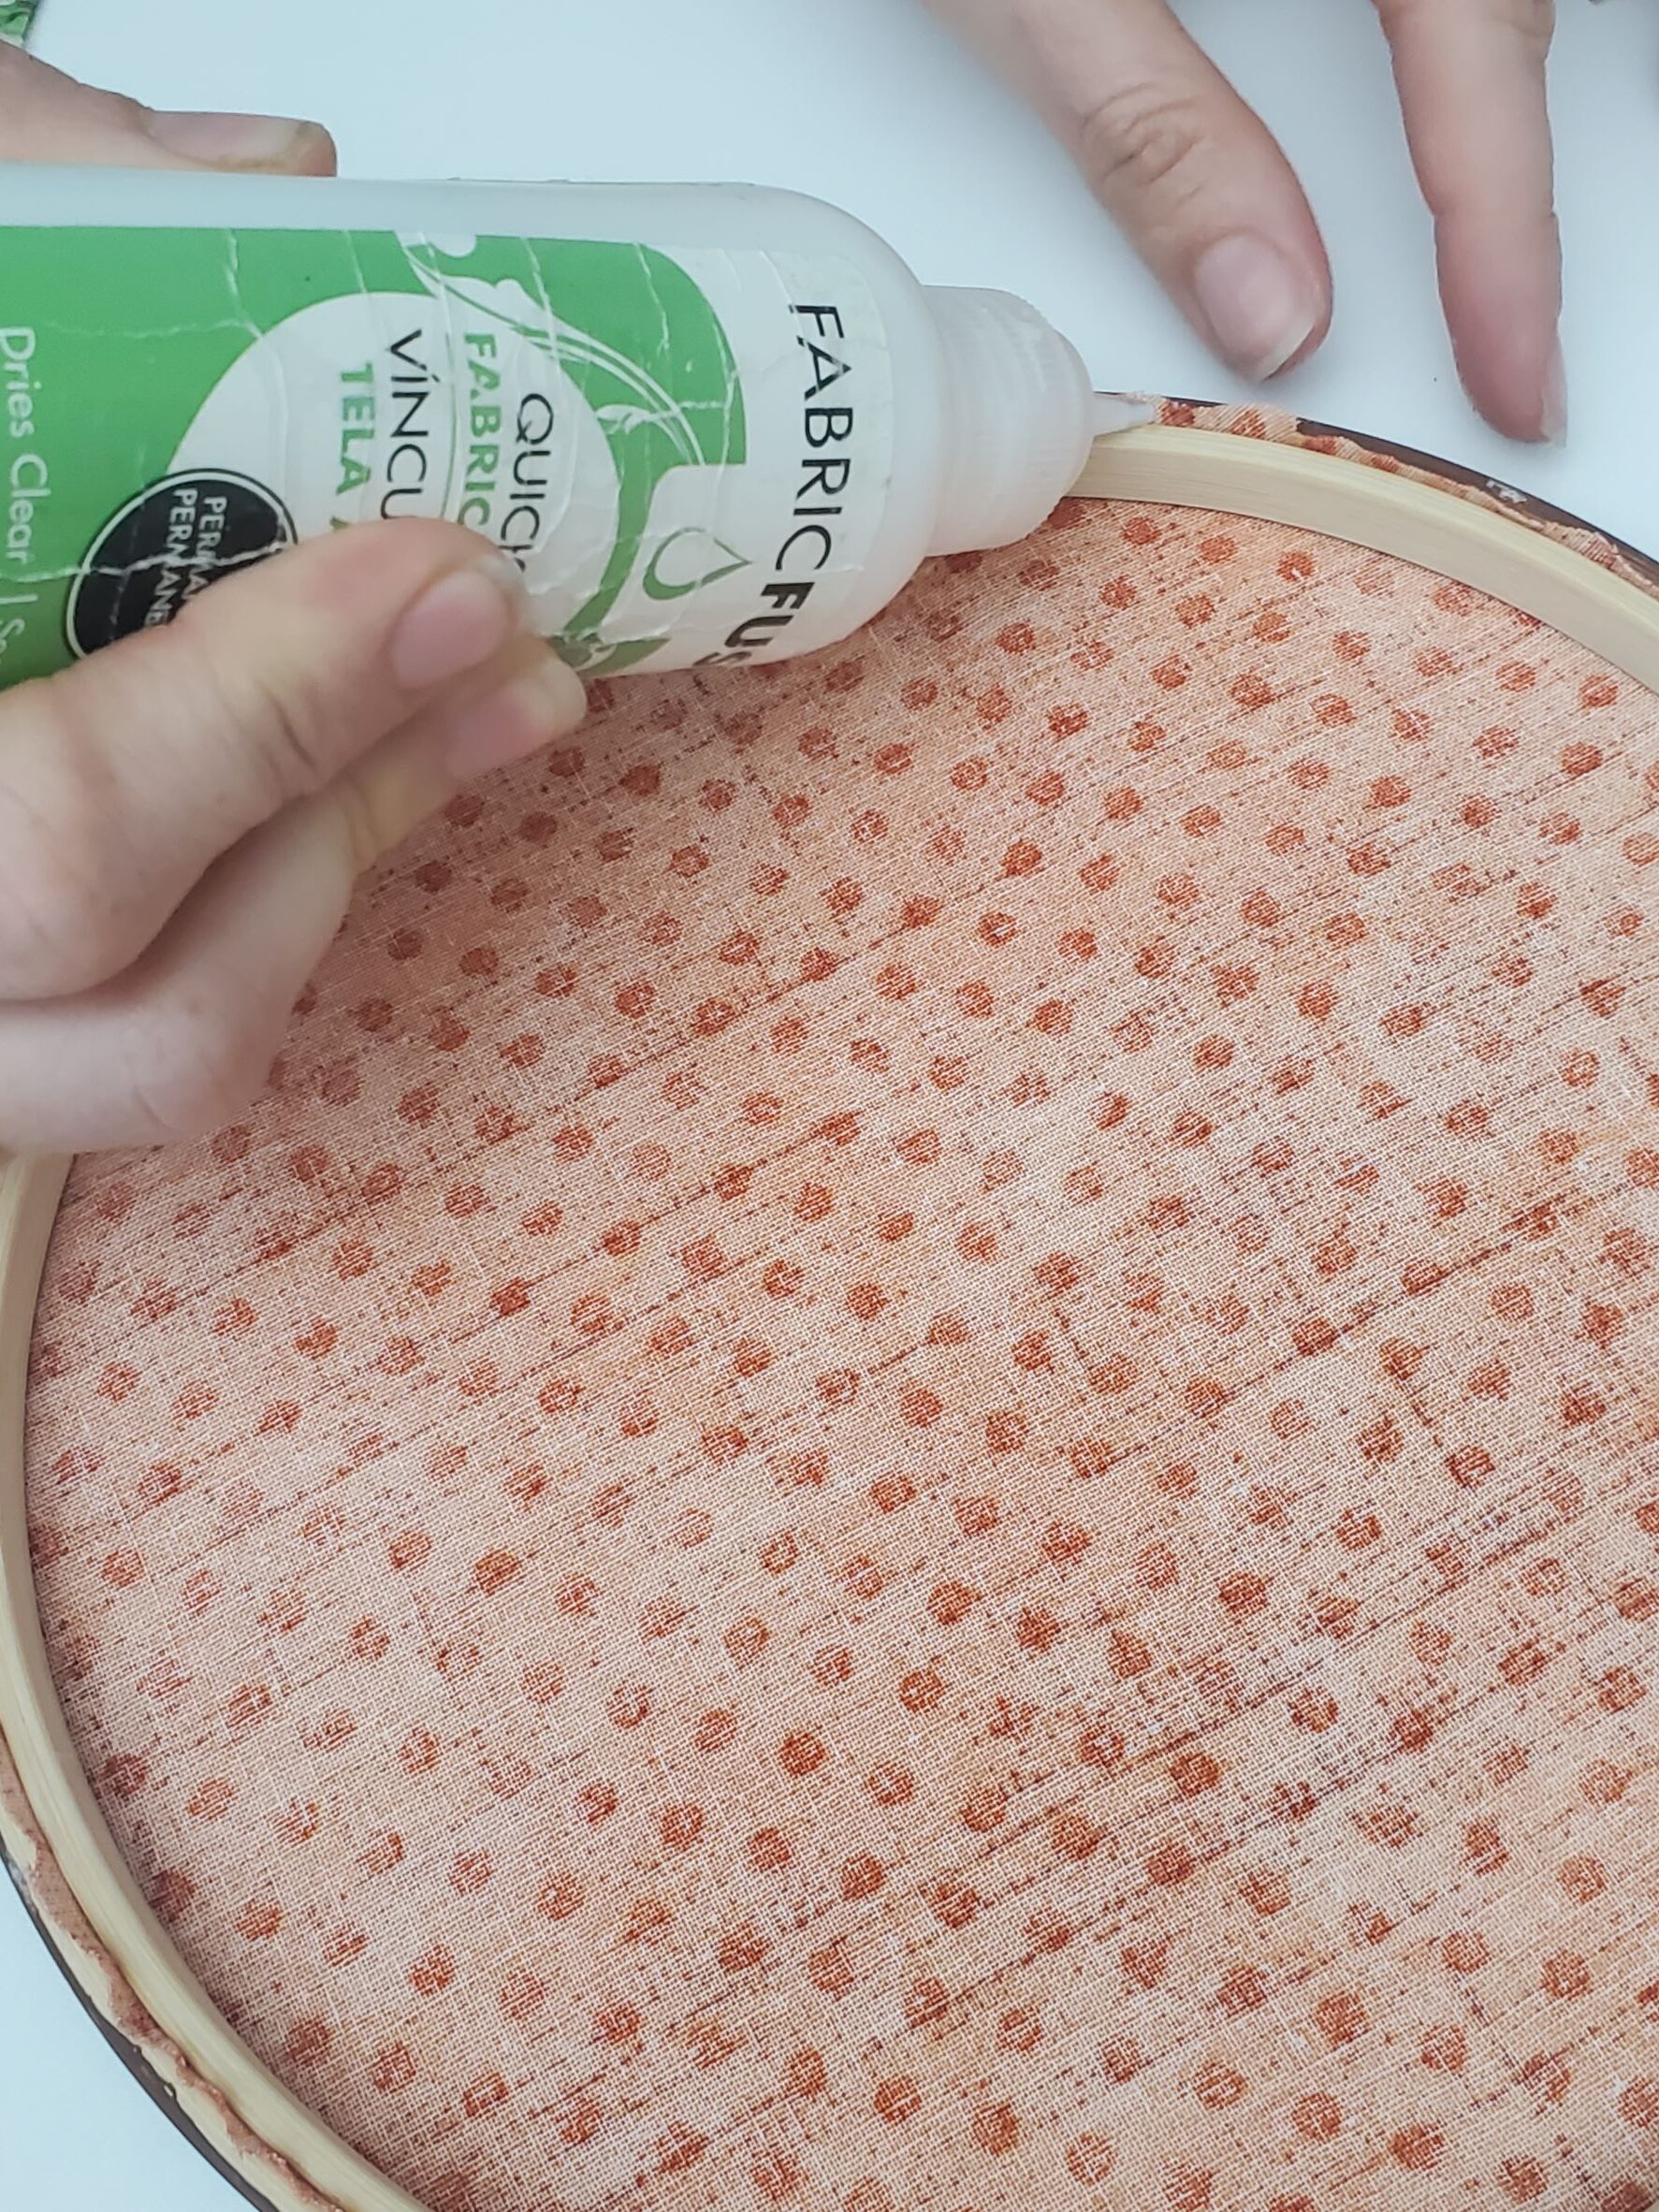
On the back side, trim the fabric down to the hoop. If desired, you can squeeze some fabric or tacky glue around the hoop to help hold the fabric in place.
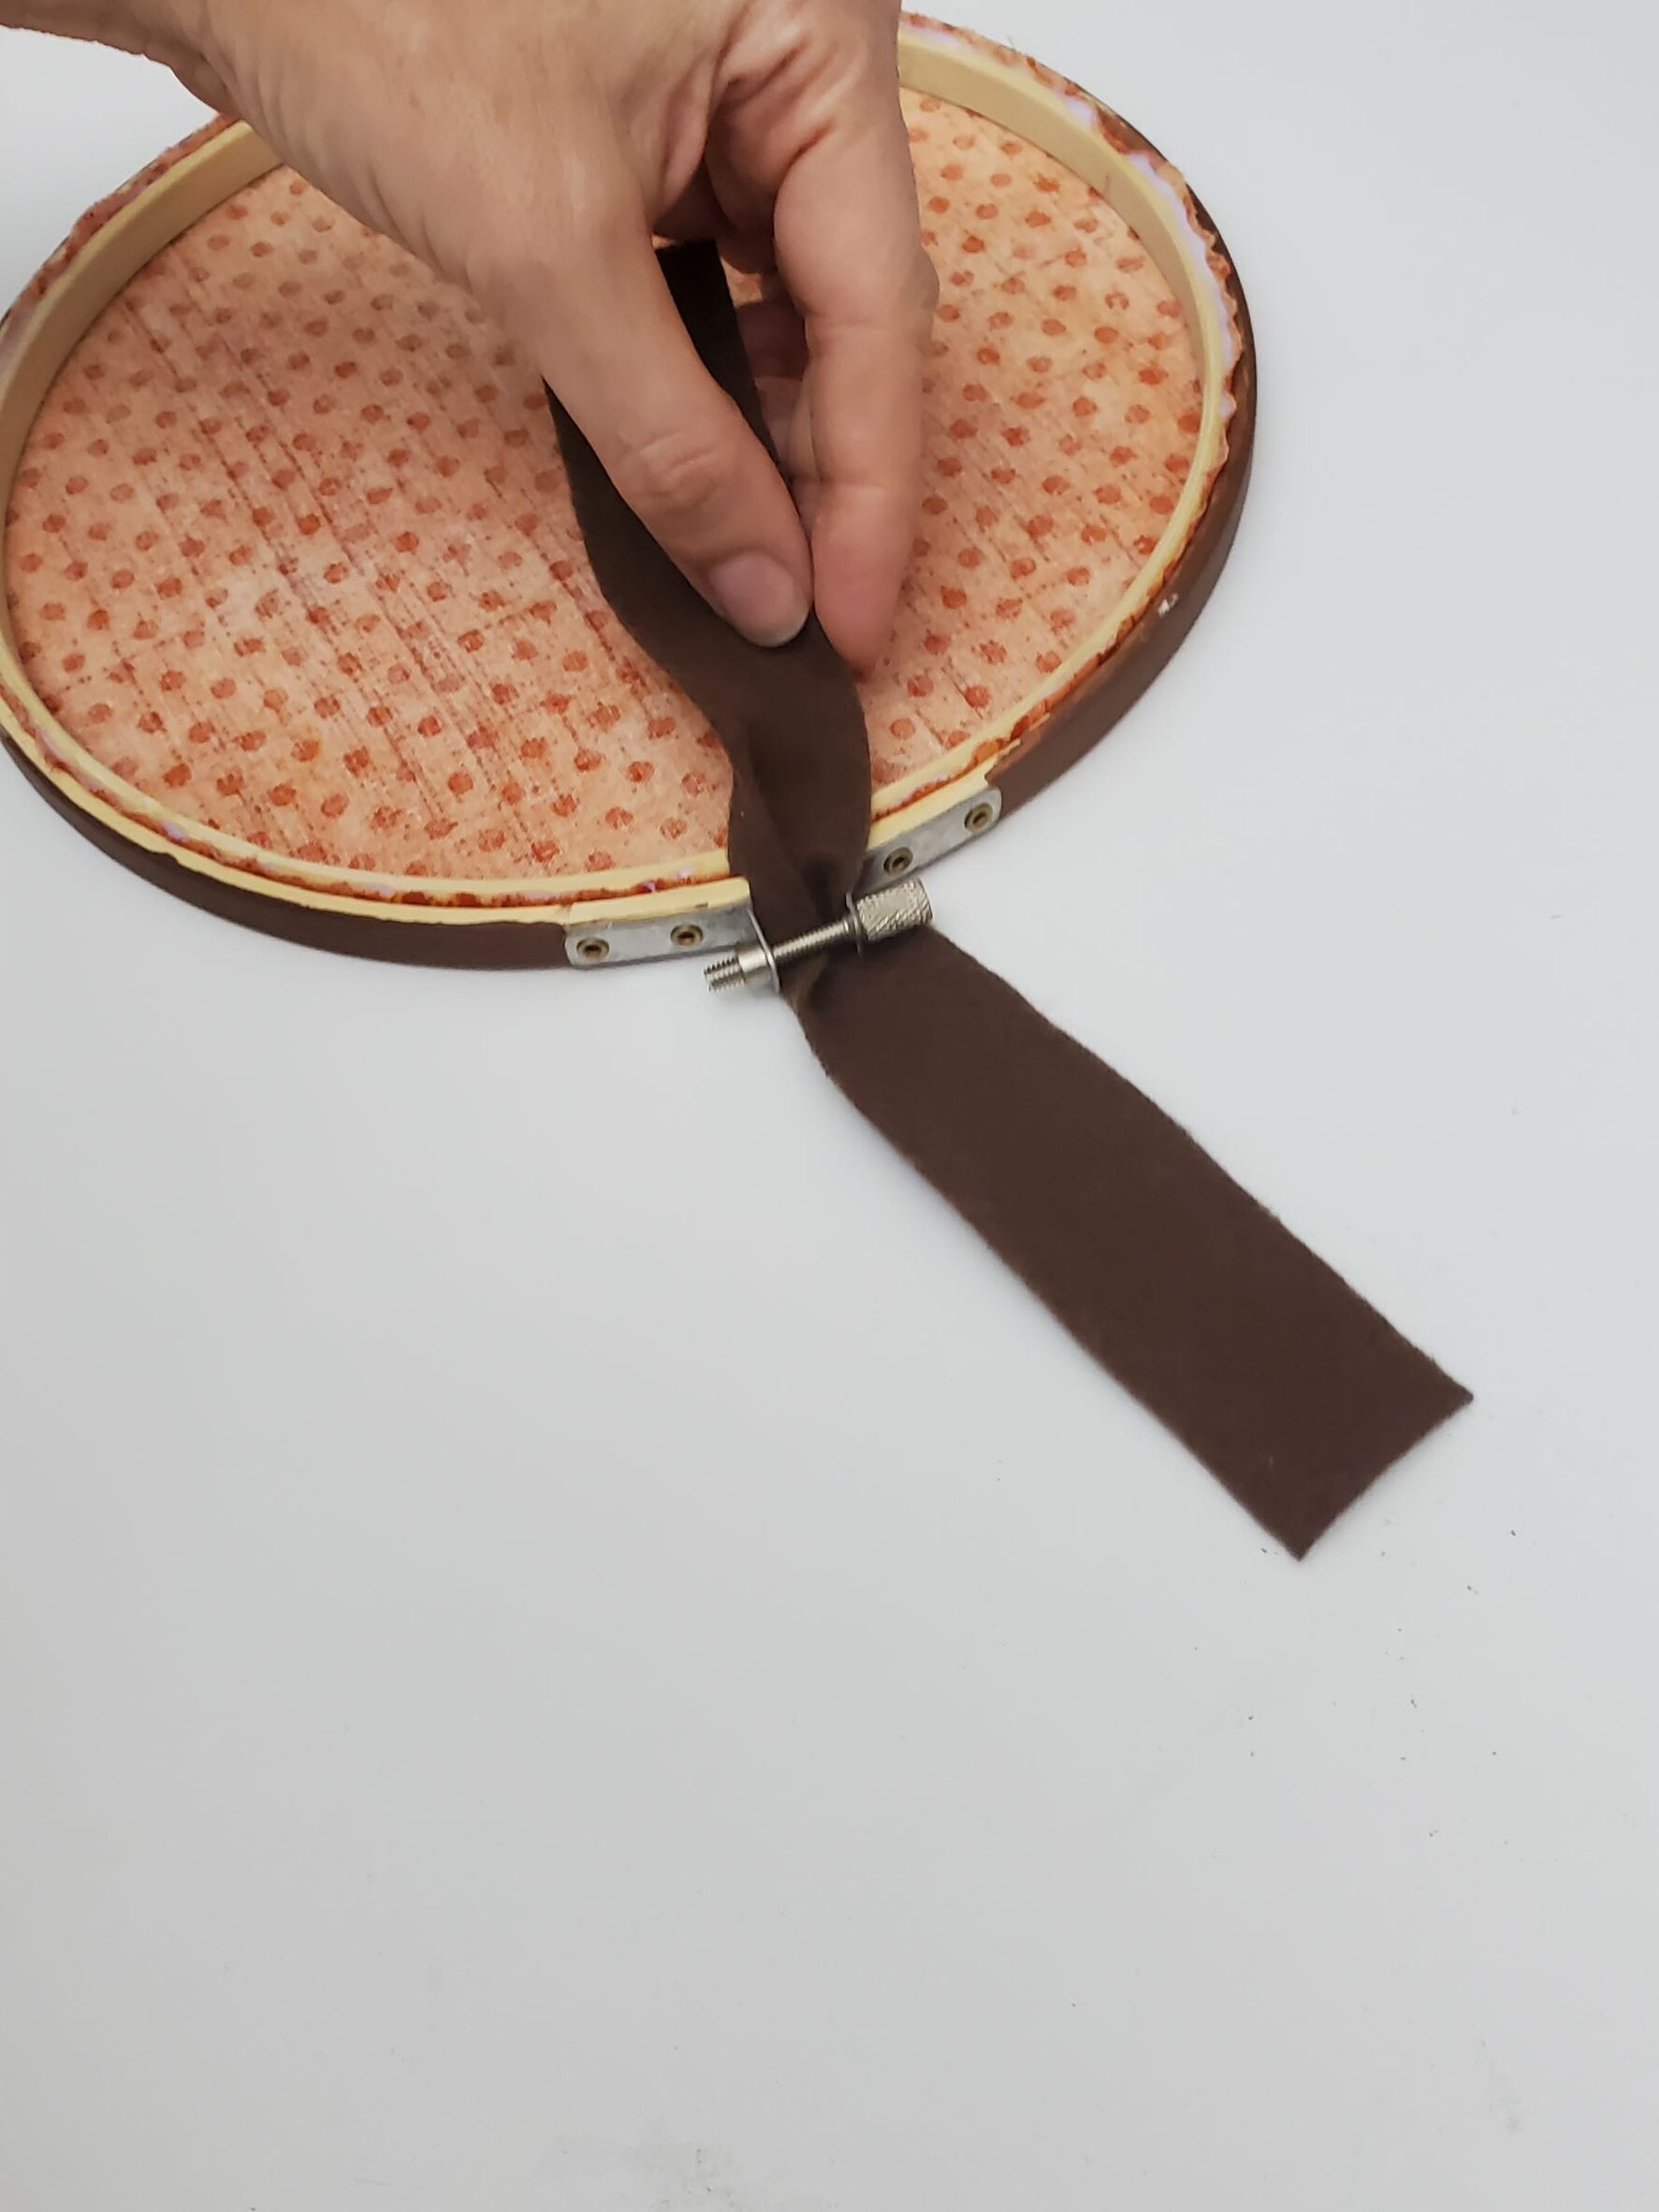
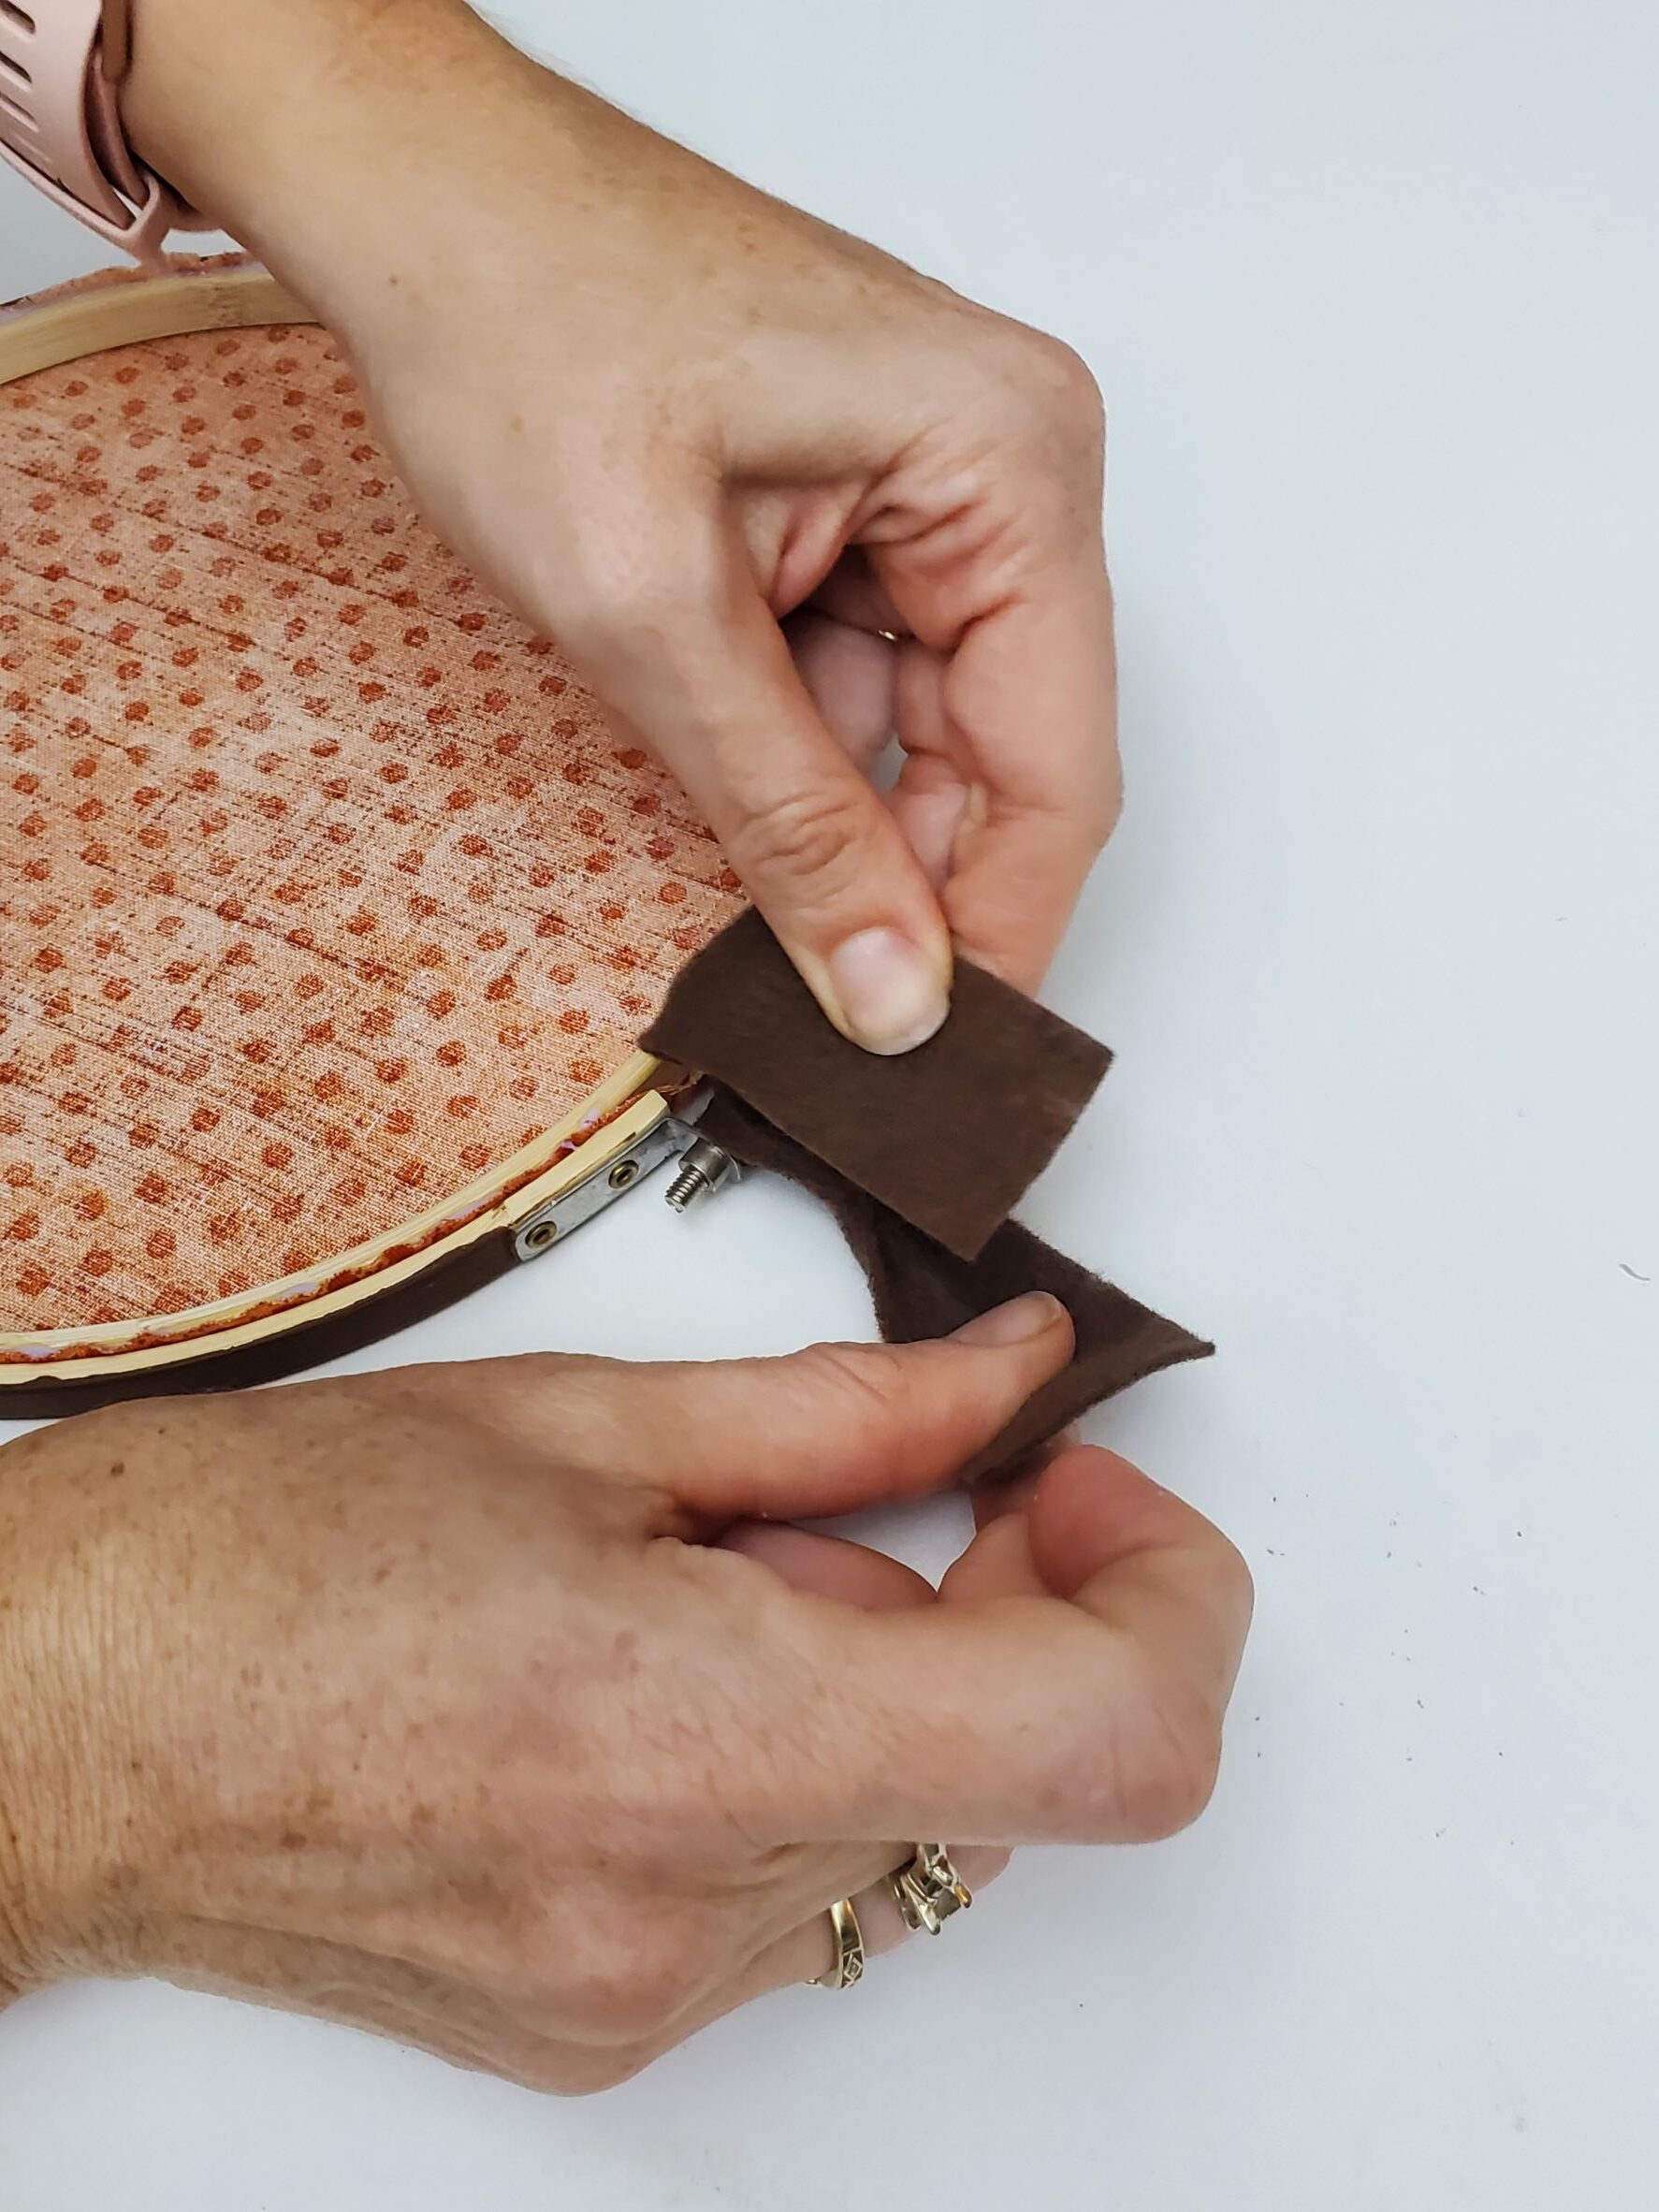
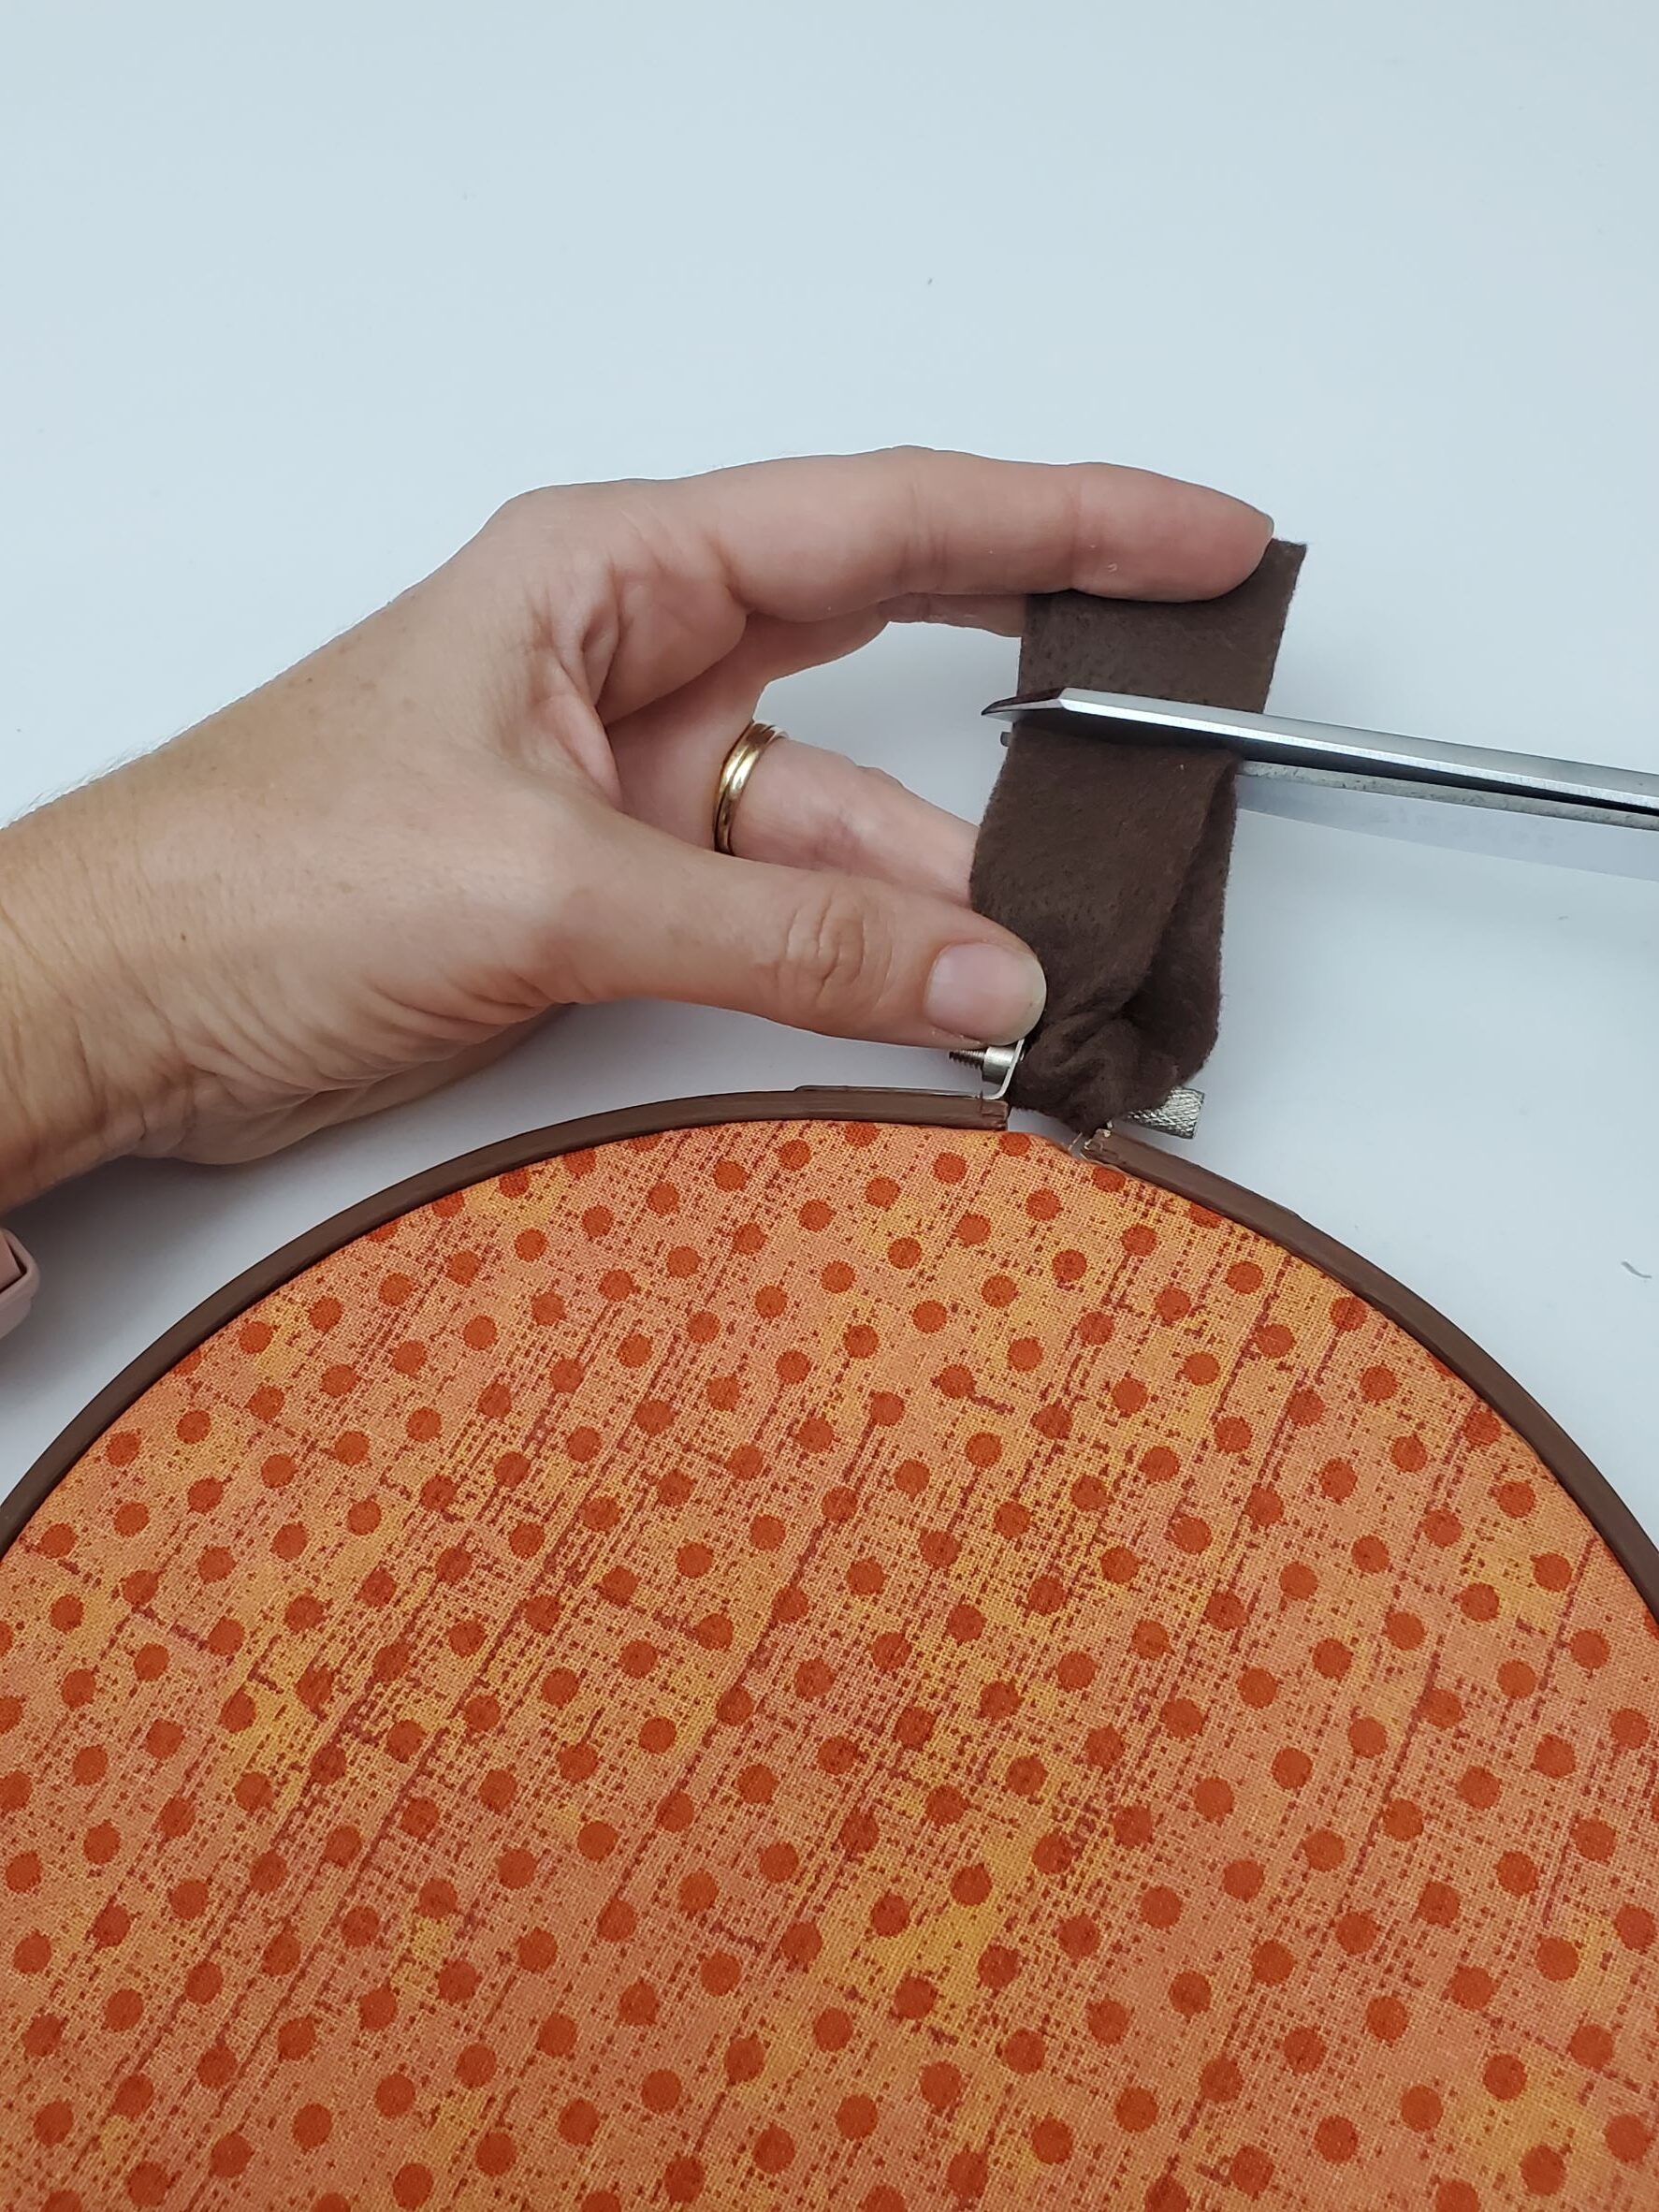
Cut a piece of brown felt to use for your pumpkin stump. Make sure to cut it more than double the length that you want your stump to be in the end (you can trim it down later). Weave it through the top of the hoop and tie it in a knot. Trim it down to the size you want.
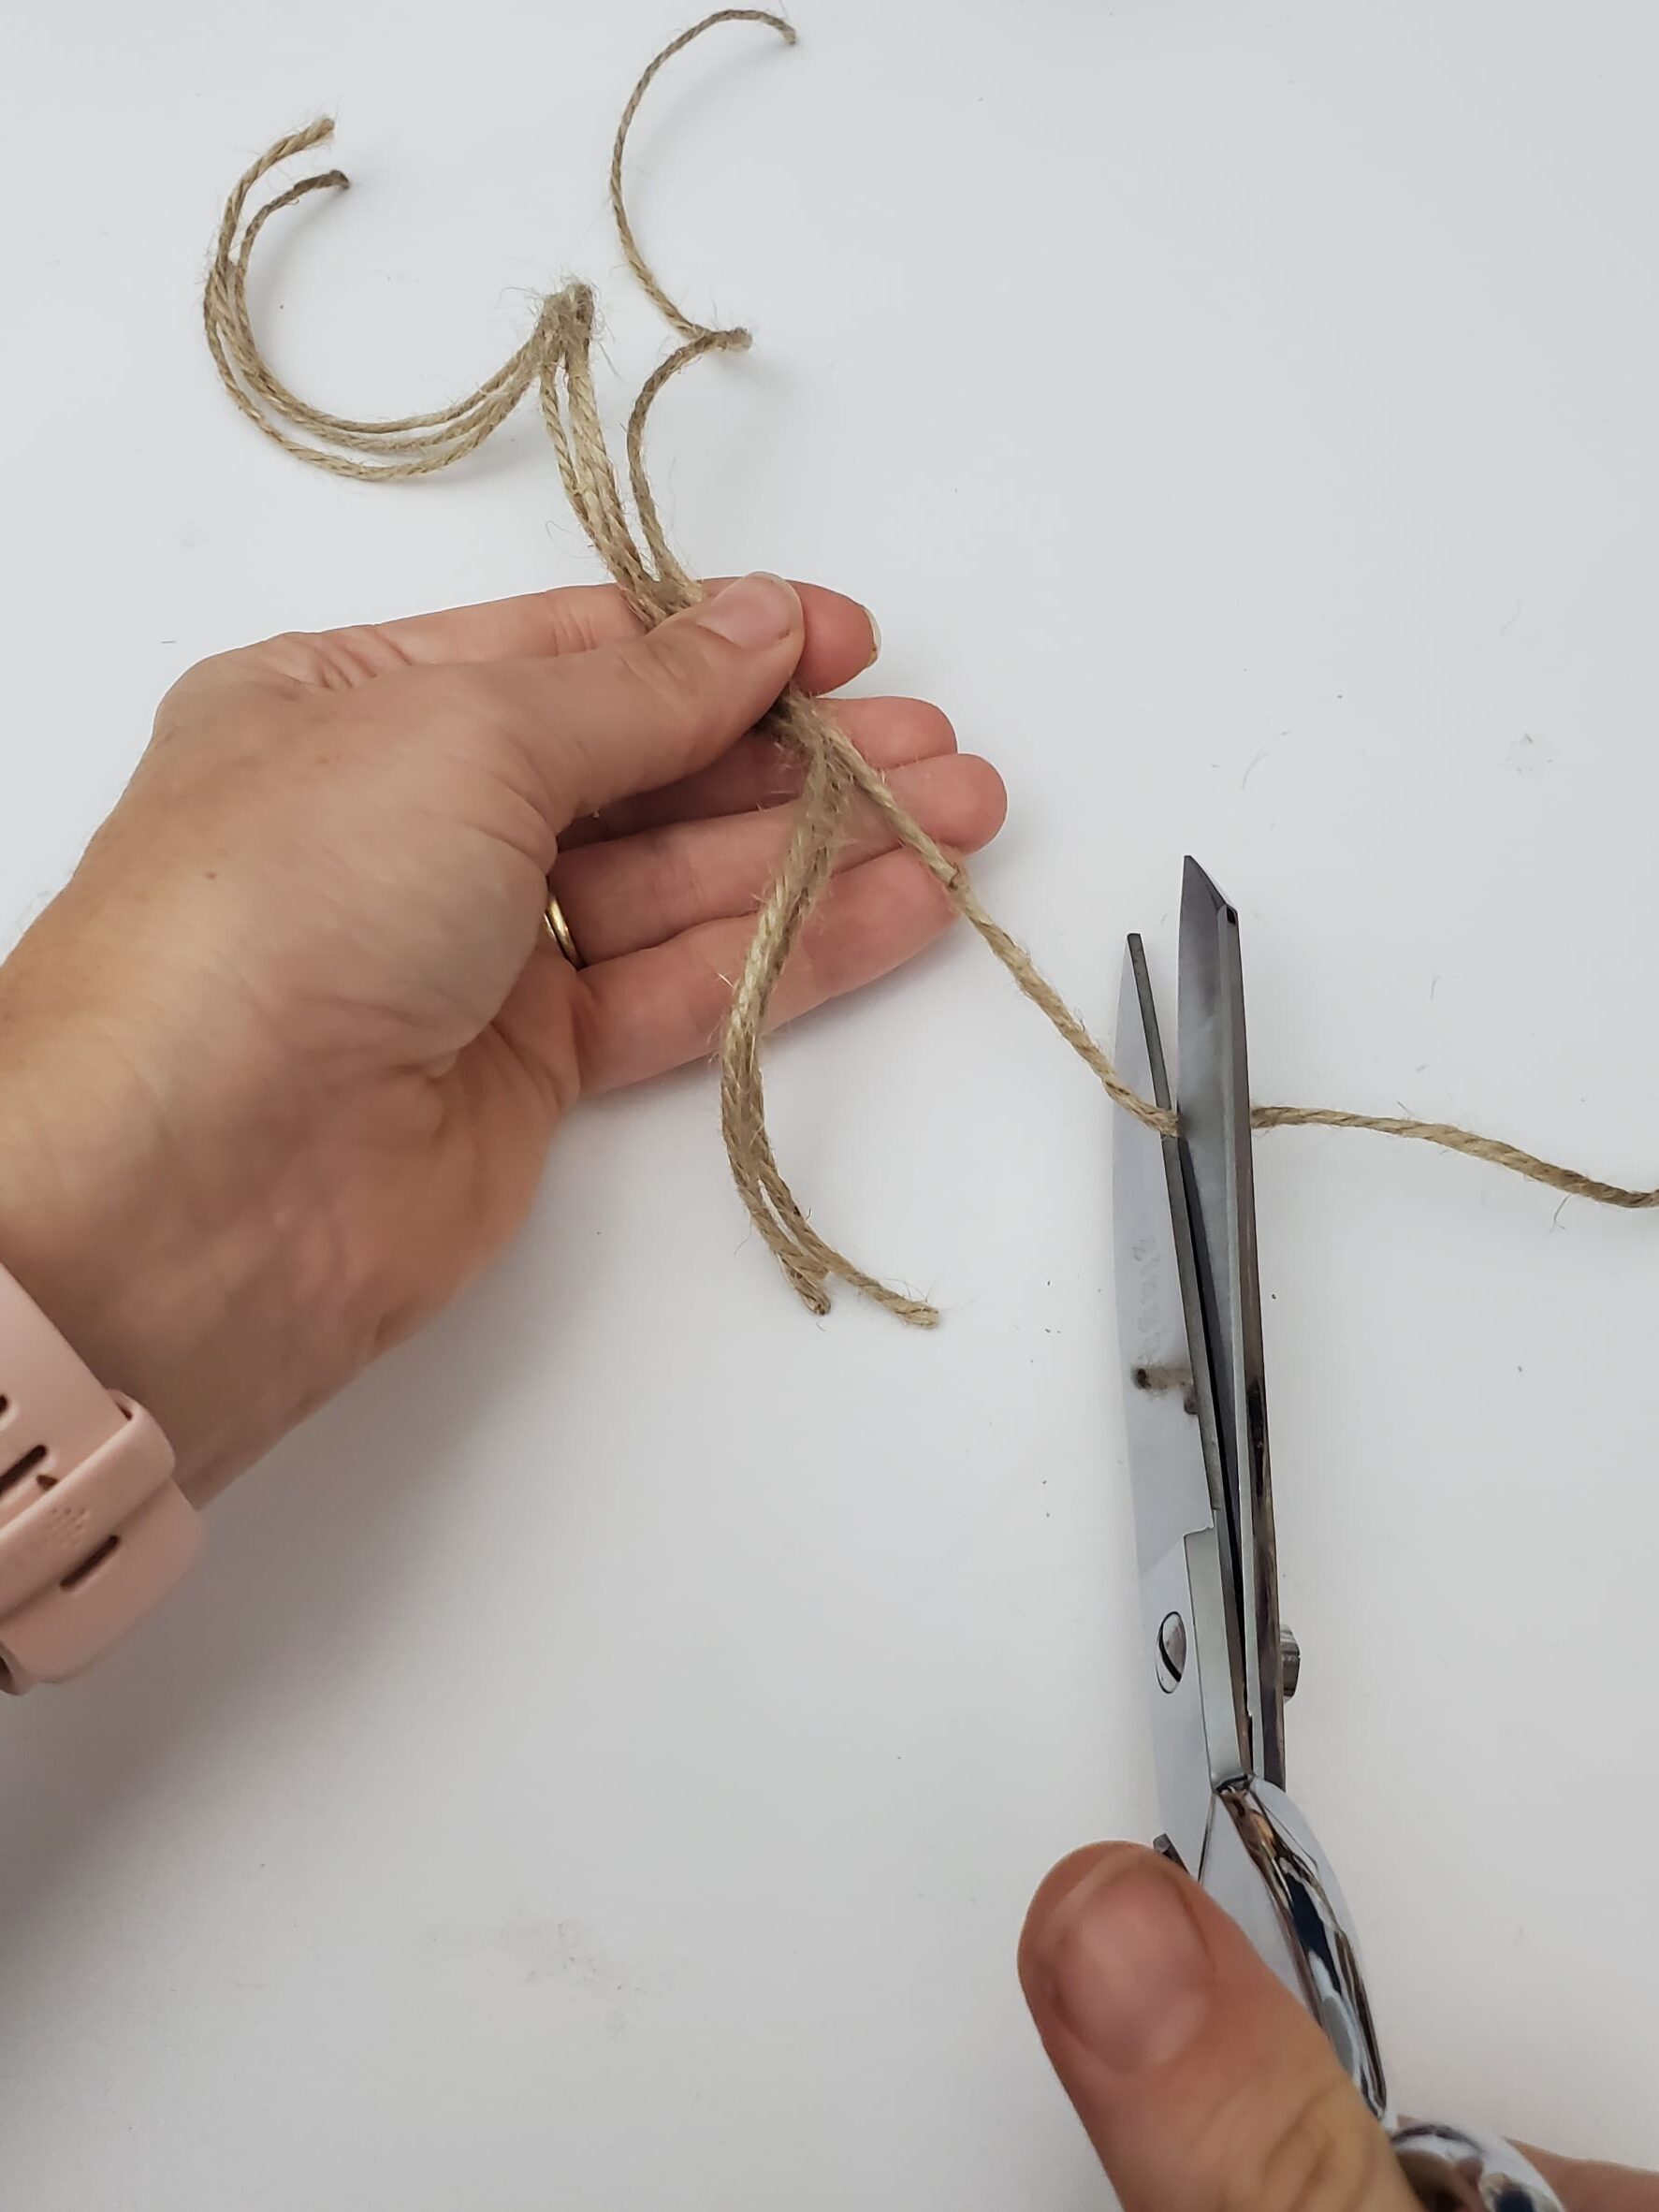
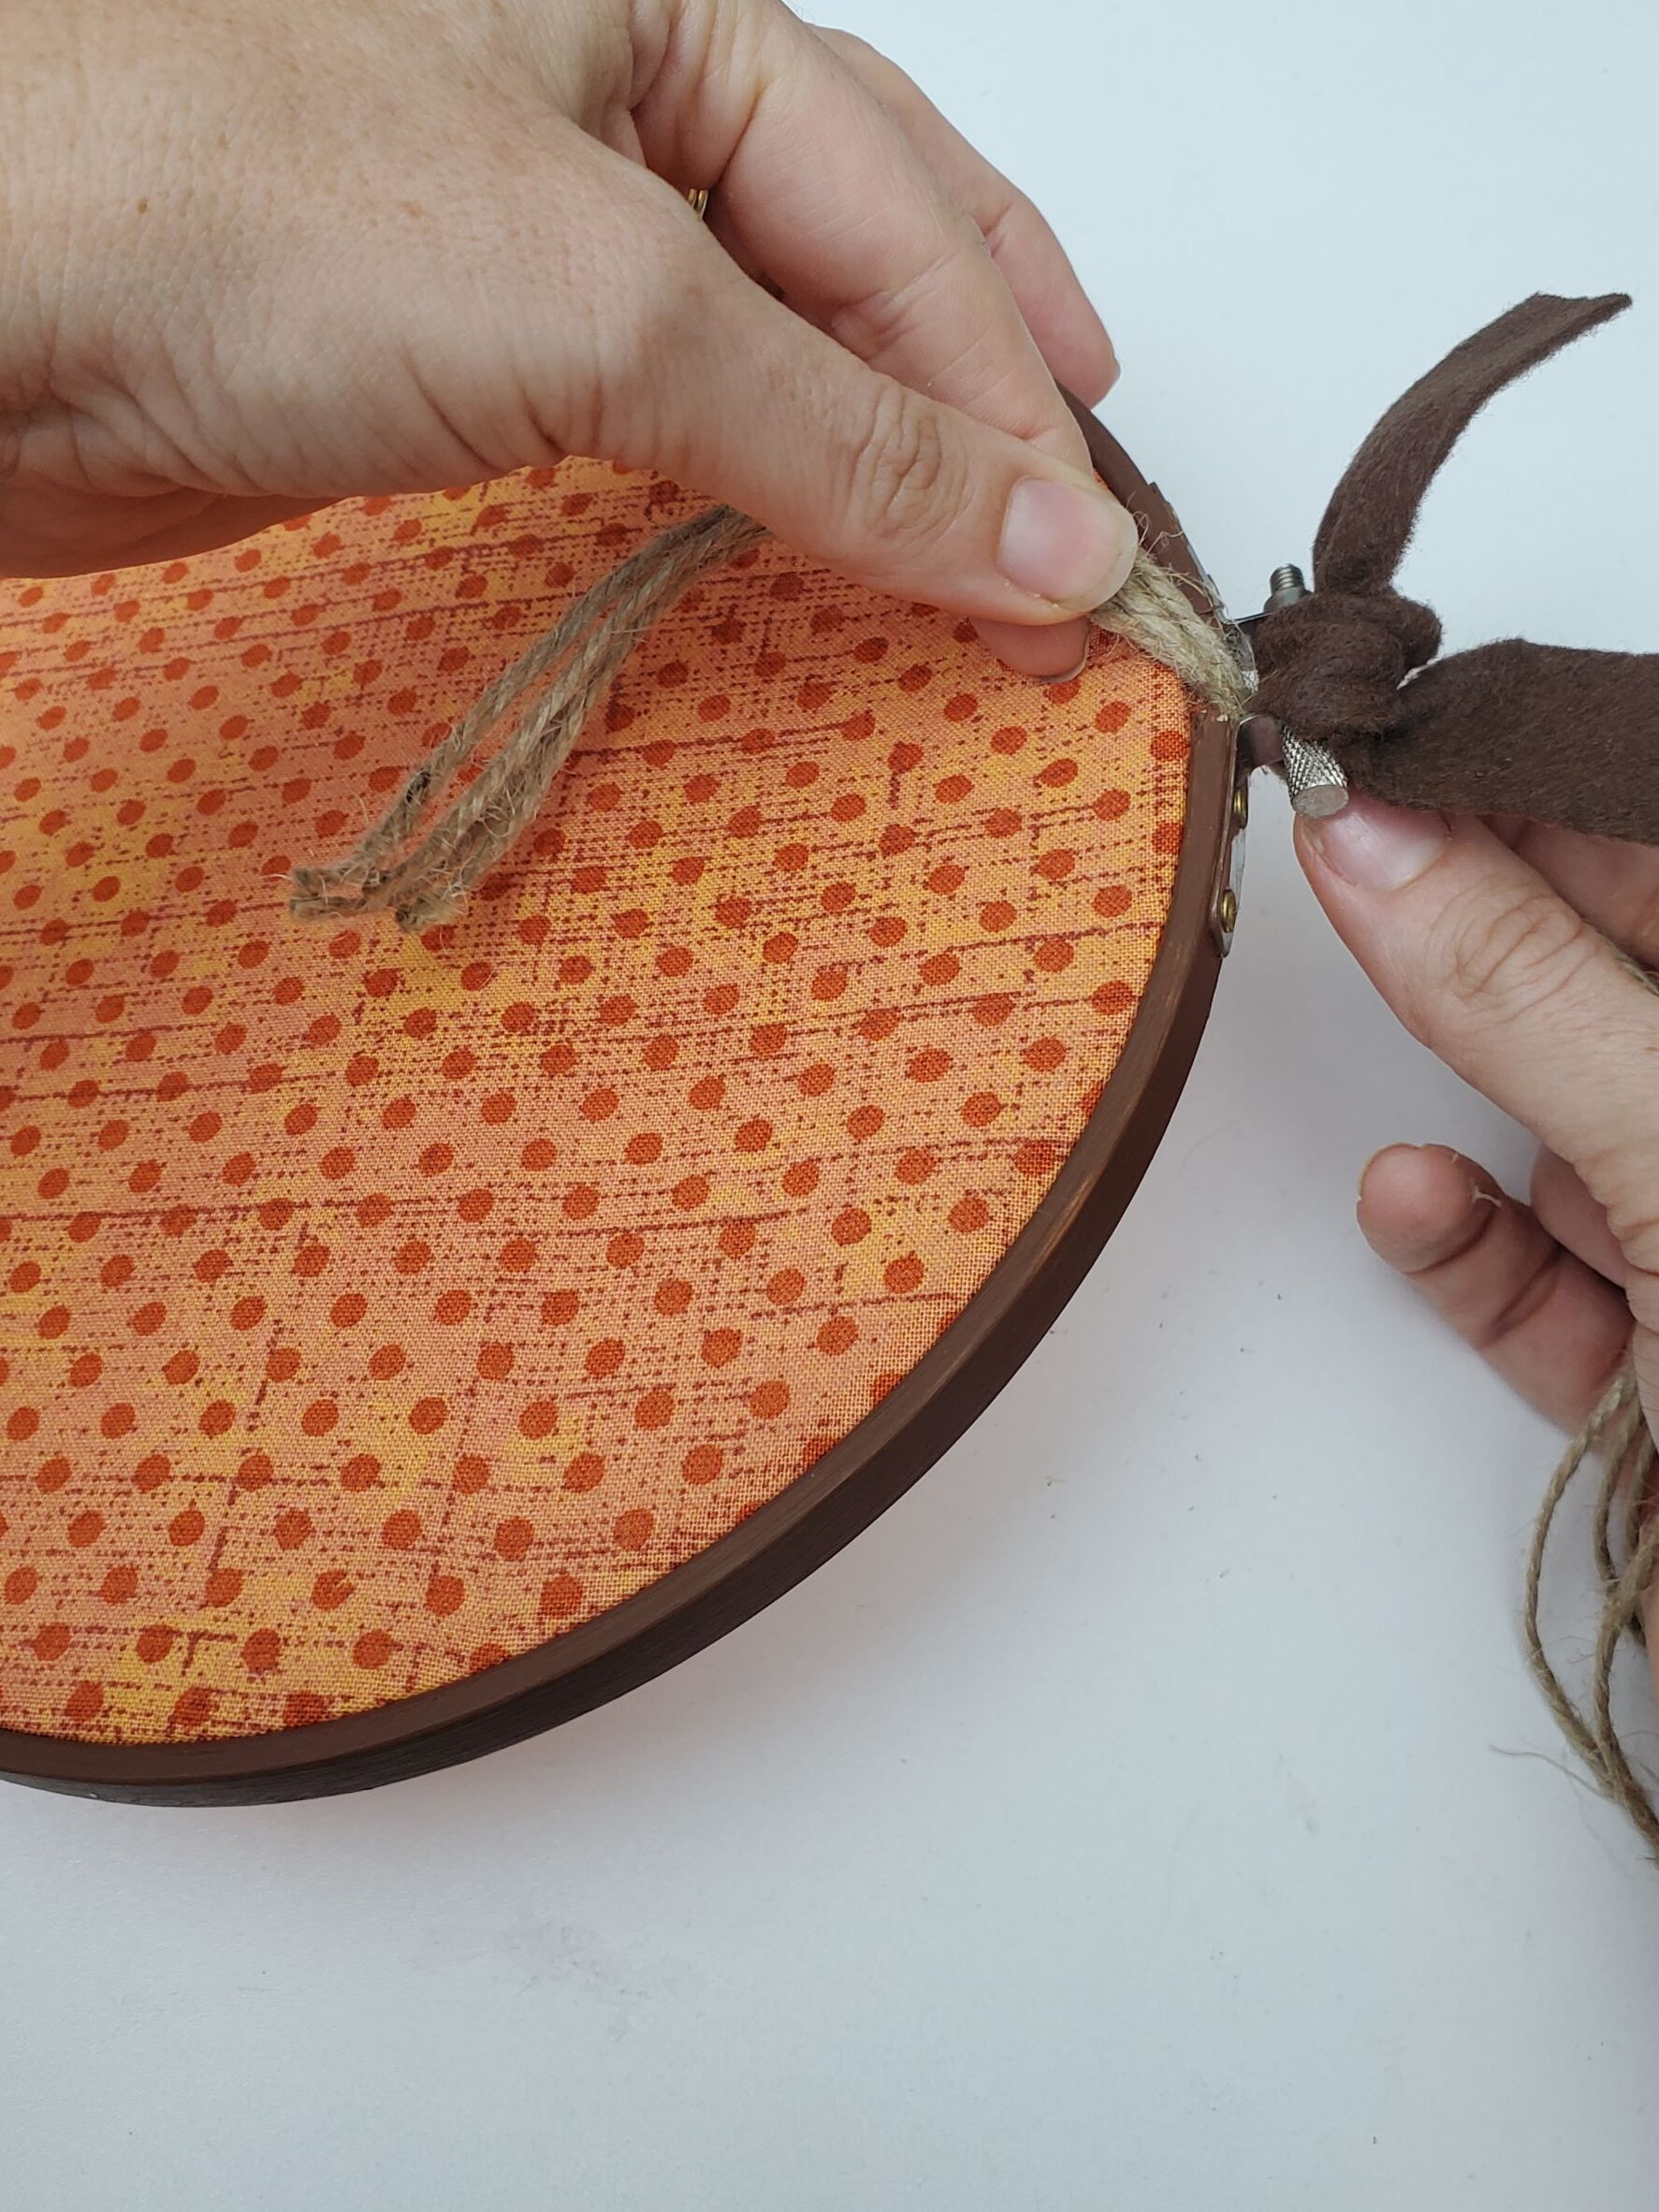
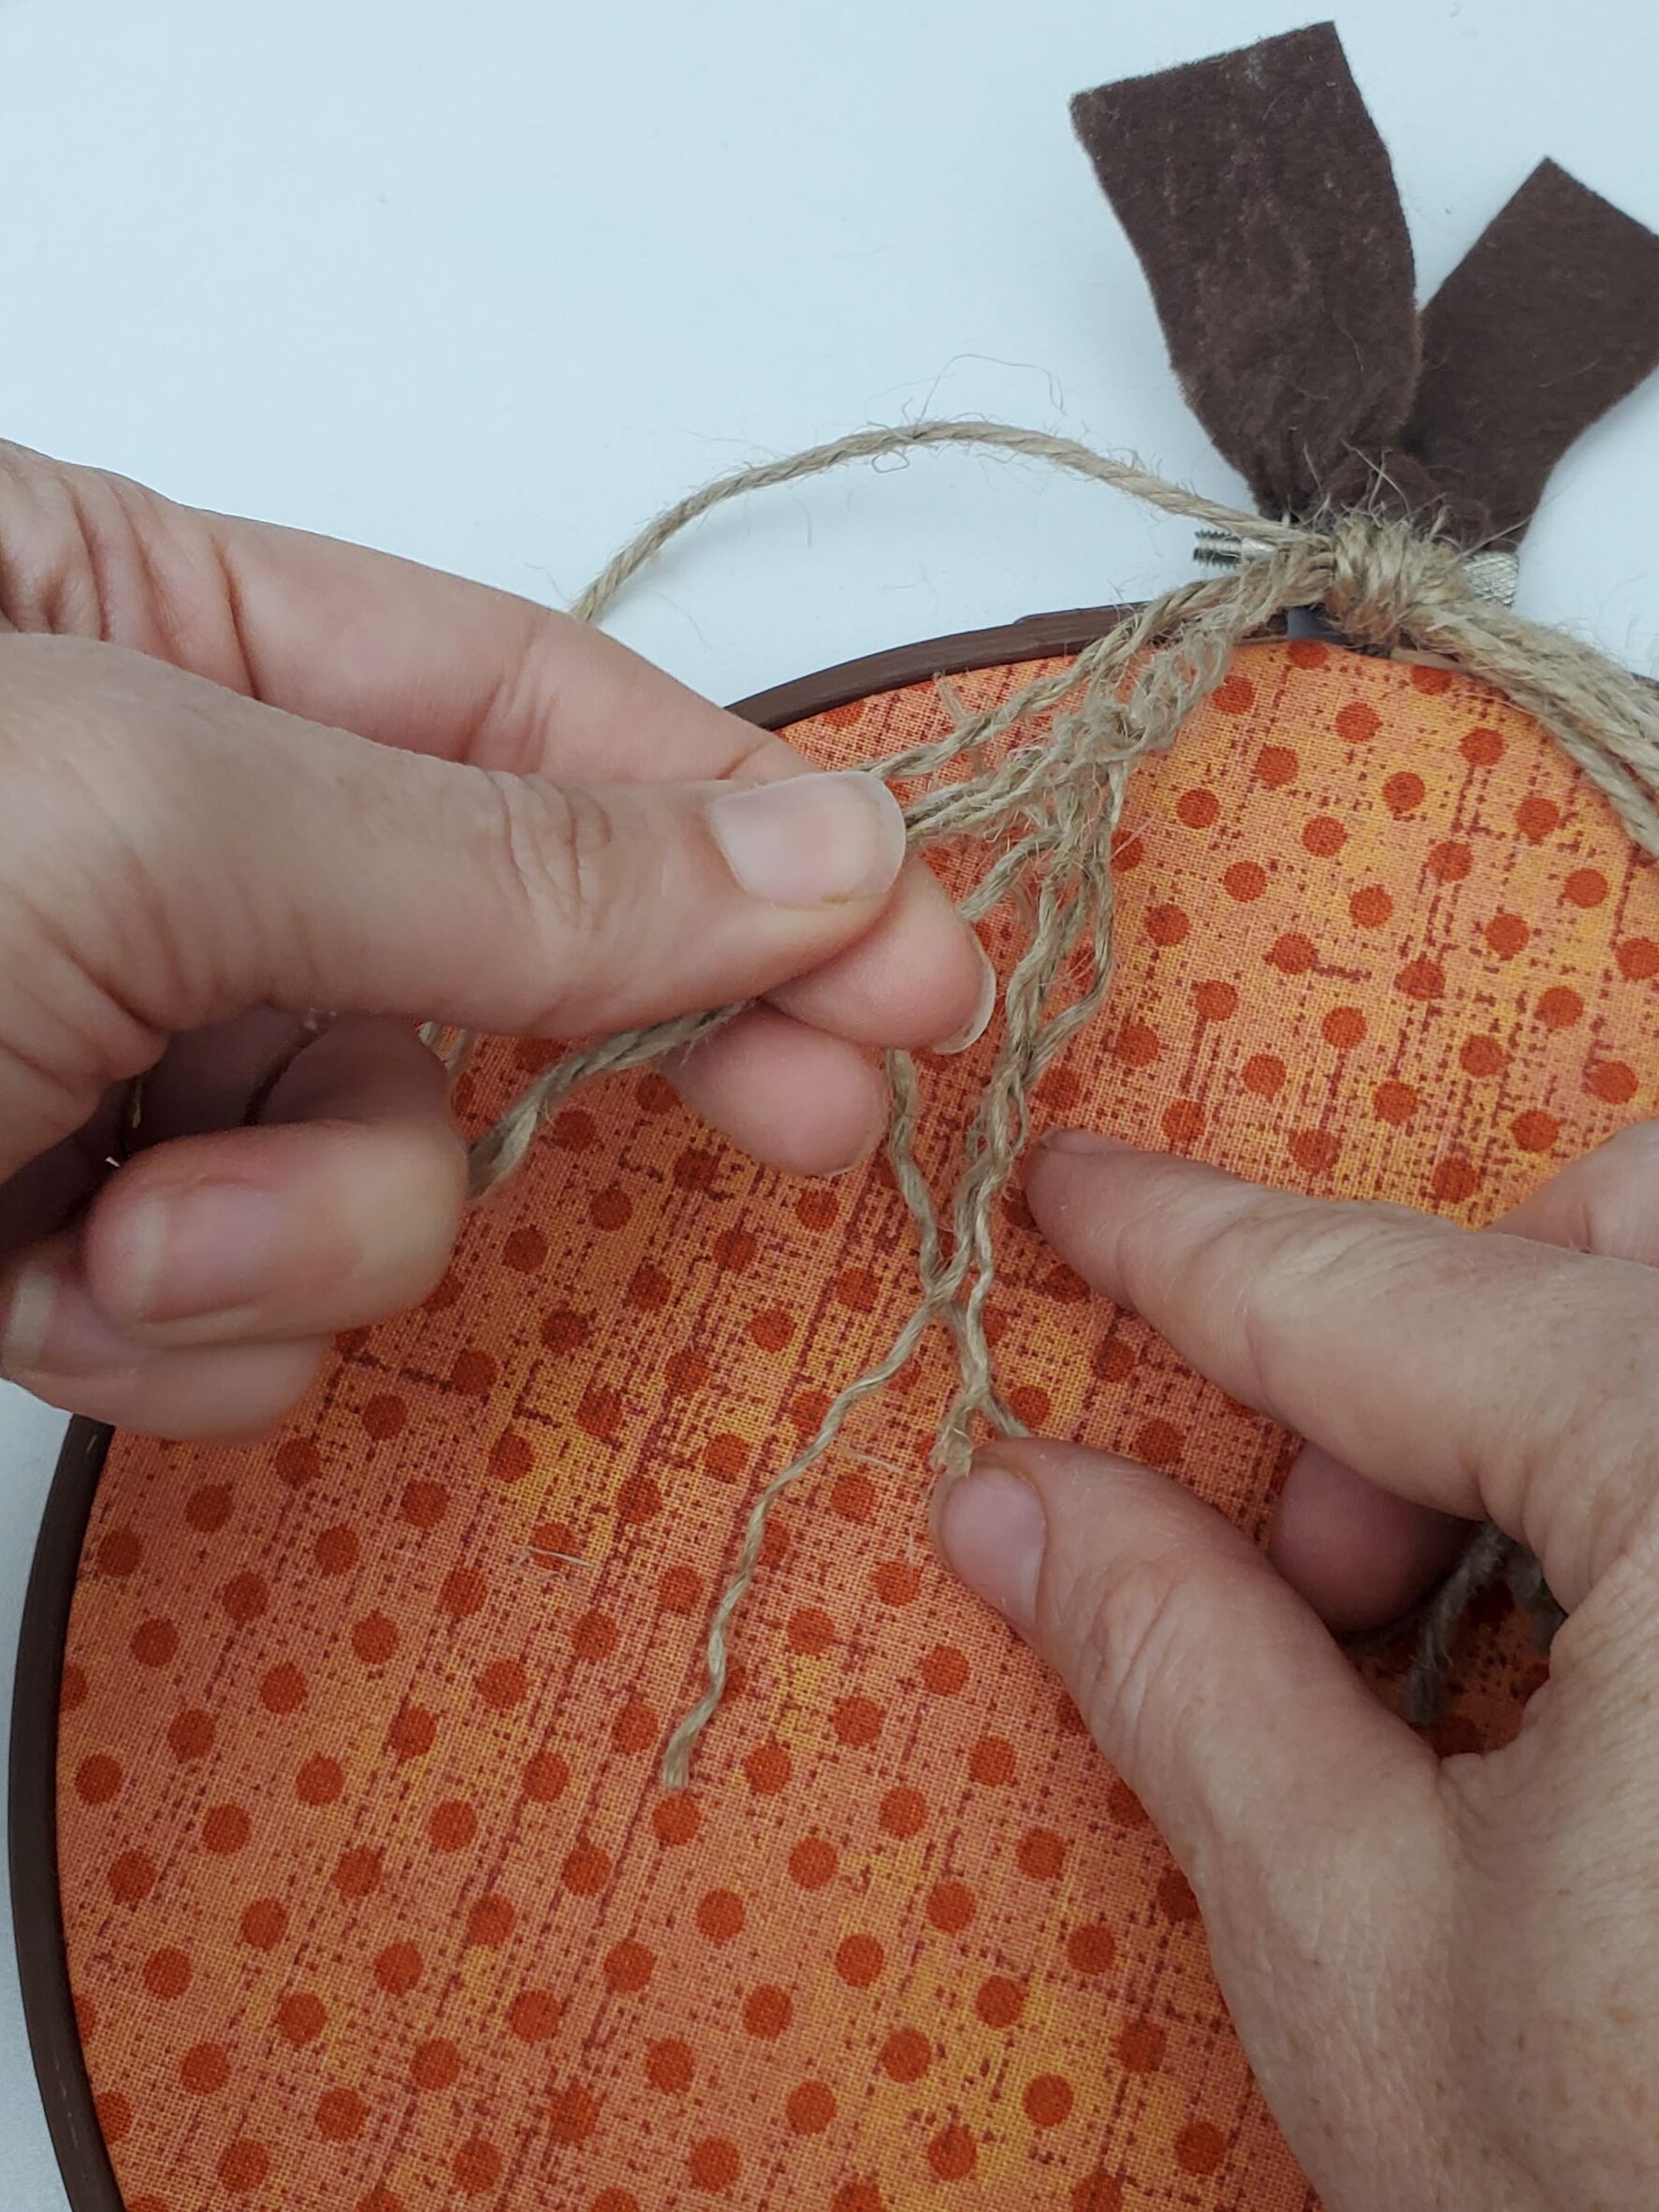
Cut 3-4 pieces of twine to hang about halfway down your hoop (once it’s folded in half). Sorry I don’t have exact measurements. It doesn’t have to be exact! Tie them through the top of the hoop, same as you did for the twine.
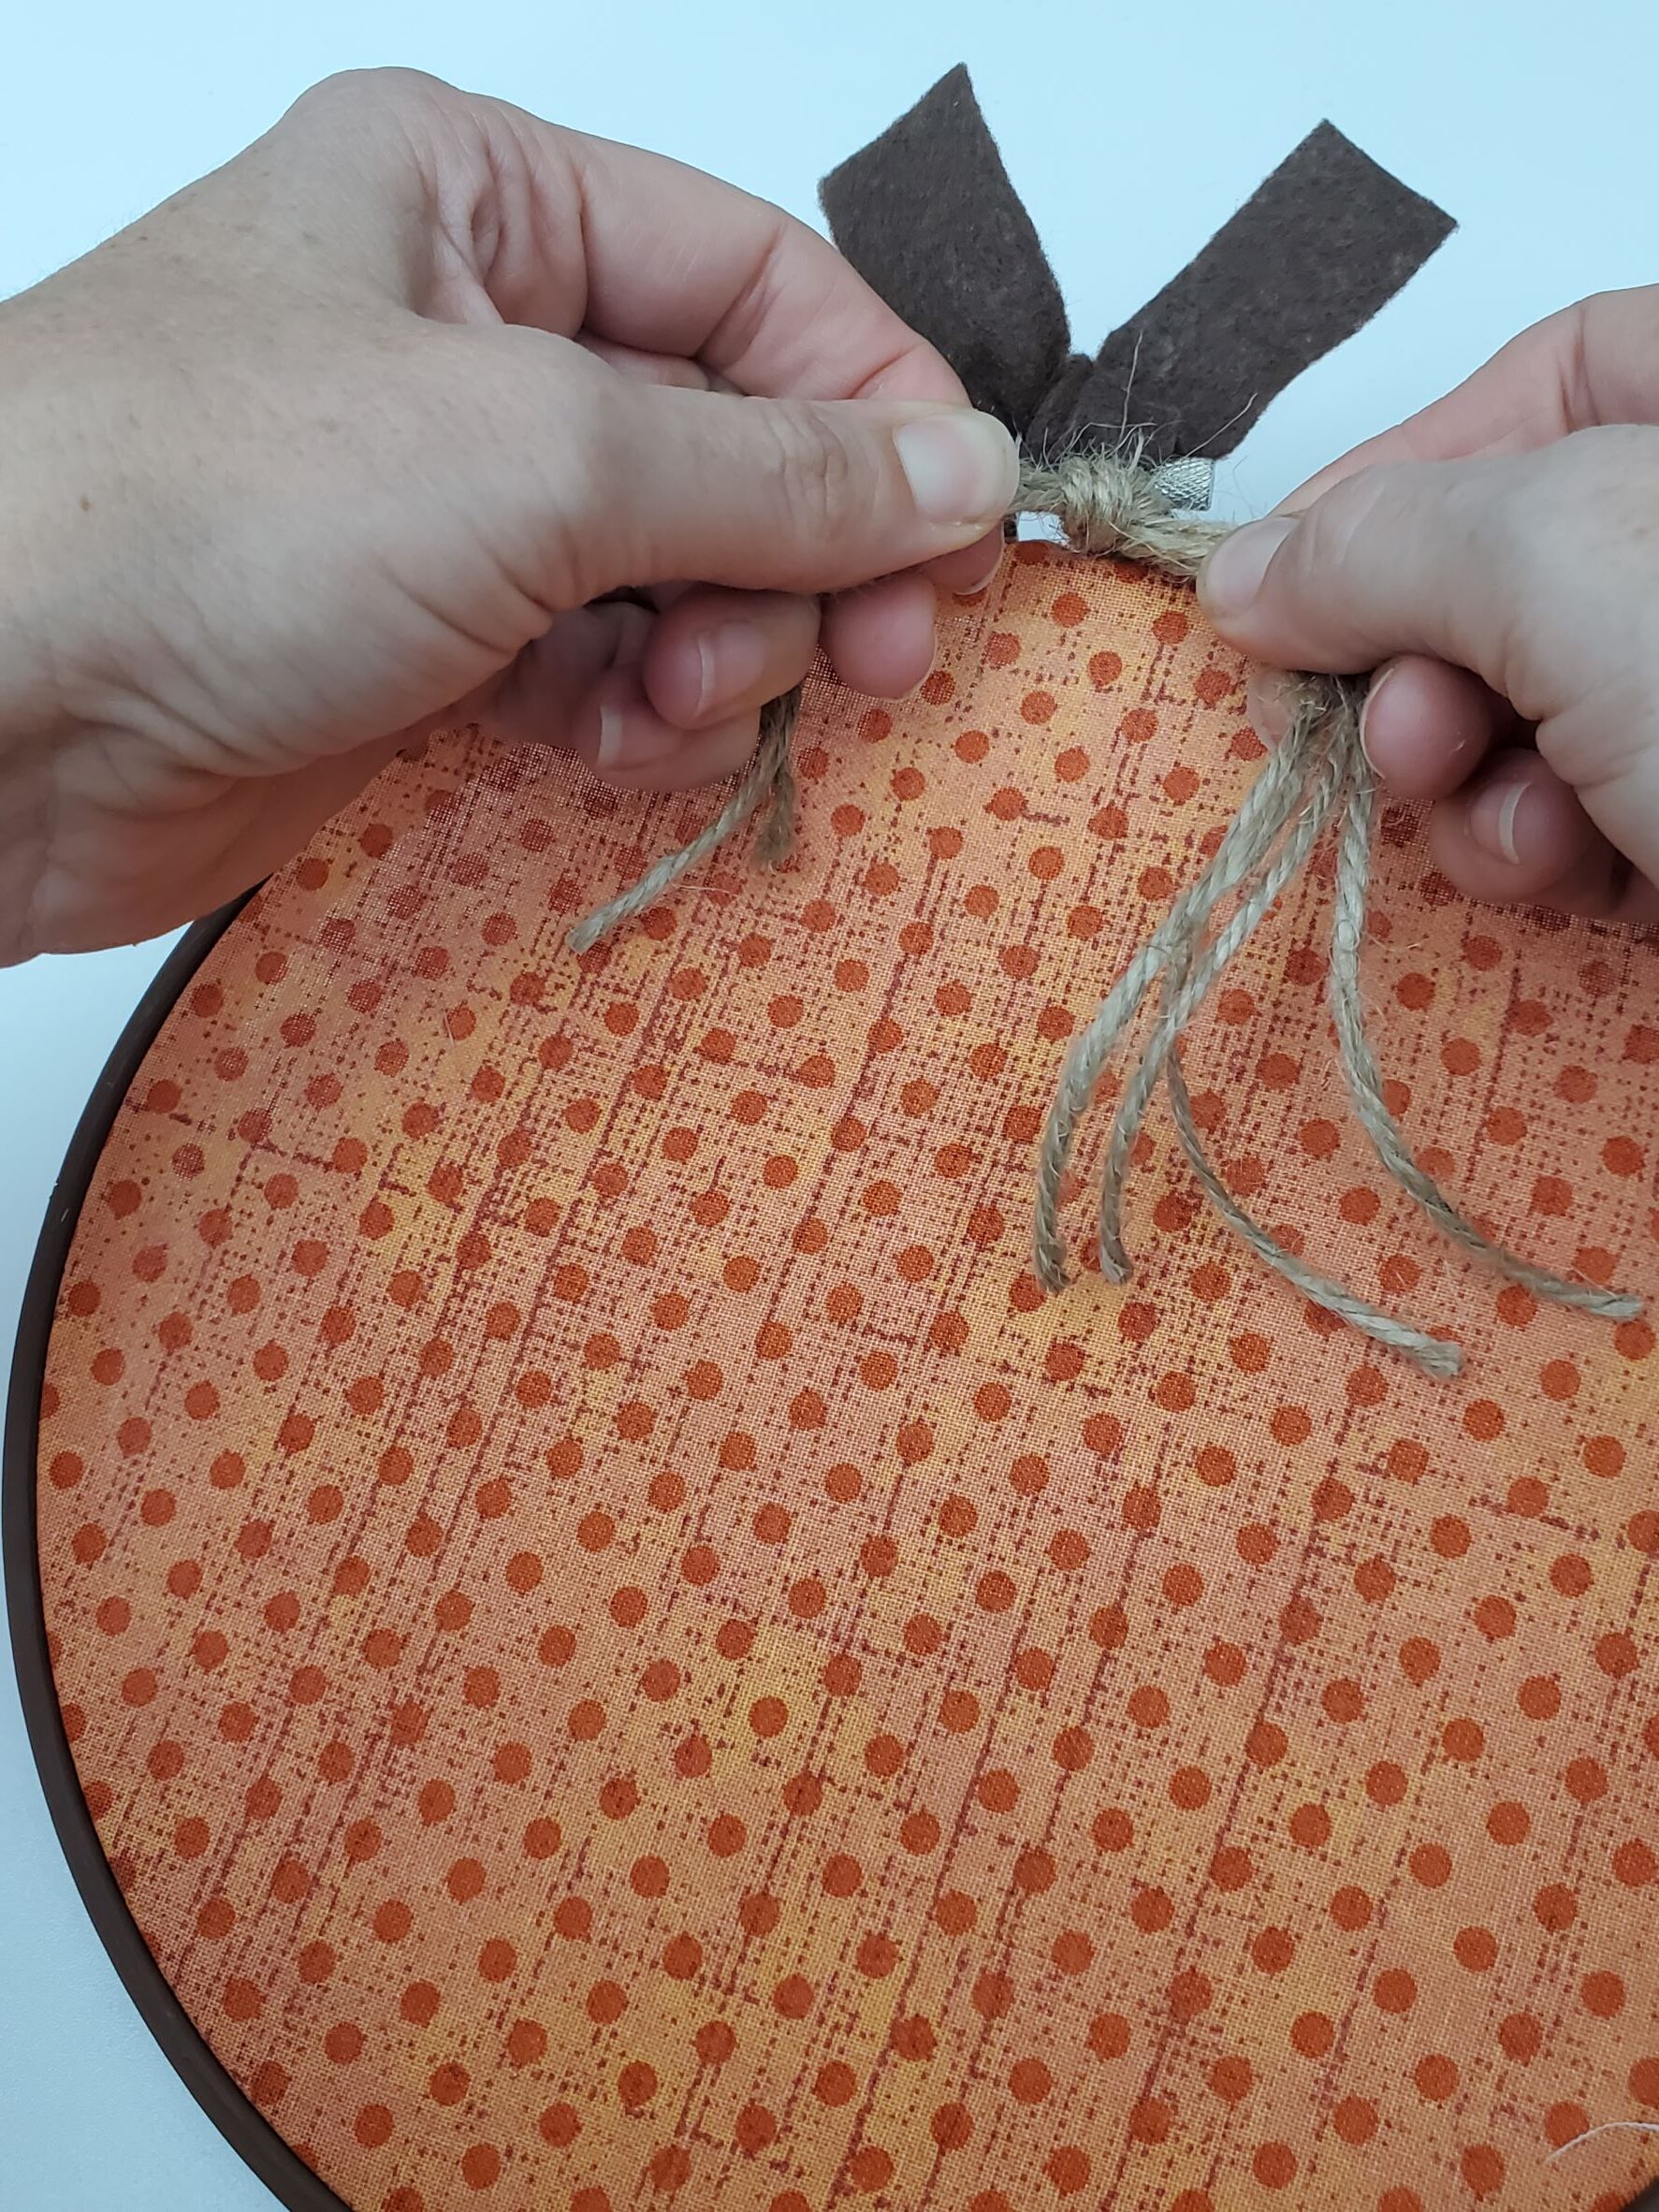
Untwist the pieces of twine to give it a fuller look.
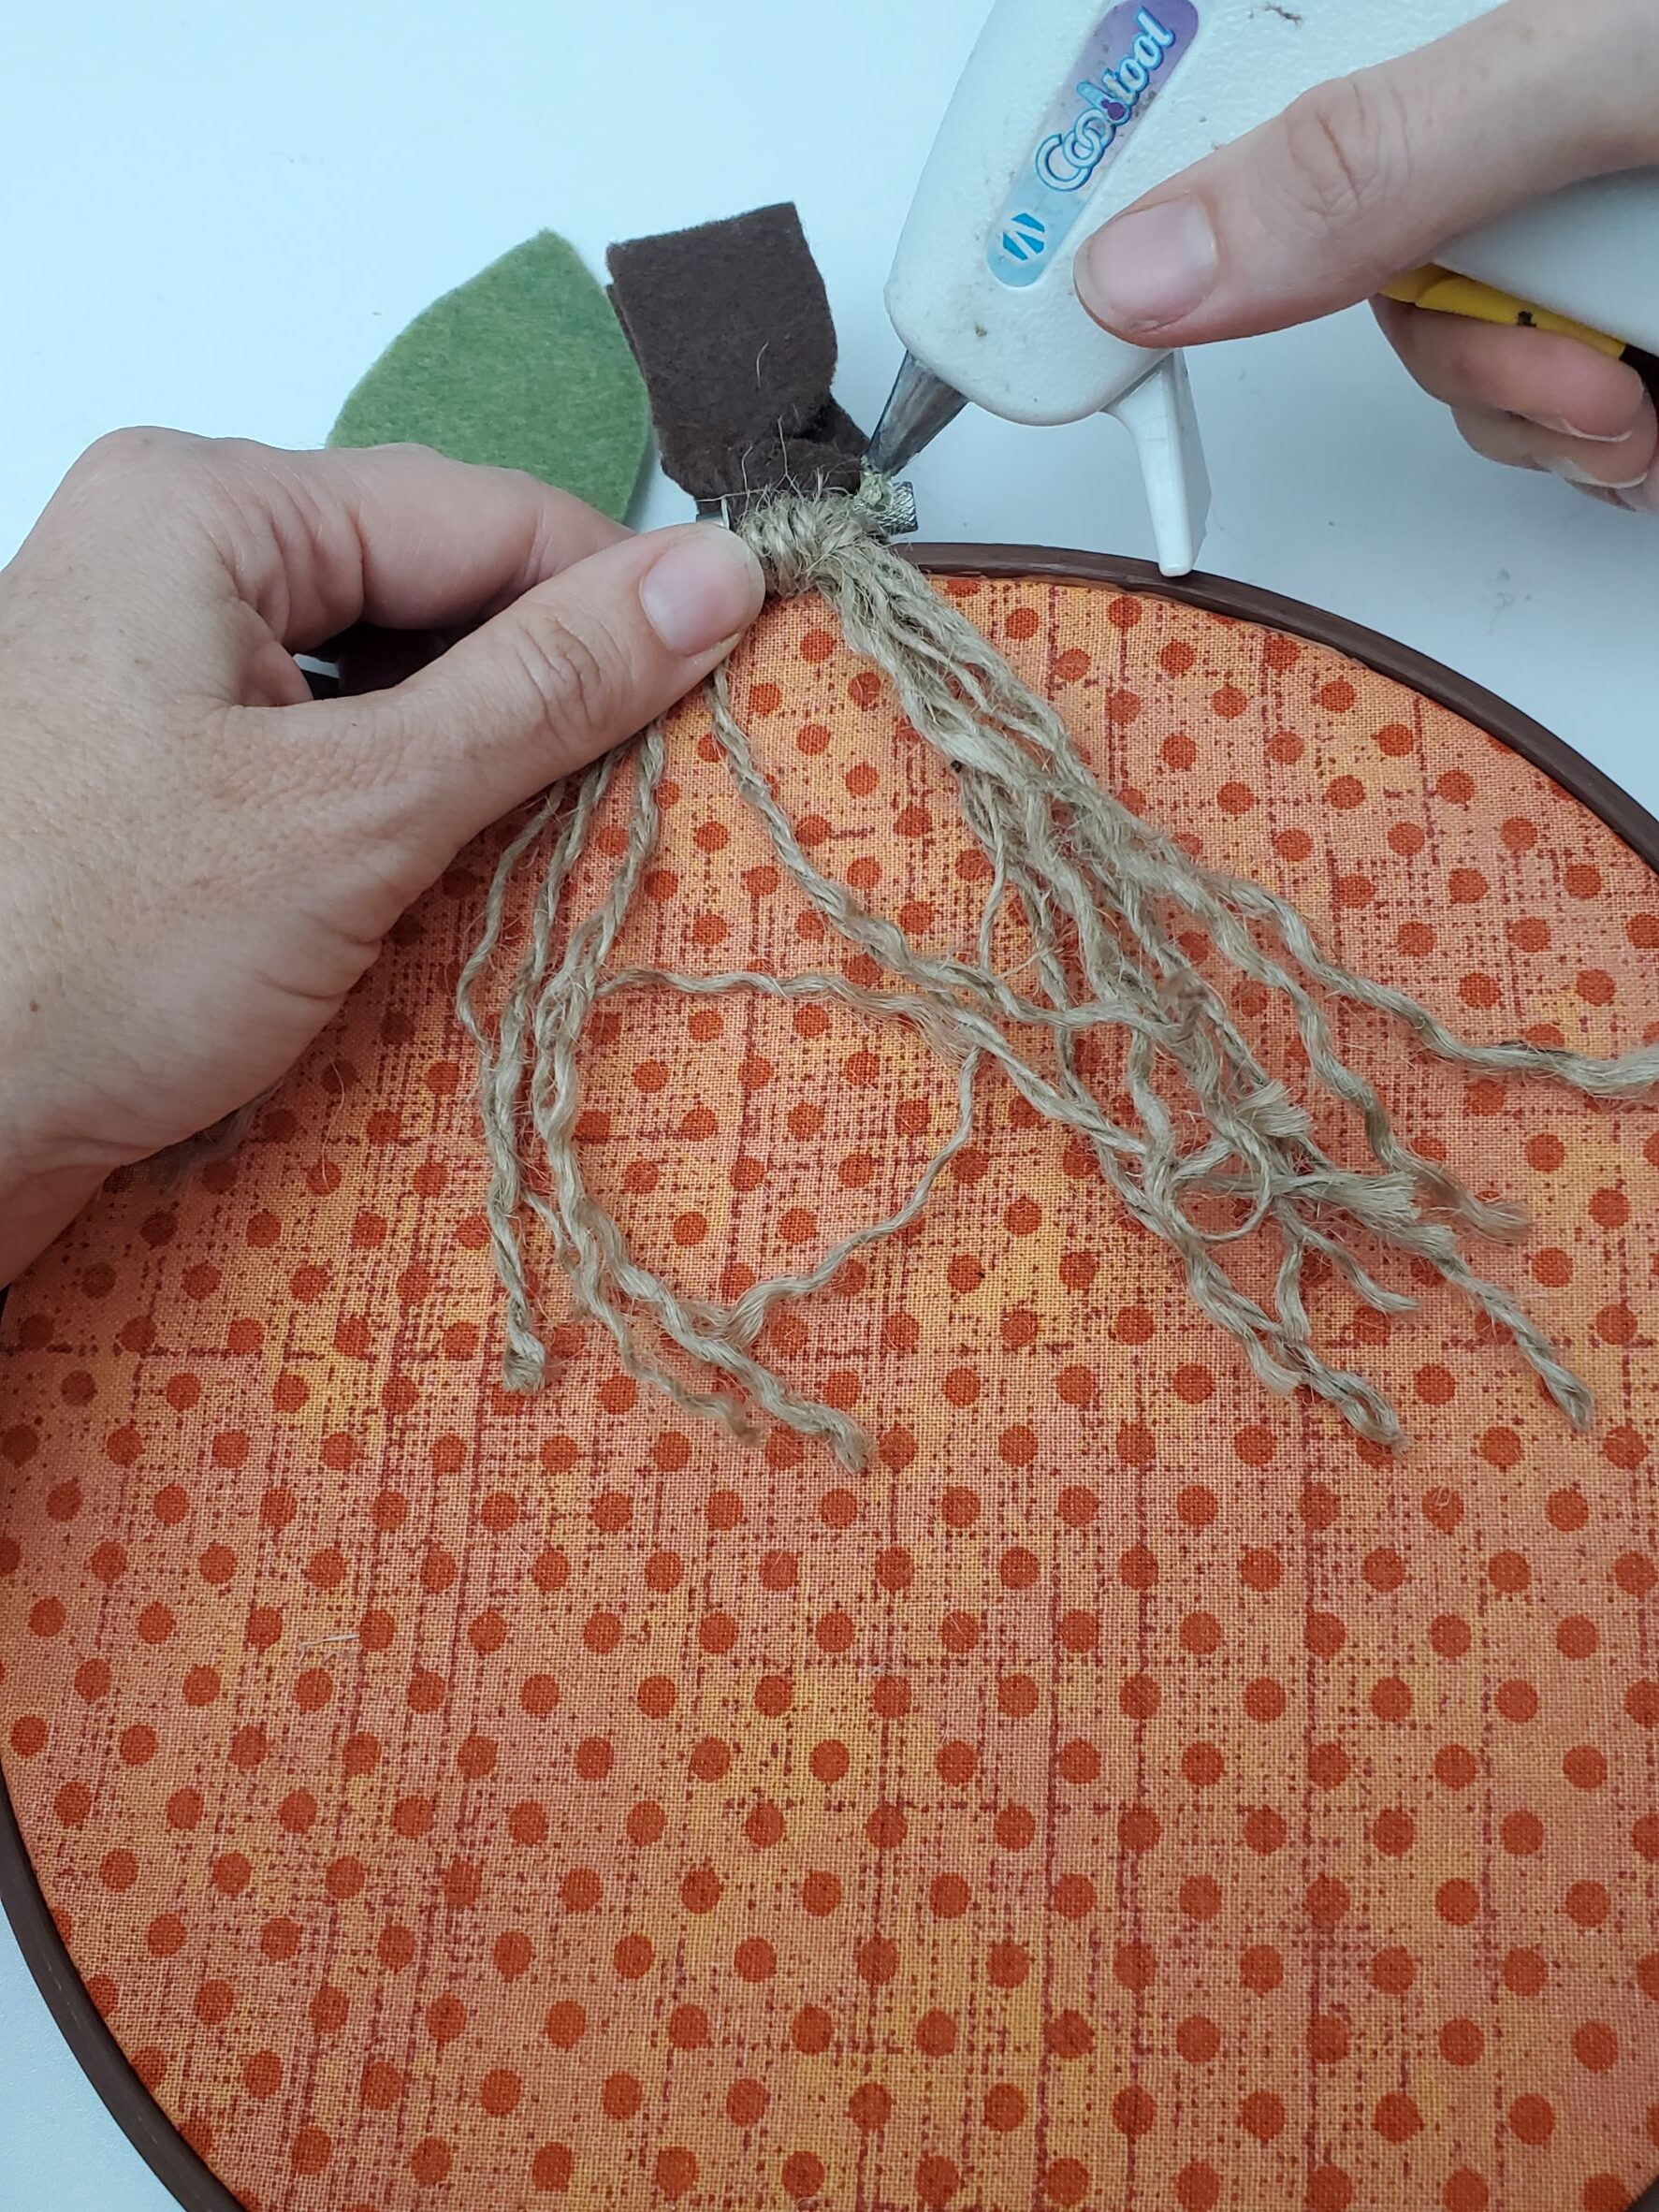
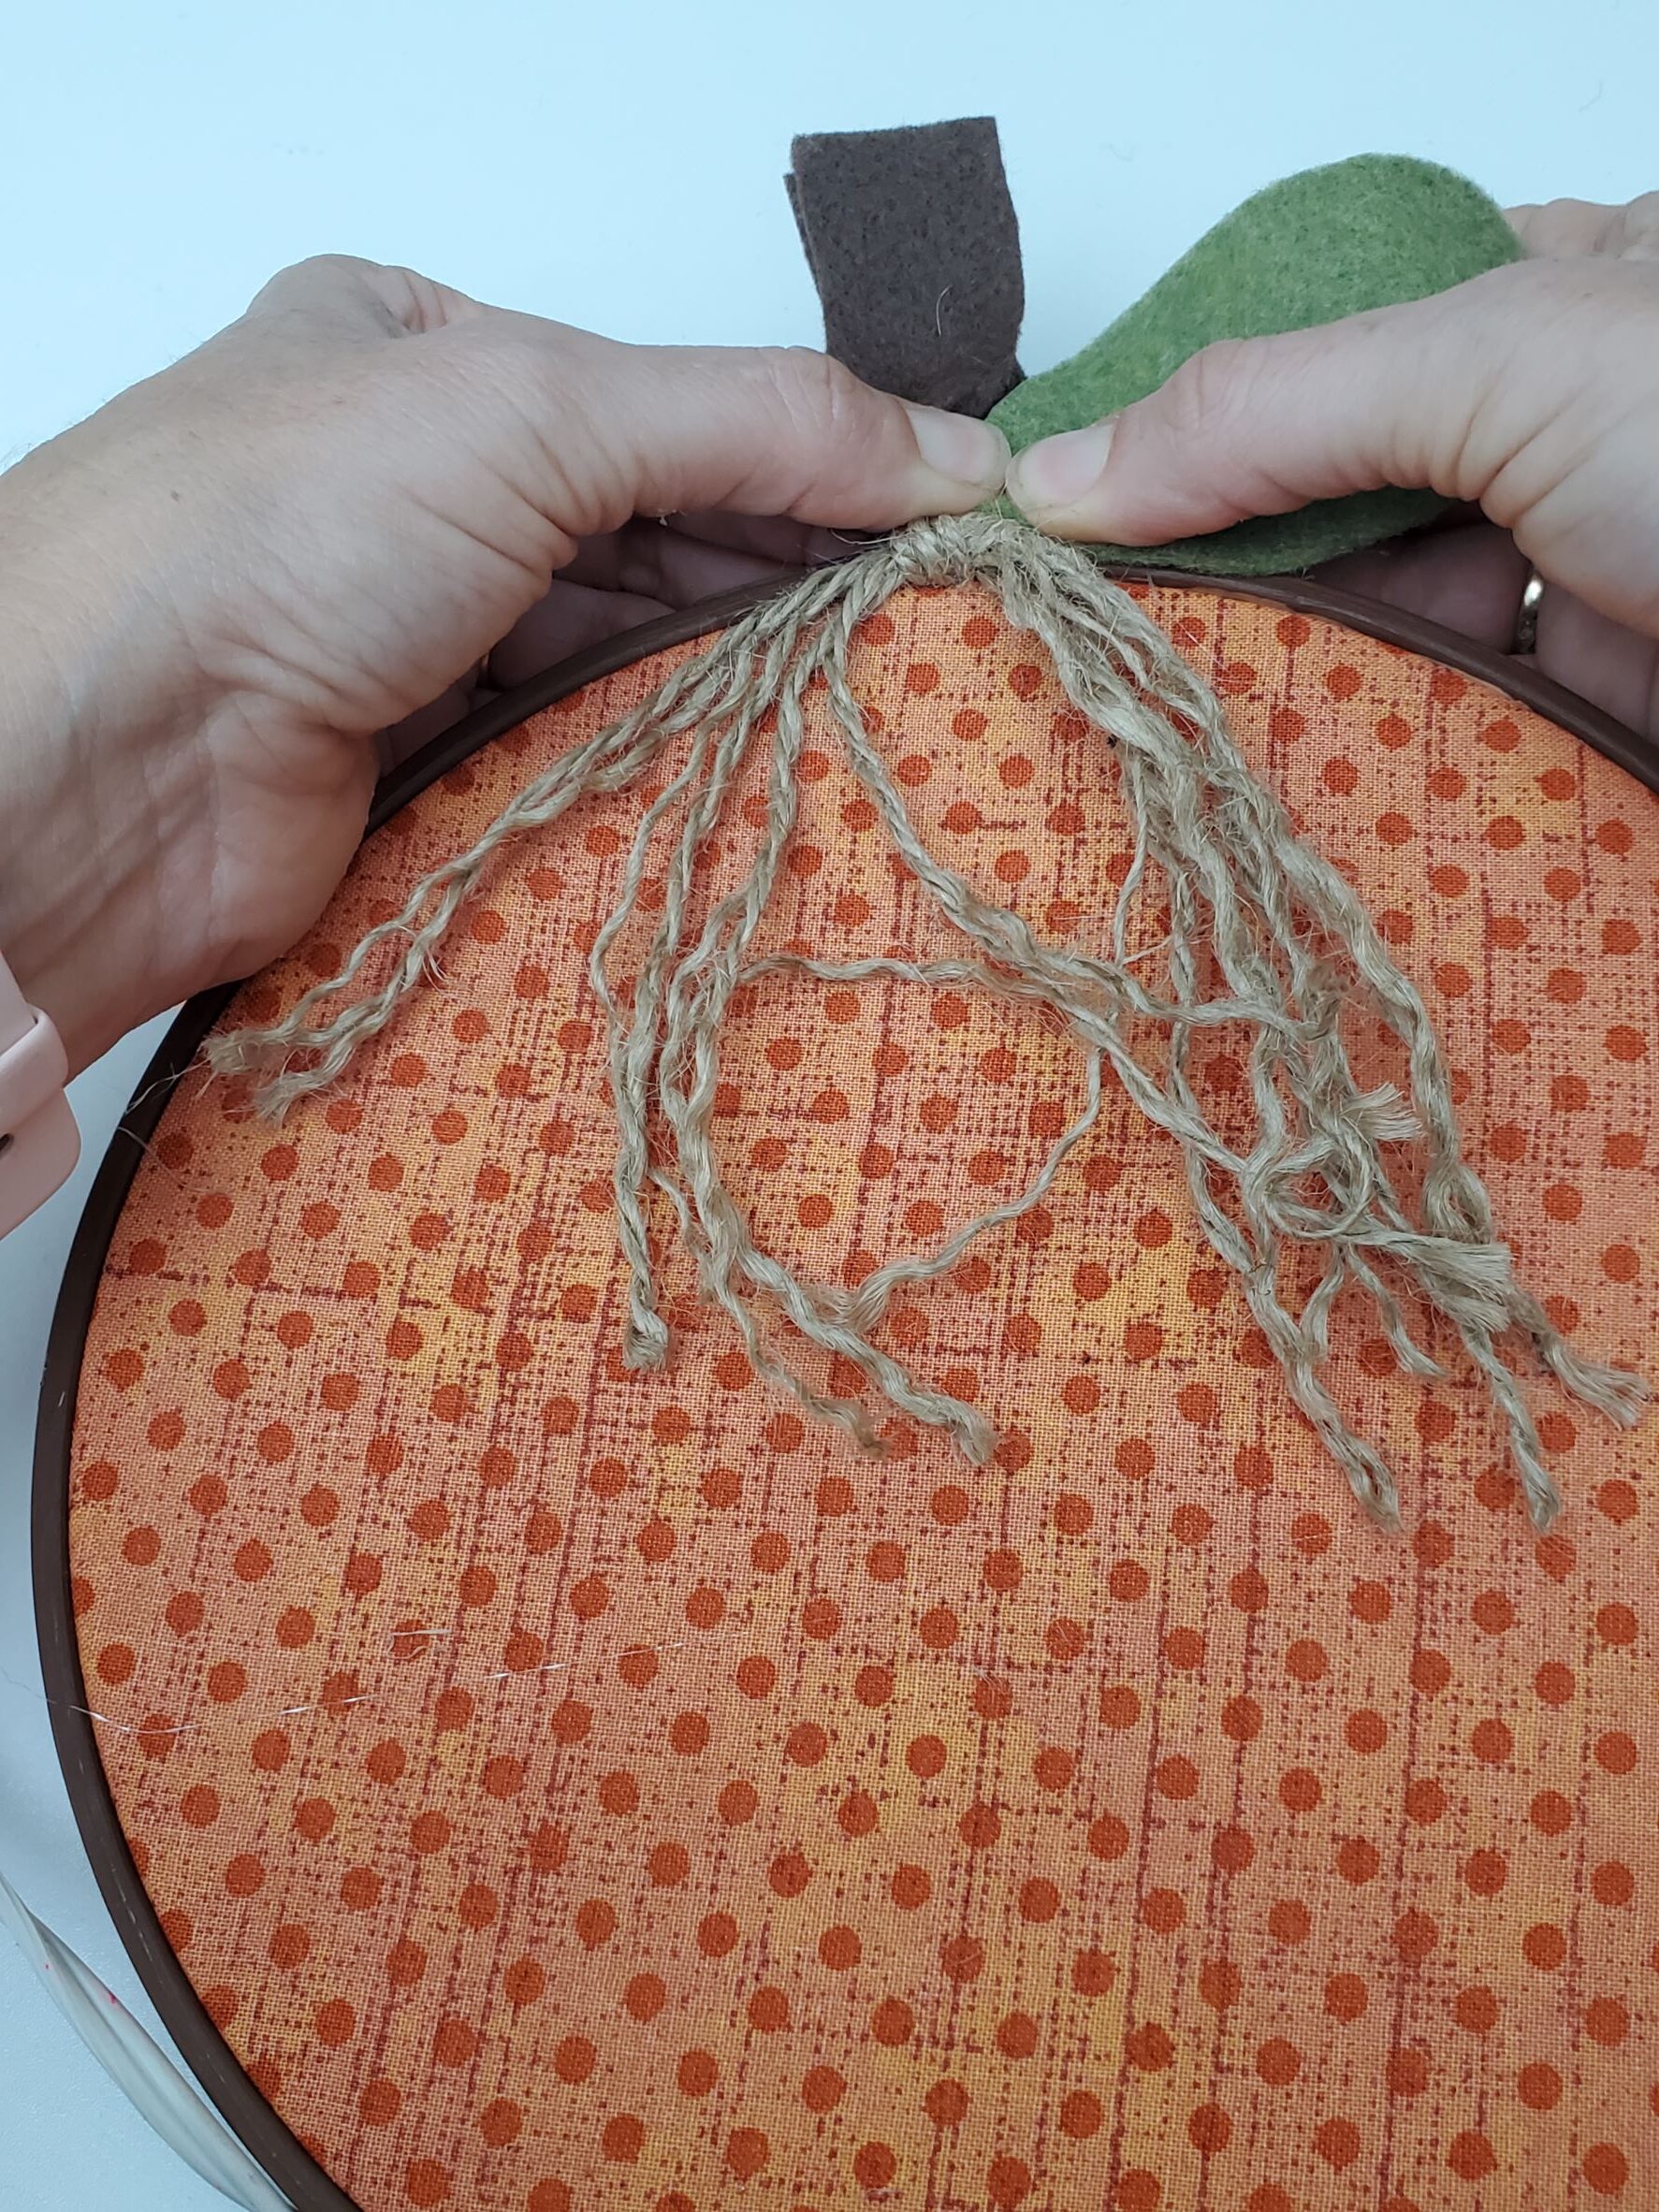
Glue your leaf on top of the stump (or on the screw on top).
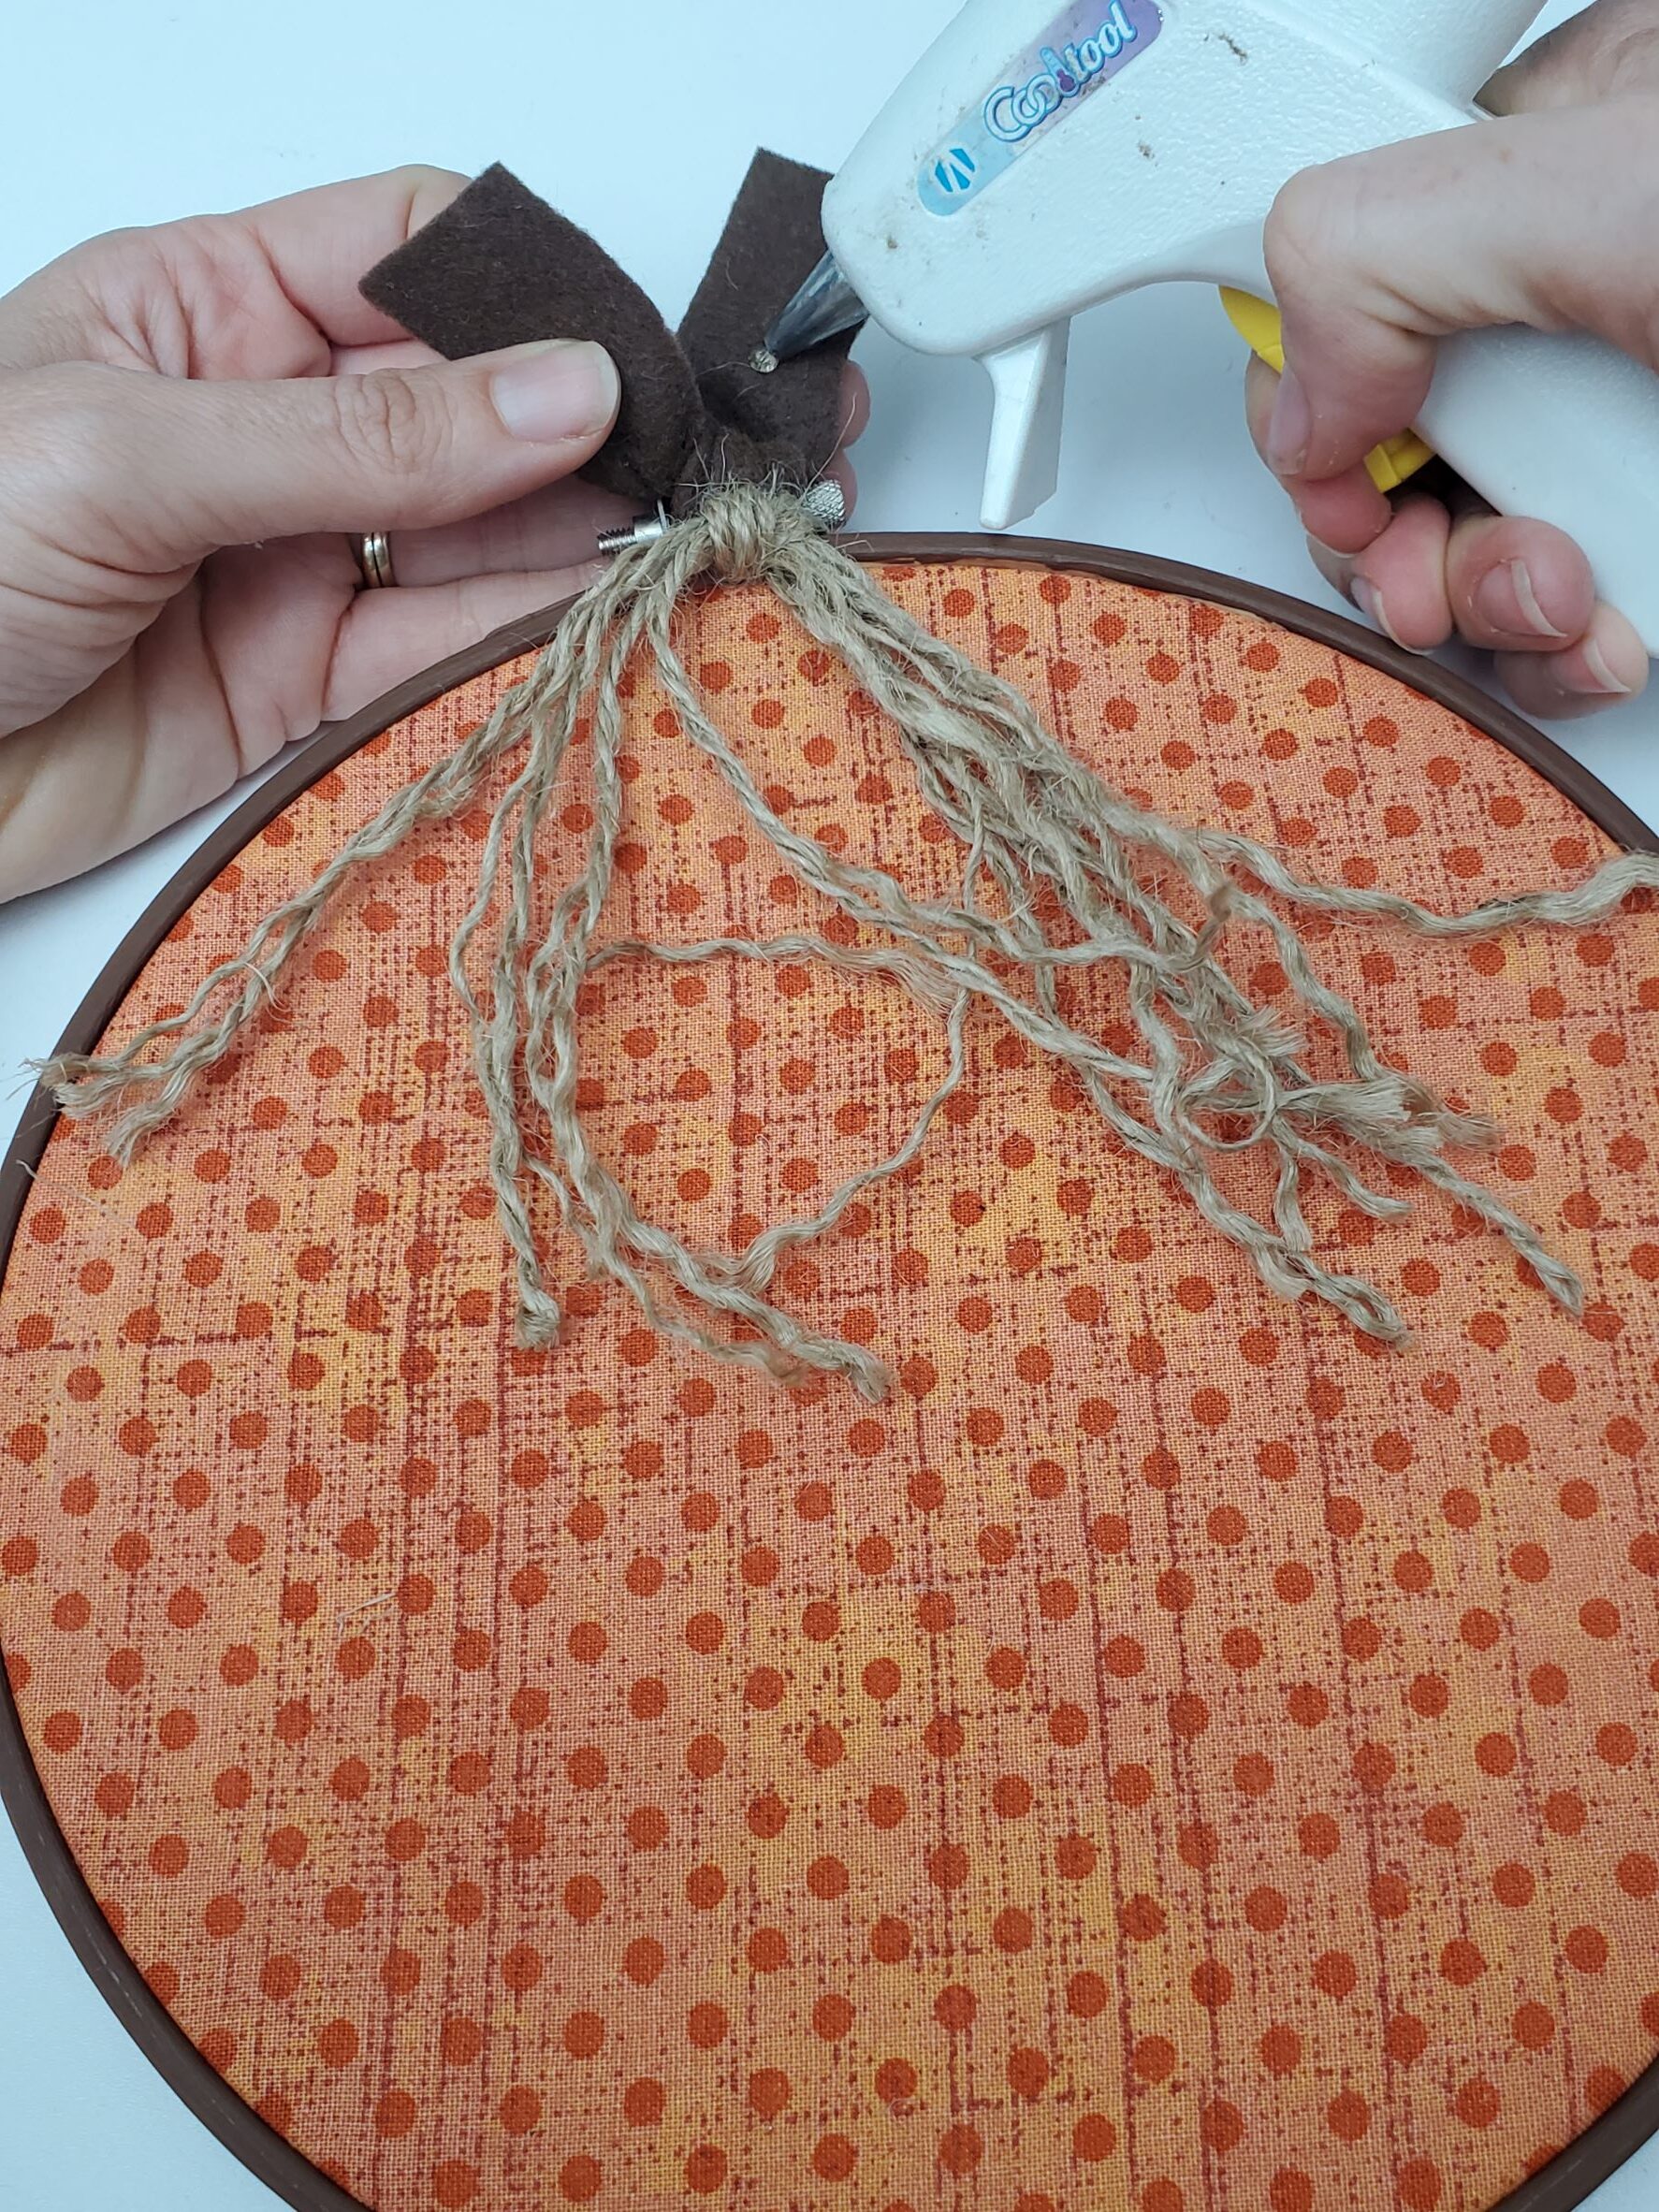
I also added a little drop of hot glue in-between the stump so that it stayed in place better.
And that’s all there is to it!
Wasn’t that easy? Such a cute and simple way to add some pumpkins to your pumpkin patch this fall! Let me know how you did in the comments!
Shopping List:
*Sassy Cassy’s is part of the Amazon Affiliate Program, which means that if you purchase Amazon items from this website, a small commission will be earned, at no extra cost to you.

